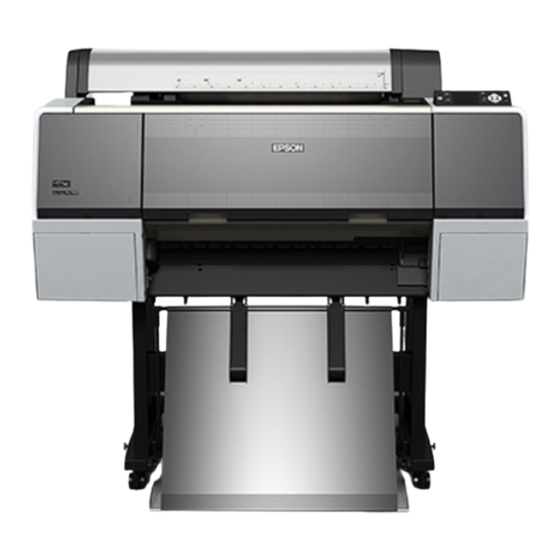
Epson Stylus Pro 7900 CTP User Manual
Large plate accessory kit
Hide thumbs
Also See for Stylus Pro 7900 CTP:
- Brochure & specs (6 pages) ,
- Product information (18 pages)
Table of Contents
Advertisement
Quick Links
Advertisement
Table of Contents

Summary of Contents for Epson Stylus Pro 7900 CTP
- Page 1 Epson Stylus Pro 7900CTP Large Plate Accessory Kit ® User’s Guide...
-
Page 2: Parts Included In The Kit
(PCU). The Large Plate Accessory Kit is recommended for Epson DirectPlate Aluminum plates over 16 inches (406 mm) wide. See the Epson Stylus Pro 7900CTP Computer to Plate System User’s Guide for information about the system. Parts Included in the Kit •... - Page 3 Installing the Large Plate Guide on the Printer To ensure proper registration when printing on Epson DirectPlate Aluminum plates, you need to install the large plate guide on the printer. Open the roll paper cover on the printer. Remove the roll paper if installed (see the Epson Stylus Pro 7900/9900 Printer Guide for information).
- Page 4 “7900CTP_alignment_sheet.pdf” that is included on the CD with the Epson Stylus Pro 7900CTP system. If you don’t have the CD, you can download it from www.proimaging.epson.com. If you are using the RIP included with the Epson Stylus Pro 7900CTP system, you can print the file using the menu options.
- Page 5 Aligning the Large Plate Guide | Use a metric ruler to measure the distance from the left edge of the plate to point A on the printed plate. Then measure the distance from the left edge of the plate to point B. If the distances to points A and B are equal, go to step 6.
- Page 6 | Aligning the Large Plate Guide Using the included hexagonal wrench, adjust the alignment of the plate guide. If distance A is greater than distance B, tighten the alignment screw; if distance B is greater than distance A, loosen the screw. Half a rotation of the screw moves the guide approximately 1.0 mm (0.04 inch).
-
Page 7: Loading A Plate In The Printer
When working with large size plates, position the media catch bin (fabric bin) as shown to enable the plate to exit the printer without interference. Media catch bin Make sure the printer is turned on and the P power light is not flashing. Press the l Paper Source button until the Loading a Plate in the Printer |... - Page 8 Press the Paper release (ePlaten) button to disengage the feeder rollers. Set the printer to the highest paper suction setting. This will help load the plate. To do that, press u to increase the suction. Lower the plate (with light gray, coated side face up) into the paper slot (short edge first) so at least 1 to 2 inches of the top edge are above the large plate guide.
-
Page 9: Unloading A Plate From The Printer
NO PAPER SELECTED Note: If you will use multiple plates consecutively on the printing press, it is best to load plates into the printer in the same direction each time. Otherwise, there is a possibility of minor differences in final printing. - Page 10 | Attaching the PCU Tray Extension Attaching the PCU Tray Extension The extension attaches to the larger tray supplied with the PCU; the tray should be used as the input tray. Note: The extension adds a small incline for the plate to travel into the oven. Attach the extension supports to both sides of the tray extension.
-
Page 11: Where To Get Help
Attach the tray to the PCU by inserting the tab into the slot on the input side of the PCU. Press the tray down to make sure the tab is completely locked into the PCU. If you need to adjust the tray, see the Epson Stylus Pro 7900CTP Computer to Plate System User’s Guide. Note: You can remove the large plate guide to print paper and then reinsert the large plate guide without having to realign it, assuming the large plate guide is put back in place correctly. -
Page 12: Copyright Notice
Neither Seiko Epson Corporation nor its affiliates shall be liable to the purchaser of this product or third parties for damages, losses, costs, or expenses incurred by purchaser or third parties as a result of: accident, misuse, or abuse of this product or unauthorized modifications, repairs, or alterations to this product, or (excluding the U.S.) failure to strictly comply with Seiko Epson Corporation’s...


Need help?
Do you have a question about the Stylus Pro 7900 CTP and is the answer not in the manual?
Questions and answers