Sony BRAVIA KDL-32L4000 Operating Instructions Manual
Lcd digital color tv
Hide thumbs
Also See for BRAVIA KDL-32L4000:
- Service manual (84 pages) ,
- Operating instructions manual (61 pages) ,
- Quick setup manual (2 pages)
Table of Contents
Advertisement
Quick Links
Advertisement
Table of Contents

Related Manuals for Sony BRAVIA KDL-32L4000


Summary of Contents for Sony BRAVIA KDL-32L4000
- Page 1 Operating Instructions KDL-32L4000 KDL-37L4000 © 2008 Sony Corporation...
- Page 2 Tile model and serM numbers are located not u_ this polarized AC plug with an extension Use tile AC pow'er cord specified by Sony al tile rear of tile TV. Record these cord. receptacle or olher oullet unless lhe blades and suilable R)r lhe voltage where you use numbers in the spaces provided below.
- Page 3 To Customers Important Sufl_cienlexpertise is required lbr installing thespecified TV. Be sure to subconlract the inslallafion tit Sony dealer or licen_d contractors and pay adequale altention lit salcty during tile installation. Safety' Note This telcvision includes a QAM delnodulator which shouhl allow you to...
- Page 4 MOISTURE Allow adequate space around tile TV set to ensure proper air circulation. Never place rile TV in a contined space, such as a To reduce rhe risk of fire or electric sl _ck. do not expose this TV to ram or bookcase or built-in cabinet, unless proper nloistare ventilation is provided.
- Page 5 CARRYING THE TV Do not install the TV in a place expomd to /_(,- _£ inside talc may cause TV malfunction. > Carry the TV in the specified manner To aw_id dropping the TV and causing serious injury= be sure to tallow these guidelines: [] Befor_ c_rryingtheTV, disconnect...
- Page 6 Do not dispose of batteries in a fire. [] Use only an original Sony AC power cord witll your TV; no brand Do not short-circuit, disassemble or overheat the batteries.
- Page 7 (red, blue, or green) may appear constmatly on the LCD screen, routine safety checks as specified by Sony This is a structural property of the LCD panel mid is not a malthnction, and to certify that the TV is saf_ to operate.
-
Page 9: Table Of Contents
VCR, Cable and Antenna ..................When Connecting to Optional Equipment ..............Securing the TV ......................Preventing the TV from Toppling ................Use a Sony TV Stand ....................Recommended Measures to Secure the TV ............. Bundling the Connecting Cables ................Setting Up the Channel List - Initial Setup .............. -
Page 10: Welcome To The World Of Bravia
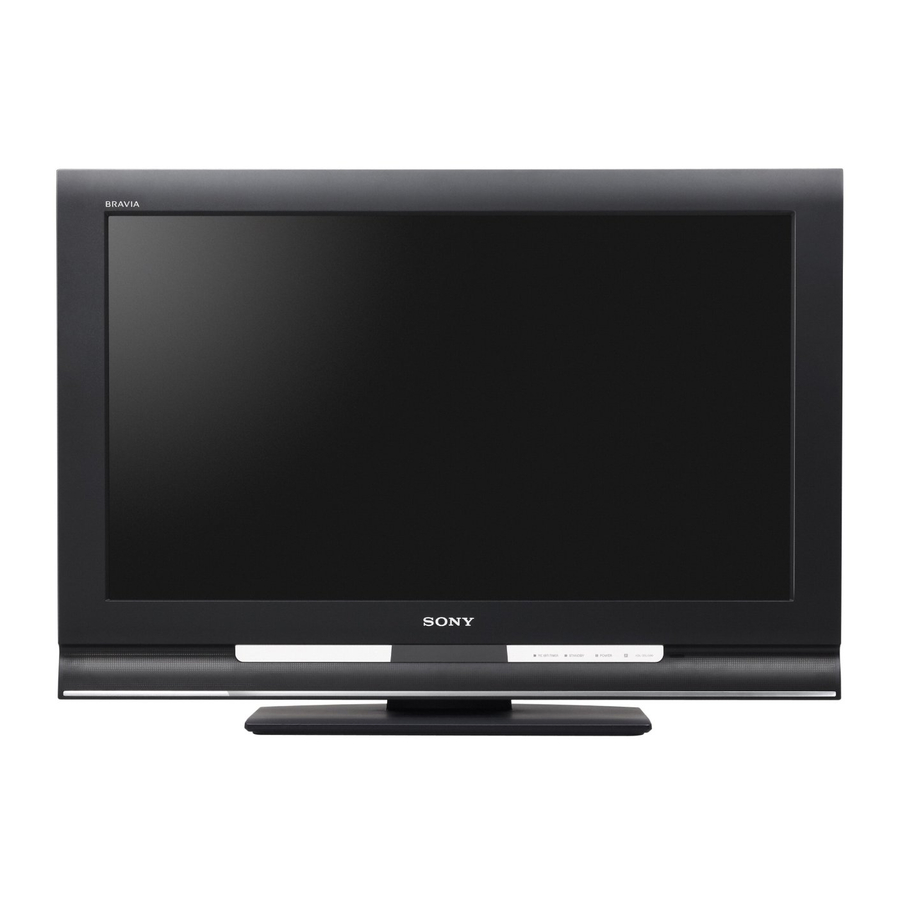
Welcome to the World of B RAM IA® Thank you for purchasing this Sony LCD Digital Color Television. This manual is for model KDL-32L40001KDL-37L4000. Be sure to check the supplied accessories against the list on page 39. Assembling the Table-Top Stand Follow the assembling steps required to place on a TV stand. - Page 11 Getting Started Gently slide tile TV unit onto the neck of tile Table-Top Stand and align the screws holes. Rear ofTV Use the supplied screws to attach the TV unit to the Table-Top Stand. Screw...
-
Page 12: Connecting The Tv
GettingStarted Connecting the TV To display clear crisp pictures, you must connect your TV correctly and select the correct Wide Mode to display the picture in the correct aspect ratio (see "Changing the Wide Screen Mode" on page 22). It is strongly recommended to connect the antenna/cable input using the 75-ohm coaxial cable (not supplied) to receive optimum picture quality signal. -
Page 13: Cable System And Vhf/Uhf Antenna System
Getting Started Cable System If you want to watch both antenna (over-the-air) and cable broadcast signals, VHF/UHF Antenna you'll need to use an optional A-B RF switch (not supplied), as shown below. System Rear of TV Use the A-B selector to switch between RF Switch CABLE/ANTENNA over-the-air signals and the cable signals. -
Page 14: Vcr, Cable And Antenna
GettingStarted VCR, Cable and Antenna ..S VIDEO cable _able ......VCR _ _ o AUDIOR AUDIOL VIDEO SVIDEO CATV cable LINE... -
Page 15: When Connecting To Optional Equipment
Getting Started When Connecting to Optional Equipment Left side Rear _oo,,,,, For service use only © AUDIO i_o_o_nZ_p_4_op_48_l VIDEOIN 2 Conuect to the composite video and audio output jacks on your camcorder or other video VIDEO/ equipment such as video game equipment. - Page 16 GettingStarted PC IN Connect to a personal computer's video output connector using HD 15-HD 15 cable (analog (RGB/AUDIO) RGB, not supplied). Can also be connected to other analog RGB devices. See "PC Input Signal Reference Chart" on page 38 for the signals that can be displayed.
-
Page 17: Securing The Tv
Getting Started Securing the TV Sony strongly recommends taking measures to prevent tile TV fiom toppling over; as unsecured TVs may topple and result in property damage, serious bodily injury or even death. Preventing the TV Secure the TV to a wall and/or stand. - Page 18 • Rope or chain (strong enough to support the weight of the TV). Make sure that there is no excess slack in the rope or chain. An alternative way to secure the TV is with an optional Sony Support Belt Kit. Anchor bolt Anchor tile TV to tile Wall.
-
Page 19: Bundling The Connecting Cables
Getting Started Bundfing You can bundle tile connecting cables with tile supplied cable band as illustrated below. Connecting Cables... -
Page 20: Setting Up The Channel List - Initial Setup
Getting Started Setting Up the Channel List - Initial Setup Ariel" you finish connecting your TV. you need to run Initial Setup, which automatically sets up awfilable channels. The Initial Setup screen appears when you turn on your TV for the first time. If you do not want to set up the channels at this time, you can do it later by selecting the Auto Program... -
Page 21: Remote Control
Remote Control DISPLAY Press once to display the current channel number, channel label, program remaining time and Wide Mode. The oil- screen display (OSD) will turn off after a few seconds. SLEEP Press repeatedly until the TV displays the time in minutes (Off, 15, 30, 45, 60, 90 or 120) that you want the TV to remain oil before shutting off. - Page 22 Basic Operations POWER Press to turn on and offthe [] wi Press repeaiediyio siep ti_i:ough ihe Wide Mode seiiiiigs;Wide Zoom, Normal, and Full. The Wide Mode settings can also be accessed in the Screen settings. (See page 27.) Changing the Wide Screen Mode (For PC timing, see below) 4:3 Original...
- Page 23 Basic Operations INPUT Press to display the list of external inputs. Press repeatedly toggle through the inputs. Press i./4/I./,_ to move the on-screen cursor. Press (2_) to _/4/*/,*, select/confirm an item. [] T66ES ...... Press io display ihe To;is Menli ihai is associ;{iedwiih ;;our current input: analog TV.
-
Page 24: Tv Controls
Basic Operations TV Controls -- VOLUME "b - CHANNEL + POWER TIMER STANDBY _ POWER MENU Press to display MENU with TV fimctions and settings (see "Overview of MENU" on page 25). i ..... Press to &splay the hst of external mputs. Press repeatedly to toggle through the inputs, INPUT Press to adjust the volume. -
Page 25: Overview Of Menu
Overview of MENU MENU provides one button access for controlling your TV. It enables yon to perform a variety of tasks intuitively with a control panel on the screen rather than a variety of remote control button presses. Using the Picture Settings Picture Mode Vivid... -
Page 26: Using The Sound Settings
Using the Menus Using the Sound Settings Sound Mode Dynamic Enhances treble and bass. Cu,stomized Standard Standard sound optimized for home use. Clear li,,r,,ni,,g Voice ......so.ml Stdtabie t)r spoken diaiogl ................... Reset Resets the current Sound Mode settings to the default values. -
Page 27: Using The Screen Settings
Using the Menus [] Using the Screen Settings Wide Mode Wide Zoom ...... Fills the screen with minimunl distortion. Normal Select to display, 4:3 picture in original size when the original source is 4:3. Full Select to enlarge the picture horizontally to fill the screen when the original source is 4:3 (Standard definition source). -
Page 28: Using The Pc Settings
Using the Menus Horizontal Center Allows you to move the position of the picture left and right (Awulable only in Wide Zoom). Vertical Center Allows you to move the position of the picture up and down (Available only in Wide Zoom). -
Page 29: Using The Channel Settings
Using the Menus Using the Channel Settings Favorites Select favorite channels and external inputs(see page 21). Cable Select if you are receiving cable channels via Cable TV provider..............Select if you are using an antenna....................Channels Digital Select to add digital channels. Auto Program Automatically sets up the channel... -
Page 30: Using The Parental Lock Settings
Using the Menus Using the Parental Lock Settings The Parental Lock settings allows you set up the TV block programs according to their content and rating levels. 0-9 on the remote control to enter a four-digit password. The first time create a password, confirm... - Page 31 Using the Menus Change Password Select to change your password. Select Country U.S.A. Select to use U.S.A. ratings (see below). Canada Select to use Canadian ratings (see page 32). US Models: Selecting Custom Parental Lock Rating Options To select custom rating options for tile U.S., select U.S.A. in tile Select Country setting (see above). Movie Rating All children...
- Page 32 Using the Menus Canadian Models: Selecting Custom Parental Lock Rating Options To select custom rating options for Canada, select Canada in tile Select Country setting (see page 31 ). English Rating All children. Children 8 years and older. General programming. Parental guidance.
-
Page 33: Using The Setup Settings
Using the Menus [] Using the Setup Settings Closed Captions Allows you to select from several closed caption modes (for programs that are broadcast with (CC) closed captioning). CloSedCapiions (C/C)is turneli on............... On ...... Closed Captions (CC) is turned off. Program Allows you to set basic and advanced... - Page 34 Using the Menus Power Saving Select to reduce the power consumption by adjusting the backlight brightness. This also enhances the black level. Select from Off, Low and High. Product Information Select to display the eqnipment information of your TV. cineMotion Seieci Auio io auio;_aiic;iiiy ]eieci fii;_ coi]ie]]t ;ind ;ippiy a reverse 322 puikiowu process...
-
Page 35: Troubleshooting
Troubleshooting If you have additional questions, service needs, or required technical assistance related to the use of your Sony TV. please visit our website or call one of the following numbers: <http://www.sony.com/TVsupport> 1-800-222-SONY(7669) for US Residents 1-877-899-SONY(7669) for Canadian Residents No picture. - Page 36 Other Information No sound/Noisy sound Check the vnlume control. Good picture, no sound. Press MUTING or VOL + so that "Muting" disappears from the screen (page 21). Speaker to On in the Sound settings (page 26). lfit is set to Off, sound is not output from the TV's speakers regardless of the TV's volume control.
-
Page 37: Preparation For Wall Mounting
TV's weight. For product protection and safety reasons, Sony strongly recommends that you use the Wall-Mount Bracket model designed for your TV and the wall-mounting of your TV should performed by Sony dealers or licensed contractors. -
Page 38: Pc Input Signal Reference Chart
Other Information PC Input Signal Reference Chart Resolution Vertical | Horizontal h'equency Vertical fiequency Standard (kHz) Signals Horizontal(Pixel) (Lille) & 31.5 37.5 VESA 4(X) 31.5 VGA-T SVGA 6(1(I 37.9 VESA Guidelines 60_1 46.9 VESA 1024 48.4 VESA Guidelines 1024 56.5 VESA 1024 60.0... -
Page 39: Specifications
Other Information Specifications Power cunsunlptiun: KDL-32L4000: Televisiun system: in use 165 W NTSC American TV standard m standby less tllan 1.0W ATSC (8VSB terrestrial) ATSC compliant 8VSB KDL-37L4000: in use 190 W un cable ANSI/SCTE (17 2111R) (Does not include CabIeCARD m standby less tllan 1.0 W functionality) -
Page 40: Index
0 - 9 buttons 23 4:3 Default 27 hffo Banner 33 TIMER LED 24 TOOLS button 23 Infrared Receiver (IR) 24 Treble 26 INPUT button 23, 24 AC IN 16 Troubleshooting 35, 36 Installing the TV on a wall Advanced 34 TV Rating Advanced Settings 34 Allernale Audio... - Page 41 United States Canada 1-800-222-SONY (7669) 1-877-899-SONY (7669) Sony will work to resolve your questions more quickly than your retailer or place of purchase. Please Do Not Return the Product to the Store http://www.sony.net/ Printed in China...
Need help?
Do you have a question about the BRAVIA KDL-32L4000 and is the answer not in the manual?
Questions and answers