Table of Contents
Advertisement
Advertisement
Table of Contents

Related Manuals for Soleus Air GL-PAC-08E4


Summary of Contents for Soleus Air GL-PAC-08E4
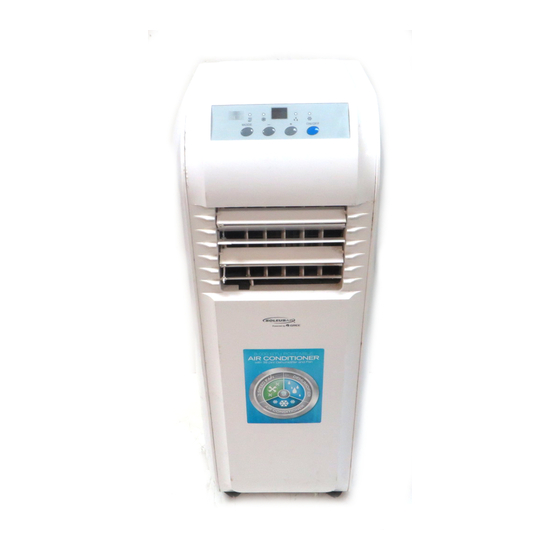
- Page 1 Model No. GL-PAC-08E4 8,000 BTU Portable Air Conditioner Operating Instructions...
-
Page 2: Important Instructions
Thank you for choosing a Soleus Air Powered by Gree Portable Air Conditioner. This owner’s man- ual will provide you with valuable information necessary for the proper care and maintenance of your new product. Please take a few moments to thoroughly read the instructions and familiarize yourself with all the operational aspects of your new Portable Air Conditioner. -
Page 3: Lcdi Power Cord And Plug
If a test is performed and the indicator light remains ON, current leakage has been detected. Do not use the air conditioner or attempt to reset the LCDI Plug. Contact Soleus Air Powered by Gree Customer Service for trou- bleshooting recommendations. -
Page 4: Product Diagram
PRODUCT DIAGRAM Control Panel Louver Guides Louvers Casters Remote Control Holder Power Cord Filters Upper Air Intake Air Exhaust Vent Lower Air Intake... -
Page 5: Package Contents
PACKAGE CONTENTS Portable Air Conditioner Exhaust Hose (1) Exhaust Hose Adapter (1) Window Kit Adapter (1) Hose Adapter (1) Remote Control & AAA Batteries (2 batteries) Window Kit - 3 Sliding Panels (1 single hose panel, 2 extension panels) Drain Hose Assembly (drain pipe, clamp, hose clip, rubber plug, & screw) Owner’s Manual SPECIFICATIONS •... -
Page 6: Assembly And Installation
PARTS & WINDOW KIT ASSEMBLY PARTS EXHAUST HOSE & ADAPTERS Exhaust Hose Adapter Exhaust Hose Hose Adapter ASSEMBLY & INSTALLATION INSTALLATION When the unit is operating as an air conditioner or dehumidifier, the window kit and exhaust hose must be installed. When the unit is operating in fan mode, the window kit and exhaust hose do not need to be installed . -
Page 7: Single Hose Window Kit Installation
SINGLE HOSE WINDOW KIT INSTALLATION This installation is OK The is a poor installation 22” When installing the exhaust hose, try and keep it as flat as possible. The less angles and bends in the hose, the better the unit will perform. If bending or an angle is necessary, use single 90° angles like the pictures above. -
Page 8: Control Panel, Display, & Operating Instructions
CONTROL PANEL, DISPLAY, & OPERATING INSTRUCTIONS CONTROL PANEL & LED DISPLAY BUCKET FULL LIGHT COOL MODE LIGHT DRY MODE LIGHT REMOTE RECEIVER LED DISPLAY FAN MODE LIGHT TEMP SELECT BUTTON MODE BUTTON POWER BUTTON CONTROL PANEL OPERATING INSTRUCTIONS 1) Power On and Off - Press the POWER button once to manually turn the unit on. Press the POWER button once more to turn the unit off. -
Page 9: Remote Control Operating Instructions
REMOTE CONTROL OPERATING INSTRUCTIONS LCD DISPLAY and MODE LABELS NOTE: Heat mode is not available on the GL-PAC-08E4 MODE BUTTON POWER BUTTON TEMP SELECT BUTTONS SWING BUTTON FAN BUTTON (Not Available on GL-PAC-08E4) SLEEP BUTTON TIMER BUTTON 1) Power On and Off - Press the ON/OFF (POWER) button once to manually turn the unit on. Press the Power button once more to turn the unit off. - Page 10 REMOTE CONTROL OPERATING INSTRUCTIONS (Cont.) 5) Auto-on Timer: When the air conditioner is off, it can be set to automatically turn on in 30 minutes to 24 hours at the previous set mode and fan setting. To set the Auto-on Timer, press the TIMER button on the unit or remote control. Each touch of the +/- buttons on the remote will change the timer setting in 30 minute increments (.5 hours).
-
Page 11: Draining Collected Water
DRAINING COLLECTED WATER When the temperature or humidity is too high, the air conditioner may not be able to evaporate all of the water as quickly as needed. All moisture that is unable to be evaporated is placed in a small bank up water tank in- side the unit. -
Page 12: Clean/Replace Filter
MAINTENANCE Note: Make sure power is off and the power cord is not plugged into an electrical outlet prior to performing any maintenance on the unit. Clean or replace filter - If the air filter is blocked with a dust, the airflow volume may reduce. It is recommended to clean the filter once every two weeks or as needed. -
Page 13: Troubleshooting
TROUBLESHOOTING PROBLEM POSSIBLE CAUSES SOLUTIONS • The Air Conditioner will not start The air conditioner is unplugged or not Make sure the air conditioner plug connected well. is pushed completely into the out- • Check the house fuse/circuit breaker box and replace the fuse The fuse is blown/circuit breaker is or reset the breaker. - Page 14 TROUBLESHOOTING (CONT.) PROBLEM POSSIBLE CAUSES SOLUTIONS • The LED Display is showing “E5” Low Voltage Protection Unplug for 10 minutes and then turn on the unit. If “E5” is still dis- played, contact customer service. • The LED Display is showing “H8” The backup water tank is full Drain the water tank •...
-
Page 15: This Warranty Does Not Cover
One Year Limited Warranty Soleus International Inc. warrants the accompanying Soleus Air Powered by Gree Portable Air Conditioner to be free of defects in material and workmanship for the applications specified in its operation instruction for a period of ONE (1) year from the date of original retail purchase in the United States. - Page 16 66129906767...
Need help?
Do you have a question about the GL-PAC-08E4 and is the answer not in the manual?
Questions and answers
How do you take the outside covering off of the unit? It needs to be cleaned and I cannot get it off. Can you please send me a diagram of how it is held on and where the screws are to remove the full outside covering off
How to recharge with r-410
I'm trying to find a replacement hose. The 5.9" is too big, the 5" is too small. What is the correct size for my unit and where can I get it. Soleus powered by Gree GL-PAC-08E4
How do I take out air filter to clean???
Air vent system