Table of Contents
Advertisement
®
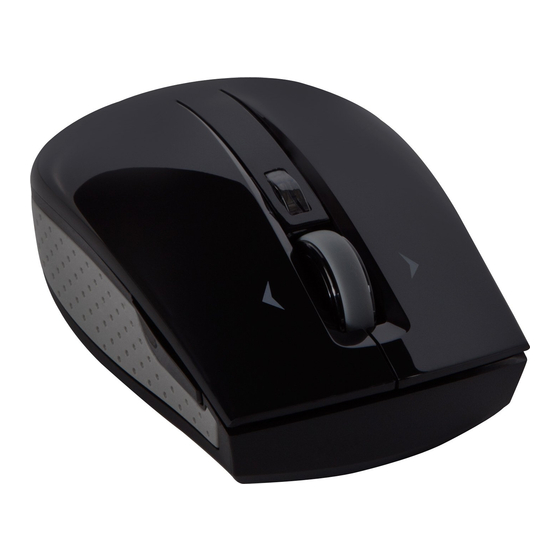
Wi-Fi MOUSE
1 YEAR LIMITED WARRANTY: We pride ourselves on
the quality of our products. For complete warranty details
and a list of our worldwide offices, please visit www.
targus.com. Features and specifications are subject
to change without notice. Microsoft, Windows and
User Guide
Windows Vista are registered trademarks or trademarks
N2953
of Microsoft Corporation in the United States and/or other
countries. Wi-Fi is a registered trademark of the Wi-Fi
Alliance. All trademarks and registered trademarks are
the property of their respective owners. ©2011 Targus
Group International, Inc.
Advertisement
Table of Contents

Summary of Contents for Targus Wi-Fi mouse
- Page 1 Windows Vista are registered trademarks or trademarks N2953 of Microsoft Corporation in the United States and/or other countries. Wi-Fi is a registered trademark of the Wi-Fi Alliance. All trademarks and registered trademarks are the property of their respective owners. ©2011 Targus Group International, Inc.
-
Page 2: Installing The Batteries
Installing the Batteries Introduction Thank you for your purchase of the Targus Wi-Fi® Mouse. The mouse uses Wi-Fi technology to seamlessly and securely connect to your computer 1. Remove the battery cover from the top of the mouse by using the notch on the back. -
Page 3: Installing The Driver
Installing the Driver 3. Replace the battery cover. 1. To Install the Targus Wi-Fi® Mouse on your PC, insert the supplied Set-up CD in your CD or DVD drive. The driver installation will start automatically. (The driver software can also be downloaded from the Targus website at www.targus.com. - Page 4 ® Pairing Instruction 4. Installation begins. Targus Wi-Fi® Mouse driver is now installed on your system. To pair your Targus Wi-Fi® Mouse with your computer: 1. Open the Targus Wi-Fi Mouse Pairing Utility. 5. A message will pop up indicating that the installation process is complete.
- Page 5 Targus Wi-Fi Mouse Targus Wi-Fi Mouse ® ® 3. Click Start Discovery to pair your mouse to the computer. 5. Windows® 7 will detect the mouse and find the driver automatically. Your mouse is ready to use now. 4. The computer will list discovered Wi-Fi devices in the bottom box. Once your mouse is in the bottom box, highlight it and click Start Pairing.
-
Page 6: Power Saving Mode
Targus Wi-Fi Mouse Targus Wi-Fi Mouse ® ® Mouse Keys and Functions Power Saving Mode If the mouse is not used for an extended period of time, it will automatically en- ter power saving mode to conserve power and increase the battery life. Click on any mouse button to resume the normal operation. - Page 7 Windows 7 Task Switching The Windows Task Switching button on the top of the Targus Wi-Fi mouse supports the most efficient way to switch among the opened windows on your computer. With a single click of the Task Switching button, the mouse emu- lates the Ctrl+Alt+Tab command to open the application switching window showing all of the launched task windows with small thumbnails accordingly.
-
Page 8: Technical Support
• Consult the dealer or an experienced radio/TV technician for help. for one year. If your Targus accessory is found to be defective within that time, we will promptly repair or replace it. This warranty does not cover accidental damage, wear FCC Caution: Any changes or modifications not expressly approved by the party and tear, or consequential or incidental loss. -
Page 9: Declaration Of Conformity
States and/or other countries. Wi-Fi is a registered trademark of the Wi-Fi Alliance. All trademarks and registered trademarks are the property of their respective owners. All rights reserved. Features and specifications are subject to change without notice. © 2011. Targus Group International, Inc. and Targus, Inc., Anaheim, CA 92806 USA...


Need help?
Do you have a question about the Wi-Fi mouse and is the answer not in the manual?
Questions and answers