Table of Contents
Advertisement
Advertisement
Table of Contents

Related Manuals for Dymo LabelManager 450D


Summary of Contents for Dymo LabelManager 450D
-
Page 2: Table Of Contents
Contents About Your New Label Maker ..........................5 Warranty Registration..................................5 Getting Started ..............................5 Connecting the Power ..................................5 Connecting the Power Adapter ..............................5 Inserting the Batteries ...................................5 Inserting the Tape Cassette ................................5 Settings ................................6 Selecting a Language ..................................6 Setting the Current Date ..................................6 Setting the Current Time ..................................7 Selecting Units of Measure.................................7 Printing Your First Label ..................................7... - Page 3 Storing Label Text .................................... 14 Storing Formats ....................................15 Recalling Stored Labels and Formats ............................... 15 Caring for Your Label Maker ..........................15 Troubleshooting ..............................16 DYMO D1 Tape Cassettes ............................17 Power Adapter ..............................17 Documentation Feedback ............................ 18 Environmental Information ..........................18...
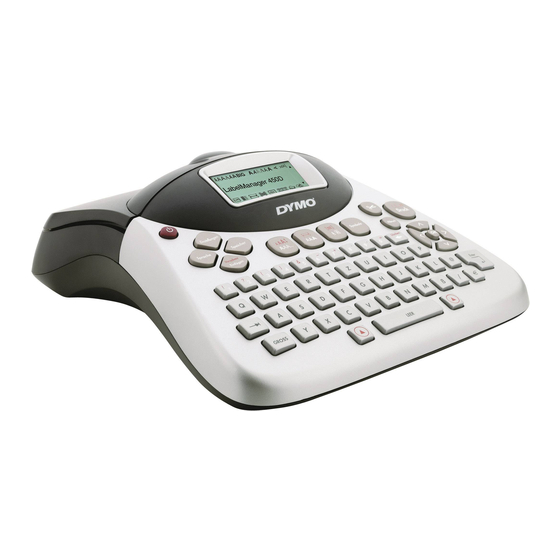
- Page 4 20 21 22 23 24 25 Settings 1,2...n Language Memory Preview Symbols Insert Cancel Clear – & CAPS SPACE Shift Shift Figure 1 LabelManager 450D Professional Label Maker Auto cutter Clear/Delete Power Tape exit Shift AC power connector LCD display Space bar USB connector Cutter...
-
Page 5: About Your New Label Maker
You can choose to print your labels in many different font sizes and styles. The label maker uses DYMO D1 tape cassettes in widths of 6 mm, 9 mm, 12 mm, 19 mm, or 24 mm. These tape cassettes are available in a wide range of materials. -
Page 6: Settings
Close the tape cassette cover and press to turn on the The first time you use the label maker, remove the power. protective cardboard insert from between the print head and pinch roller. See Figure 4. The Tape Settings menu automatically appears immediately after inserting a new tape cassette. -
Page 7: Setting The Current Time
Getting to Know the Label Maker Setting the Current Time The default time format depends upon the language selection The following sections describe each feature in detail. Become for the label maker. You can change the default time format familiar with the location of the feature and function keys on by following the instructions in Changing the Time Format your label maker. -
Page 8: Caps Mode
Your label maker can be used as a standalone label printer or mode is turned on, the CAPS mode indicator is shown on the you can print labels from your computer using DYMO Label display and all letters that you enter will be capitalized. The Software. -
Page 9: Adding Font Styles
11 for more information on printing symbols. Diamonds To set the font style Press the key. Weave Use the arrow keys to move to the desired style and then Text Background DYMO press LabelManager 450D Figure 9 Background patterns are not available for 6 mm labels. -
Page 10: Creating Multi-Line Labels
To set the box style Alignment, underline, box styles, and background patterns cannot be mixed on a label. These styles are common to the Press the key. entire label. Select a frame style and then press To add a format break On multi-line labels, all lines are underlined. -
Page 11: Currency Symbols
Currency Symbols The currency key also uses RACE to scroll through a number of currency symbols: € £ $ ¢ ¥ The order these symbols appear depends on the language you have selected. Adding Symbols The label maker supports the extended symbol set as shown in Figure 10. -
Page 12: Adding Date And Time
Adding Date and Time Changing the Time Format You can choose to show the time in 12-hour format or 24-hour You can add the date and time to your labels. format. Changing the Date Format To set the time format You can choose from 12 different date formats: , select Set Time, and press Press... -
Page 13: Serializing Your Labels
To print multiple copies of the label 100 mm. Any change you make to the fixed-length setting remains in effect until you change it. Press Settings To set the label length Select Set # Copies and press Press Press the up arrow key to increase the number of copies Shift Fixed Length On and then Press the up arrow to select... -
Page 14: Previewing Your Label
To change the cutting option Once you select a barcode type, that setting remains until you select a different barcode type. Press Settings To insert a barcode Set Auto Cut and press Select Enter the text you wish to appear before the barcode on the Select On or Off, and then press label. -
Page 15: Storing Formats
Storing Formats To clean the cutter blade Press A to turn off the power. In addition to label text, you can store up to ten specific Open tape cassette compartment and remove cassette. label formats you use frequently. This feature stores only the Press and A together. -
Page 16: Troubleshooting
• Select a narrower font size. If you still need assistance, contact DYMO Customer Support. See Contacting Customer Support at the back of this User Guide to locate the contact number for your country. -
Page 17: Dymo D1 Tape Cassettes
DYMO D1 Tape Cassettes Width: 6 mm 9 mm 12 mm 19 mm 24 mm Length: S0720820 S0720920 S0720770 S0720670 S072 0500 Black/Clear 43610 40910 45010 45800 53710 S0720510 Blue/Clear 45011 S0720520 Red/Clear 45012 S0720780 S0720680 S0720530 S0720830 S0720930 Black/White... -
Page 18: Documentation Feedback
We also welcome your suggestions about additional topics you would like to see covered in the documentation. Send email messages to: documentation@dymo.com Please keep in mind that this email address is only for documentation feedback. If you have a technical question, please contact Customer Support. -
Page 19: Contacting Customer Support
CONTACTING CUSTOMER SUPPORT COUNTRY TELEPhONE SUPPORT FAX SUPPORT UNITED KINGDOM 020 73 41 55 29 + 31 20 581 93 80 IRELAND 014 118 934 + 31 20 581 93 80 FRANCE 01 69 32 49 32 + 31 20 581 93 80 NEDERLAND 020 581 93 86 020 581 93 80... - Page 20 ©2007 DYMO A Newell Rubbermaid company DYMO bvba Industriepark-Noord 30 9100 Sint-Niklaas Belgium www.dymo.com...
Need help?
Do you have a question about the LabelManager 450D and is the answer not in the manual?
Questions and answers