Table of Contents
Advertisement
Quick Links
Download this manual
See also:
User Manual
Follow these steps to install your LabelManager 450D label maker and print your first label.
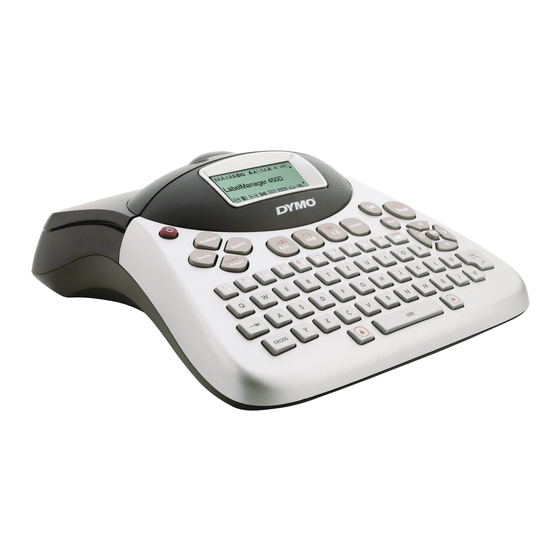
1. Unpacking your Label Maker
x
Do not connect the label maker into your computer until asked to do so during the software installation.
Unpack your label maker and save the packing materials.
1
Make sure you have all the items shown in Figure 1.
2
User Guide
Quick Start Guide
Warranty booklet
CD-ROM
2. Connecting the Power
The label maker can operate on AC or battery power.
To connect the power adapter
Plug the power adapter into the power connector on the top, left side
1
of the label maker.
Plug the other end of the power adapter into a power outlet.
2
To insert the batteries
Remove the battery compartment cover. See Figure 2.
1
Insert the batteries following the polarity markings (+ and –).
2
Replace the battery compartment cover.
3
Settings
Language
Memory
Preview
Insert
!
,
=
?
–
+
1
2
/
3
4
5
6
7
8
9
E
R
T
Y
U
S
D
F
G
H
CAPS
X
C
V
B
N
SPAC E
Shift
LabelManager 450D label maker
Figure 1
Quick Start
1,2...n
Symbols
Cancel
,
Clear
&
0
P
I
O
L
J
K
Shift
D1 tape cassette
USB cable
Power adapter
Figure 2
Advertisement
Table of Contents

Subscribe to Our Youtube Channel
Related Manuals for Dymo LabelManager 450D


Summary of Contents for Dymo LabelManager 450D
-
Page 1: Quick Start
Quick Start Follow these steps to install your LabelManager 450D label maker and print your first label. 1. Unpacking your Label Maker Do not connect the label maker into your computer until asked to do so during the software installation. -
Page 2: Inserting The Tape Cassette
To install the software on a Windows system Figure 5 Insert the DYMO Label Software CD into your CD-ROM drive. After a few seconds, the installation screen appears. If the screen does not appear: Click! Click Start and then Run on the Windows taskbar. The Run dialog box appears. -
Page 3: Connecting The Label Maker To Your Computer
Address Book and automatically insert them on your label. For complete details on how to use the software, refer to the DYMO Label Software User Guide, located on the DYMO Label Software CD-ROM, and the online Help. -
Page 4: Ordering Labels
• For Windows, click Start, then Programs>DYMO Label>DYMO Label. • For Mac OS, double-click the DYMO Label icon in the folder where you installed the software. The first time you open the application, you are asked to register. Follow the on-screen instructions.
Need help?
Do you have a question about the LabelManager 450D and is the answer not in the manual?
Questions and answers