Table of Contents
Advertisement
Advertisement
Table of Contents

Related Manuals for Zanussi ZTK123


Summary of Contents for Zanussi ZTK123
- Page 1 User Manual Tumble Dryer ZTK123...
-
Page 2: Table Of Contents
Thank you for selecting our appliance We wish you lots of enjoyment with your new appliance and we hope that you will consider our brand again when purchasing household appliances. Please read this user manual carefully and keep it throughout the product life cycle as a refer- ence document. -
Page 3: Important Safety Information
Important safety information In the interest of your safety and to ensure the correct use, before installing and first using the appliance, read this user manual carefully, including its hints and warnings. To avoid unnecessary mistakes and accidents, it is important to ensure that all people using the appliance are thoroughly familiar with its operation and safety features. - Page 4 than those for which it was designed. WARNING! • Only wash fabrics which are designed to be Never stop a tumble dry before the end of machine dried. Follow the instructions on the drying cycle unless all items are each garment label. quickly removed and spread out so that the heat is dissipated.
-
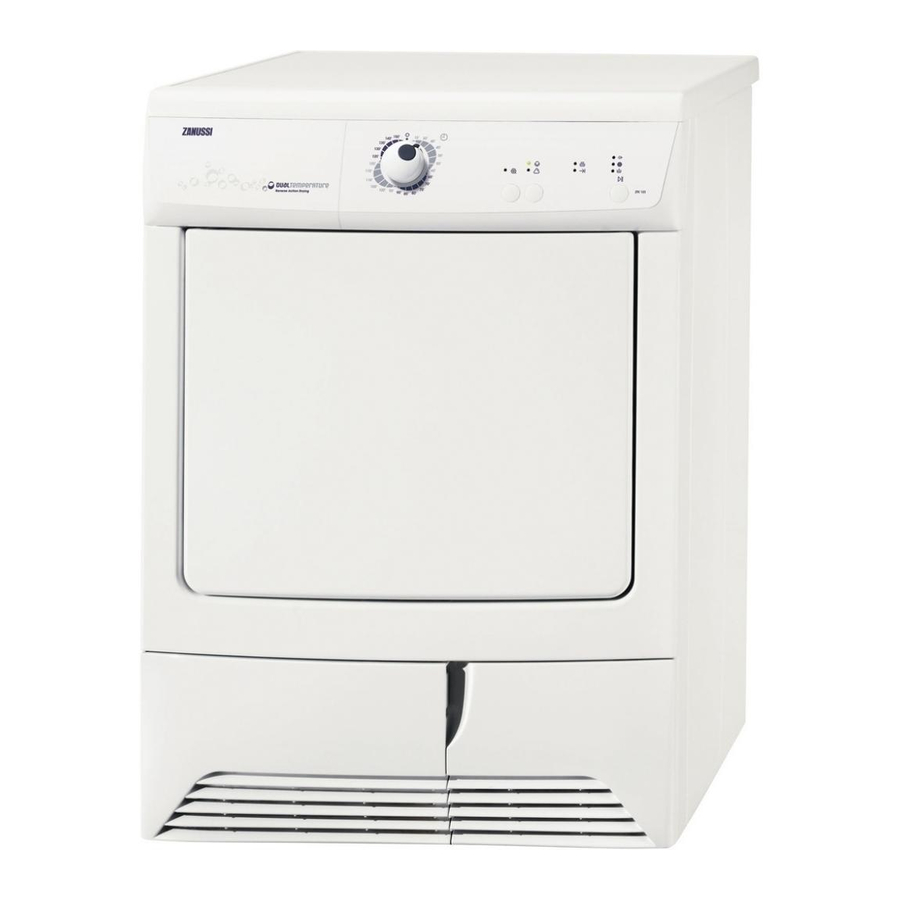
Page 5: Description Of The Appliance
Description of the appliance 1 Control panel 2 Fluff filters 3 Rating Plate 4 Consenser Unit 5 Water reservoir 6 Adjustable feet... -
Page 6: The Control Panel
The control panel Programme/Time Indicator Textile button Start/Pause selector dial lights button Low temperature button Allows you to select time controlled drying. Turn the dial to the required time. Time selector dial Pressing this button allows drying to be performed at a lower Low temperature button temperature, for delicate items. -
Page 7: Drying Programmes
Drying programmes Max load Type of Programme Options Description of programme laundry If the TIME programme has been Cotton selected, programme duration time of Textile 15 minutes up to 150 minutes can be Synthetics • set by intervals of 5 minutes or 10 Cotton •... -
Page 8: Before The First Use
Before the first use Ensure that the electrical connections comply with the installation instructions. • Remove the polystryrene block and any material from the drum. • Before using your tumble dryer for the first time, we recommend that you place a few damp cloths inside the appliance and dry for 30 minutes. - Page 9 Make sure that no metal objects are left in Laundry weights the laundry (e.g. hair clips, safety pins, The following weights are indicative: pins). bathrobe 1200 g Button up pillowcases, close zip fasteners, hooks and poppers. Tie any belts or long napkin 100 g tapes.
-
Page 10: Operating Sequence
Operating sequence selector dial to the bined. These must be Load the laundry Select the Textile required programme. selected after choos- Connect the appli- The light Start/Pause ing the desired pro- ance. Open the door starts to flash. gramme and before (see picture). - Page 11 Press this button to power failure and the water reser- At the end of the start the dryer after after having reinserted voir must be emp- programme having selected the the water reservoir, if tied out. If this If the laundry is not programme and the it has been emptied in light illuminates...
- Page 12 dial to “O” all the lights corresponding to the phases making up the performed pro- gramme come on. After each use • Clean the filters. • Empty the water reservoir. Modifying the programme To change a pro- gramme which is run- ning, first cancel it by turning the pro- gramme selector dial...
-
Page 13: Care And Cleaning
Care and cleaning Important: You must DISCONNECT the appliance from the electricity supply, before you can carry out any cleaning or maintenance work. External cleaning Use only soap and water and then dry thoroughly. Important: do not use methylated spirit, diluents The filter in the inner door must be removed for or similar products. -
Page 14: Cleaning The Condenser Unit
Clean the rubber seal round the condenser cab- Important: inet and in the inner part of the small door with Do not use the appliance without filters. a damp cloth. Cleaning the condenser unit Important: Clean the condenser when light comes on. -
Page 15: Cleaning The Air Intake Grille
• Push it until it clicks and turn the yellow Cleaning the air intake grille stop downwards firmly lock it. Using a vacuum cleaner remove the fluff from the • Close the small door and press the air intake grille at the back of the appliance. START/PAUSE button again to allow the programme to continue. -
Page 16: Something Not Working
Something not working Certain problems are due to lack of simple maintenance or oversights, which can be solved easily without calling out an engineer. Before contacting your local Service Centre, please carry out the checks listed below. During machine operation it is possible that the red Start/Pause pilot light flashes to indicate that the machine is not working. - Page 17 Malfunction Possible cause Solution • Washing protection. After • Turn the programme knob to When pressing a button, the start of the programme, “0” Set the programme again the corresponding button the option can no longer be flashes several times. set.
-
Page 18: Technical Data
Technical data Technical data Width 60 cm Dimensions Height 85 cm Depth 58 cm Electrical connection Information on the electrical connection is given on the rating plate Voltage - Overall power - on the inner edge of the appliance door Fuse Depth with loading door 109 cm... -
Page 19: Consumption Values
Consumption values Consumption values (*) Programme Energy Revolutions Programme duration consumption per minute (in minutes) (in kWh) Cottons Cupboard 1000 Cottons Iron 3,41 1000 Synthetics Cupboard 1,36 1200 Max load: The consumption values have been established Cottons load: 7 kg under standard conditions. -
Page 20: Disposal
Disposal Packaging materials Tips for environmental protection To save energy and to help protect the The materials marked with the symbol environment, we recommend that you follow recyclable. these hints: This means that they can be recycled by dispos- • Try to load the maximum capacity of the ing of them properly in appropriate collection con- machine as small loads are uneconomical. -
Page 21: Installation
Installation the floor clearance through deeppile carpets, Unpacking strips of wood or similar. This might cause heat Slide out the polythene bag with the polystyrene build-up which would interfere with the operation stuffing before using the appliance Pull off of the appliance. adhesive strips from inside machine on top of drum. - Page 22 Electrical connection Important: This machine is designed to operate on a 230 V, Reversing the door is not possible if after this single-phase, 50 Hz supply. Check that your operation the appliance result installed behind a domestic electrical installation can take the door with a hinge on the opposite side to that of maximum load required (2.35 kW), also taking the appliance.
- Page 23 Hrvatska +385 1 63 23 338 10000 Zagreb Ireland +353 1 40 90 753 Long Mile Road Dublin 12 C.so Lino Zanussi, 26 - Italia +39 (0) 434 558500 33080 Porcia (PN) Kr. Barona iela 130/2, Latvija +37 17 84 59 34...
- Page 24 Vennootsweg 1, 2404 Nederland +31 17 24 68 300 CG - Alphen aan den Rijn Norge +47 81 5 30 222 Risløkkvn. 2 , 0508 Oslo Herziggasse 9, 1230 Österreich +43 18 66 400 Wien ul. Kolejowa 5/7, Polska +48 22 43 47 300 Warszawa Quinta da Fonte - Edificio Gonçalves Zarco - Q 35...
- Page 25 Suomi www.electrolux.fi Electrolux Service, S:t Sverige +46 (0)771 76 76 76 Göransgatan 143,S-105 45 Stockholm Türkiye +90 21 22 93 10 25 129090 Москва, Олимпийский Россия +7 495 937 7837 проспект, 16, БЦ "Олимпик"...
- Page 26 www.electrolux.com 136906080-01-04042008...
Need help?
Do you have a question about the ZTK123 and is the answer not in the manual?
Questions and answers
Dryer is stopping every 5 minutes or so. What **** I doing wrong?
The Zanussi ZTK123 dryer may stop every 5 minutes if the condensate tank is full. The manual states that if the "Tank full" light is illuminated, the user should empty the condensate tank and restart the program by pressing the START/PAUSE button.
This answer is automatically generated