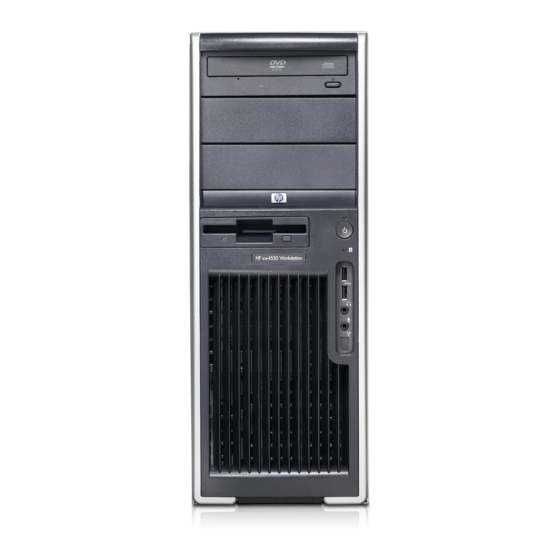
HP Xw4550 - Workstation - 2 GB RAM Installation Manual
Hp xw workstation series - rack mount tray installation
Hide thumbs
Also See for Xw4550 - Workstation - 2 GB RAM:
- Service and technical reference manual (158 pages) ,
- Technical reference manual (154 pages) ,
- Quickspecs (65 pages)
Advertisement
Table of Contents
Rack mount tray installation
HP xw4000 Workstation series
This document describes how to install a rack mount tray on an HP xw4000 series workstation. It also
describes how to mount the workstation in a rack.
Kit contents
This kit includes the following components:
●
Rail Assembly
●
Rack guide strips
●
M5 and M6 hardware packets
●
Rack mount template card
●
Warranty
●
Rack mount installation instructions
●
Rack mount tray
Required tools
These tools are helpful for installing the rack mount tray:
●
T-15 and T-20 Torx drivers
●
Cross-tip driver
ENWW
© 2007 Hewlett-Packard Development Company, L.P. The HP Invent logo is a registered
trademark of Hewlett-Packard Development Company, L.P. Printed in the U.S.
HP xw4000 Workstation series
1
Advertisement
Table of Contents

Summary of Contents for HP Xw4550 - Workstation - 2 GB RAM
-
Page 1: Kit Contents
These tools are helpful for installing the rack mount tray: ● T-15 and T-20 Torx drivers ● Cross-tip driver © 2007 Hewlett-Packard Development Company, L.P. The HP Invent logo is a registered trademark of Hewlett-Packard Development Company, L.P. Printed in the U.S. ENWW HP xw4000 Workstation series... -
Page 2: Warnings And Cautions
Warnings and cautions WARNING! Any product shipped in packaging marked with this symbol indicates the product must always be lifted by two persons to avoid personal injury due to product weight. WARNING! Any surface or area of the equipment marked with these symbols indicates the presence of a hot surface or hot component. - Page 3 Step 1—Preparing the workstation Your workstation documentation includes instructions for preparing the workstation for installation. To prepare the workstation for component installation: Power down the workstation. Disconnect power from the workstation. For product-specific information, see the Service and Technical Reference Guide for your HP workstation at http://www.hp.com/support/workstation_manuals.
- Page 4 Align the screw holes in the tray with the screw holes at the rear of the workstation (1). Figure 3 Fastening the tray to the workstation Use a T-15 Torx driver to fasten the tray to the workstation with the two chassis screws set aside in Step 1.


Need help?
Do you have a question about the Xw4550 - Workstation - 2 GB RAM and is the answer not in the manual?
Questions and answers