Table of Contents
Advertisement
Advertisement
Table of Contents

Related Manuals for Haier WQP12-EFMSA


Summary of Contents for Haier WQP12-EFMSA
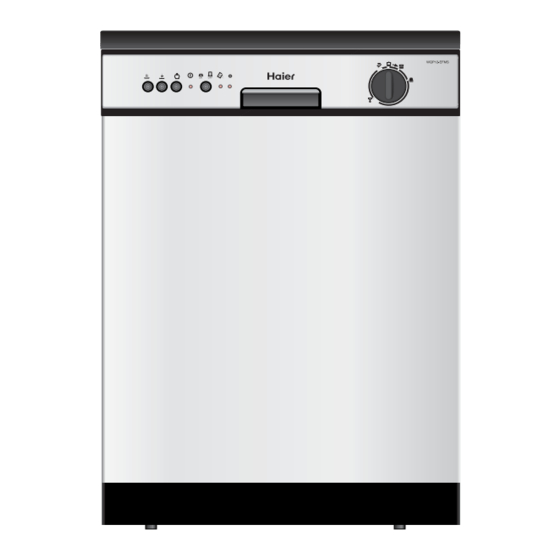
- Page 1 Dishwasher WQP12-EFMS CODE:0120504082...
-
Page 2: Safety Is A Good Habit To Get Into
Safety Is a Good Habit to Get Into NOTICE - If the appliance malfunctions,turn off water supply to the appli- Carefully read the instructions contained in this manual,as they ance and disconnect the plug from the wall socket.Then,con- provide importion which is essential to safe and proper installation, sult the section entitled, "Troubleshooting".If you cannot resolve use and maintenace of the appliance. -
Page 3: Close-Up View (Interior)
Close-up View (Interior) Washing Filter Upper Rack Rack Height Adjustor Bottom Spray Arm Top Spray Arm Detergent and Rinse Aid Dispenser Lower Rack Salt Container Cap Third Sprayer Technical characteristics 60 cm Width 60 cm Depth 85 cm Height Capacity 12 standard place settings Mains water pressure 0.03-0.6 MPa... - Page 4 S a l t Salt Adjusting Salt Consumption The hardness of the water varies from place to place. If hard The dishwasher is designed to allow for adjusting the amount of water is used in the dishwasher,desposits will form on the dishes salt consumed based on the hardness of the water used.This is utensils.
-
Page 5: Detergent And Rinse Aid
Detergent and Rinse Aid Detergent Rinse Aid Detergent specifically intended for use with dishwashers must This product makes dishes sparkle and helps them to dry with- be used.The dispenser must be refilled before the start of each out spotting.The dispenser is located on the inside panel of the wash cycle following the instructions provided in the "Wash Cycle door and should be filled after every 80 wash cycle(or when the Table."The detergent dispenser is located on the inside panel... -
Page 6: Loading The Dishwasher
Loading the Dishwasher Before placing the dishes in the dishwasher, remove the large food particle to the prevent the filter from becoming clogged,which re- sults in reduced performance. If the pots and pans have baked-on food that is extremely hard to remove, we recommend that they be allowed to soak before they Top Rack Bottom Rack... -
Page 7: Turning On The Appliance
Turning on the Appliance Starting a wash cycle Wait a few minutes before unloading the dishwasher to avoid handling the dishes and utensils while they are still hot and more - Make sure that the plug for the appliance is inserted into the wall susceptible to breakage.They will also dry better. -
Page 8: Energy Saving Tips
Energy Saving Tips - Use the right amount of detergent: if you use too much detergent, It is important to try and run the dishwasher when it is fully the result will not be cleaner dishes,but,rather,a greater nega- loaded to save on enery.In order to prevent odours from forming tive impact on the enviroment. -
Page 9: Wash Cycle Table
Wash Cycle Table Cycle Selection Desciption of RAPID Rinse Deter- Cycle Information Cycle Button Button gent Pre-wash with hot water. Very dirty dishes,pots and Extended wash at 65 pans (not to be used with Rinse with cold water. delicate items). Rinse with hot water. -
Page 10: Troubleshooting
Cleaning and Special Maintenance Filter Assembly For best performance and results, the filter assembly must be cleaned. The filter efficiently removes food particles from the wash water, allowing it to be recirculated during the cycle.For this reason ,it is a good idea to remove the larger food particles trapped in the filter after each wash cycle by rinsing the"A"semi-circular filter and cup under running water.To remove the filter assembly,pull Cleaning the Spray Arms... -
Page 11: Installation
Installation Positioning the Appliance The connection must be made to the hot water line following the same procedures as those for the connection to the cold water Positioning the appliance in the desired location.The back should line. rest against the wall behind it,and the sides,along the adjacent cabinets or wall.The dishwasher is equipped with water supply Anti-Flooding Protection and drain hoses that can be positioned to the right or the left to... - Page 12 Installation Diagram...
Need help?
Do you have a question about the WQP12-EFMSA and is the answer not in the manual?
Questions and answers