Table of Contents
Advertisement
Quick Links
Advertisement
Table of Contents

Related Manuals for JOBO PURE 8 PRO


Summary of Contents for JOBO PURE 8 PRO
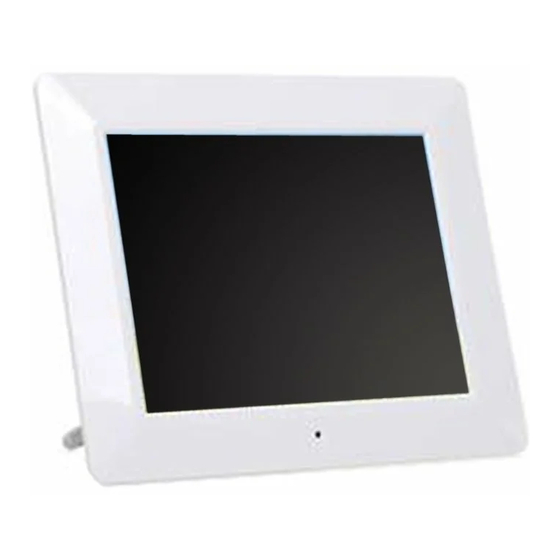
- Page 1 Digital Photo Frame Pure 8 Pro User’s Manual...
-
Page 2: Table Of Contents
TABLE OF CONTENTS Introduction ......................................1 Declaration of Conformity ..................................2 Important Safety Precautions ..................................3 Main Features ......................................4 Controls and Connections ..................................5 Getting Started ......................................6 Attaching the mount ....................................6 Connecting to the power..................................7 Inserting Media.......................................8 ... -
Page 3: Introduction
Introduction Thank you for purchasing this Digital Photo Frame. This Digital Photo Frame is compatible with SD, SDHC, MMC and MS memory card formats, which enables you to view digital photo directly from your camera’s memory card. This manual contains important safety information and operation instructions, so please read all the instructions carefully before using the Digital Photo Frame and keeps it for future reference. -
Page 4: Declaration Of Conformity
Declaration of Conformity We declare JOBO International GmbH, Eintrachtstr. 14, D-51645 Gummersbach that the “Digital Photoframe Pure 8 Pro” complies with the following directives: EN 55022:2006+A1 Radio interference suppression (ITE). Limits and methods of measurement EN 55024:1998/A1 + A2 EMC Immunity to Radiated Fields (ITE) -
Page 5: Important Safety Precautions
Important Safety Precautions Always follow these basic safety precautions when using your Digital Photo Frame. This will reduce the risk of fire, electric shock, product damage and personal injury. Warning: Do not remove the cover or back to reduce the risk of electric shock. There are no user-serviceable parts inside. Refer servicing to qualified personnel. -
Page 6: Main Features
To clean the LCD screen, wipe the screen with a clean, soft, lint-free cloth. This removes dust and other particles. If it is still not clean, apply a small amount of non-ammonia, non-alcohol based glass cleaner on a clean, soft, lint-free cloth to clean the screen. ... -
Page 7: Controls And Connections
Controls and Connections [M] Menu button; open OSD menu On/Off switch [ ]Right/Next button SD/SDHC/MMC/MS card slot ] Up button; USB HOST ] Play/Pause/Confirm button DC Input socket [ ] Left/Previous button Mount ] Down button; Screw hole ]Exit button... -
Page 8: Getting Started
Getting Started Attaching the mount Insert the mount straight into the screw hole. Twist the mount clockwise until it fix the frame. After the mount has been attached, you can set the device in the landscape or portrait orientation. -
Page 9: Connecting To The Power
Connecting to the power Plug one end of the power adaptor into the DC socket in the Digital Switch the power to the ON marking position to turn on the Digital Photo Frame, and the other into a wall outlet. Photo Frame. -
Page 10: Inserting Media
Inserting Media In order to play photos from a card or a memory stick, insert the card into its respective card slot on the Digital Photo Frame or use the USB port. This Digital Photo Frame is compatible with the following memory cards: •... -
Page 11: Viewing Photos
Viewing Photos Power On/ Off im Diashow-Modus im Uhrzeigersinn Bewegt den Cursor nach links im Auswahlmenü oder zurück zum vorherigen Bild im Diashow-Modus MENU Aufrufen des Hauptmenüs Bewegt den Cursor abwärts im Auswahlmenü oder dreht das Bild im ... -
Page 12: Main Menu
Main menu When a memory device is inserted into the Digital Photo Frame, the corresponding icon appears on the main menu. On the main menu, you can select connected source to view photos or change frame settings. Press [M] to access the main menu. All connected source and setup icons are displayed. SD/MMC/MS Appears when you insert a SD, SDHC, MMC or MS card. -
Page 13: Viewing Thumbnails
Press [ ] or [ ] to select a memory source, and then press [ ]. The mode menu appears. Press [ ] or [ ] to select Photo or Files. Photo Start a slideshow or viewing photos of the memory source manually. Files Browse all files of the memory source;... -
Page 14: Playing A Slideshow
Playing a slideshow Select a photo in the thumbnail view, and press[ ]. The selected photo is displayed on the screen and the slide show begins from the current photo. There will pop up a hint for button operation. Note: Do not set hint time to “0” on setup menu, if you want the Digital Photo Frame to display a hint for button operation. ... -
Page 15: Managing Files
Managing Files In the File mode, you can view all playable files and folders on the memory source. You also can copy files from a memory device to another memory device or delete files. Select a memory source (e.g. USB, SD/SDHC/MMC/MS) on the main menu and press[ ]. -
Page 16: Deleting Files
Deleting files Press [ ] or [ ] to select Delete in the pop-up window, and then press[ Press [ ] or [ ] to select “Yes” or “No” to delete files or exit without deleting. Press[ ]to confirm. Changing Frame Settings The system settings let you customize and configure your Digital Photo Frame. -
Page 17: Setting Items
Setting items Setting Items Description Photo Sliding show time Set up the interval time for slideshow. The available options include: 3s, 5s, 15s, 1 min, 15mins. Photo Mode Set photos to Full Screen or Standard Screen when you are viewing them. Transition Effect Set up the style of transition while playing a slide show. -
Page 18: Frequently Asked Questions
Frequently Asked Questions Why cannot the Digital Photo Frame display some files from my Flash card or USB device? • Some unpopular memory cards are not compatible with the device. Use a card which matches with the Digital Photo Frame. •... -
Page 19: Waste Management
Waste Management Packaging To avoid damage and pollution of the product the Photoframe will be delivered within a packaging. Zum Schutz vor Schäden wird das Gerät in einer Transportverpackung ausgeliefert. These Packaging can be recycled. Disposal of WEEE (Waste Electrical and Electronic Equipment) Devices marked with the WEEE logo are subject to the European Community Directive 2002/96/EC. -
Page 20: Service
Service Within the uncommon situation of failures further Information for Service can found at the Homepage www.jobo.com Specification Digital LCD, TFT Panel size: 8” (20,3cm) Display Screen aspect ratio: 4:3 Resolution: 800*480 pixels DC in Power Supply AC Adapter (Input: 100~240V AC, 50~60Hz; Output: DC 5V 1A) USB port USB Host 2.0 (High Speed)
Need help?
Do you have a question about the PURE 8 PRO and is the answer not in the manual?
Questions and answers