Advertisement
Quick Links
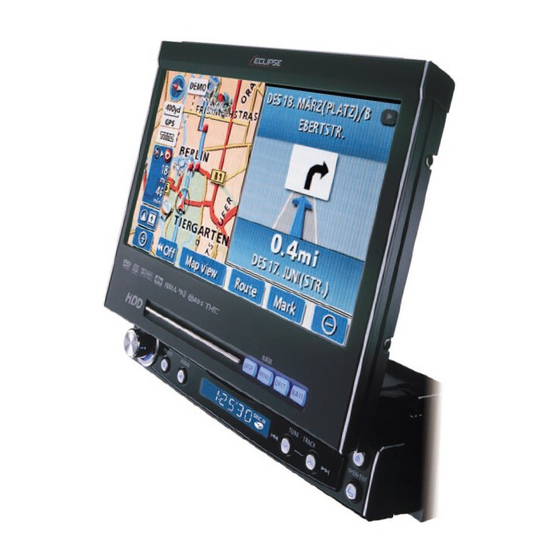
HDD Navigation System with 7 "Wide TFT Display and DVD/MS Multi-Source Receiver
INSTALLATION MANUAL
Be sure to read this installation manual thoroughly before carrying out installation and making connections. If
installation methods or non-standard parts that are not specified in this installation manual are used, accidents or
injury may result.
Professional installation is recommended, contact the place of purchase to schedule an appointment. After reading
the owner's manual and the installation manual thoroughly, keep them in a safe place for later reference.
To dealers:
Give this installation manual to the customer after installation and connections have been completed.
Contents
Contents
Before
installation
Installation
MODEL
2
3
4
6
8
9
11
Advertisement

Related Manuals for Eclipse AVN8826


Summary of Contents for Eclipse AVN8826
-
Page 1: Table Of Contents
HDD Navigation System with 7 "Wide TFT Display and DVD/MS Multi-Source Receiver MODEL INSTALLATION MANUAL Be sure to read this installation manual thoroughly before carrying out installation and making connections. If installation methods or non-standard parts that are not specified in this installation manual are used, accidents or injury may result. -
Page 2: Components
Components Components Check that all of the following components are present Check that all of the following components are present Main unit components Main unit Interconnecting cable Interconnecting cable Interconnecting cable (Power and speaker connector) (Speed pulse, parking, (E-lan etc) (16P) x 1 reverse,video, etc) (16P) x 1... -
Page 3: For Your Safety In Using The Avn8826
or y our saf ety in using the A VN8826 or y our saf ety in using the A VN8826 Warnings and caution signs, illustrated bellow, are posted throughout this manual as well as on the AVN8826. They show safe and correct ways to handle the product so as to prevent personal injury to you and others and avoid damage to property. -
Page 4: Names And Functions Of Terminals
Names and functions of ter minals Names and functions of ter minals • • Never cut the insulation on the power cable or use it to power any other equipment. If the rated current capacity of the power cable is exceeded, fire and electric shocks may result. •... - Page 5 White : Audio (left) signal Red : Audio (right) signal Back-eye camera external input terminal (4P) Used with the Eclipse back-eye camera (sold separately). E-LAN terminal (13P) Connect to the E-LAN terminal of the CD changer, etc. - Vehicle connections - •...
-
Page 6: Connections Connecting The Vehicle Speed Pulse, Parking Brake, And Reverse Cables (Wires)
The locations where the vehicle speed pulse signal cable, parking brake signal cable, and reverse cable may vary depending on the vehicle model and grade. Ask the car dealer or your nearest Eclipse dealer for details. - Connecting point for the vehicle speed pulse signal (example) -... - Page 7 - Connecting point for the reverse signal (example) - Attach a splicing connector at this location Reverse lamp • • Be sure to connect the reverse signal cable. If it is not connected, the vehicle position may be incorrect when the vehicle is reversed.
-
Page 8: System Connection Example
System connection e xample System connection e xample • • Never cut the insulation on the power cable or use it to power any other equipment. If the rated current capacity of the power cable is exceeded, fire and electric shocks may result. •... -
Page 9: Installing The Gps Antenna
Installing the GPS antenna Installing the GPS antenna Notes on installation • • The cables should be bound together with tape or a similar securing method (example: wire ties) so that they do not interfere with driving. If it becomes wound or entangled around parts such as the steering wheel, shifting lever, or brake pedal, accidents may result. - Page 10 - Installation inside the vehicle (example) - Choose an installation location on the dashboard which is flat and has a clear view of the sky. Earth plate GPS antenna • • Select a location that is at least 20 in. away from the main unit.
-
Page 11: Installing The Main Unit
Installing the main unit Installing the main unit - Installation angle - Front To maintain proper function, the unit must be mounted less than 30 degrees. If the angle is in excess of 30 degrees, DVD/CD skipping and improper DVD/CD and Memory Stick ejection may occur. - Page 12 Metal of vehicle Insert the main unit into the mounting sleeve until it Dashboard or console box locks in place. Fasten the rear of the main unit. Install the bezel on the main unit. • • Be careful not to forcefully push on the main unit's display or buttons during installation.
Need help?
Do you have a question about the AVN8826 and is the answer not in the manual?
Questions and answers