EINHELL Power-X-Twincharger Manual
- Original operating instructions (29 pages)
Advertisement
Symbols

For use in dry rooms only.

Safety class II

Read the operating instructions to reduce the risk of injury
Safety regulations
The corresponding safety information can be found in the enclosed booklet.

Read all the safety information and instructions. Any errors made in following the safety information and instructions may result in an electric shock, fire and/or serious injury.
Keep all the safety information and instructions in a safe place for future use.
This equipment can be used by children of 8 years and older and by people with limited physical, sensory or mental capacities or those with no experience and knowledge if they are supervised or have received instruction in how to use the equipment safely and understand the dangers which result from such use. Children are not allowed to play with the equipment. Unless supervised, children are not allowed to clean the equipment and carry out user-level maintenance work.
Replacing the power cable
If the power cable for this equipment is damaged, it must be replaced by the manufacturer or its after-sales service or by similarly trained personnel to avoid danger.
- The charging unit is not allowed to be used for non-rechargeable, normal batteries.
- Sufficient ventilation is required.
- The current and voltage information on the battery pack must be the same as that on the charging unit.
- Do not expose the charging unit to splash water or rain.
- The charging unit must be disconnected from the socket outlet before the cordless screwdriver is inserted into or removed from the charging station.
- Do not throw old or damaged batteries into water or fire. Follow the environmental protection directives.
- A defective or no longer chargeable battery must be treated as special waste. Dispose of it at a special collection point. Do not dispose of it with your normal household waste or throw it into water or fire.
- Place the charging unit away from all sources of heat.
- To reduce the risk of electric shock, pull the power plug out of the socket outlet by the plug itself and not by the cable when you want to disconnect the charging unit from the power supply.
- Do not take the charging unit apart. Take it to an authorized repair center if servicing or repairs are needed. Incorrect assembly can result in an electric shock and even death or fire.
- Children must always be supervised in order to ensure that they do not play with the equipment.
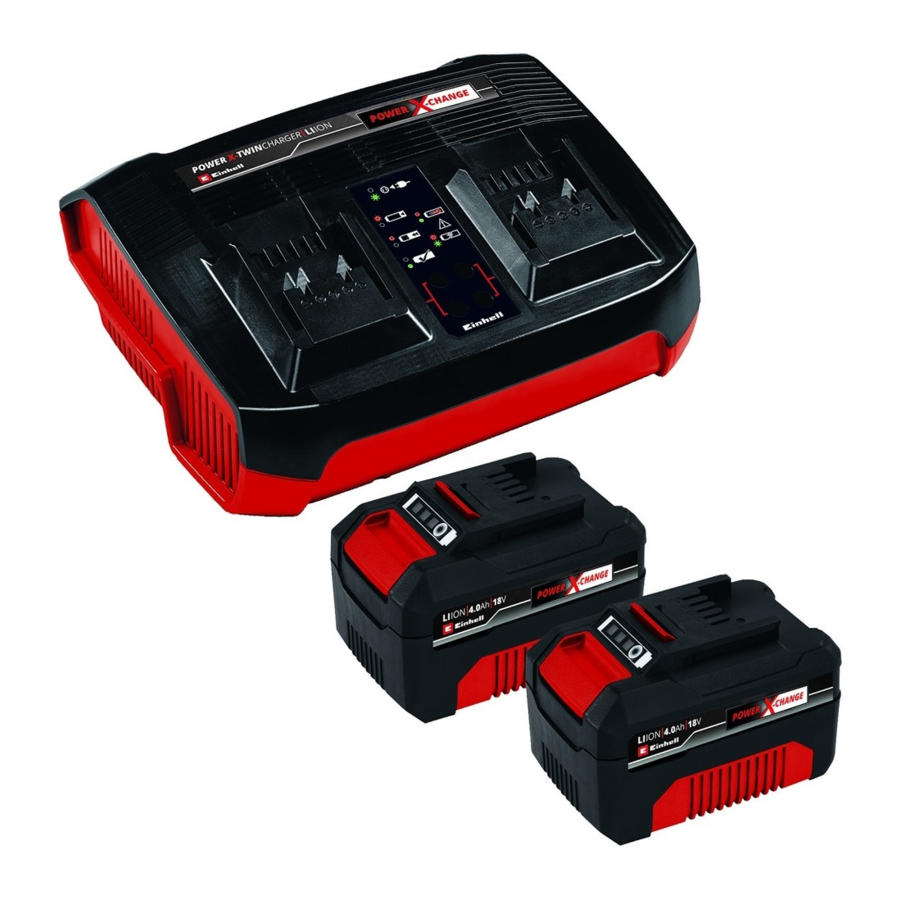
Layout

- Charging unit
- Charging cable
Technical data
Charging unit:
| Input: | 100-240V~50-60Hz, 150 W |
| Output1: | 18 Vcc, 3000mA |
| Output2: | 18 Vcc, 3000mA |

The charging unit is allowed to be used only for the lithium-ion batteries of the Power-X-Change series!
Power-X-Change
- 18 V, 1,5 Ah, 5 Li-Ion Cells
- 18 V, 2,0 Ah, 5 Li-Ion Cells
- 18 V, 3,0 Ah, 10 Li-Ion Cells
- 18 V, 4,0 Ah, 10 Li-Ion Cells
- 18 V, 5,2 Ah, 10 Li-Ion Cells
Operation

- Pull the battery pack (a) out of the handle, pressing the pushlock button (b) as you do so.
- Check that your mains voltage is the same as that marked on the rating plate of the battery charger. Insert the power plug of the charger (1) into the mains socket outlet. The green LED will then begin to fl ash.
- Insert the battery pack (a) into the battery charger (1).
- In section 7 „Charger indicator" you will fi nd a table with an explanation of the LED indicator on the charger.
If the battery fails to charge, please check
- whether there is voltage at the socket outlet
- whether there is good contact at the charging contacts of the charging unit
If the battery still fails to charge, send
- the charging unit
- and the screwdriver to our customer service center.
Timely recharging of the battery will help it serve you well for a long time. You must recharge the battery when you notice that the power of the cordless screwdriver drops.
Mounting the charging unit on a wall
The charging unit can also be mounted on a wall. The correct dimensions for drilling holes in the wall can be found on the back of the charging unit.

Distance
≥ 10 cm from wall (right + left)
≥ 100 cm from ceiling
When mounting on a wall you must use suitable screws, e.g. 3.5 mm pan-head screws, in order to prevent damage to the housing and risk of falling.
Cleaning and maintenance
Always pull out the power plug before starting any cleaning work.
The equipment is not allowed to be stored in a damp location or where there are caustic gases. Keep it in a dry place out of the reach of children.
Cleaning
Keep the surface of the equipment clean and wipe it only with a dry cloth.
Maintenance
There are no other parts inside the equipment which require maintenance. The equipment is not allowed to be taken apart. If the equipment is damaged, contact your supplier or the manufacturer.
Charger indicator
| Indicator status | Explanations and actions | |
| Red LED | Green LED | |
| Off | Flashing | Ready for use The charger is connected to the mains and is ready for use; there is no battery pack in the charger |
| On | Off | Charging The charger is charging the battery pack in quick charge mode. The charging times are shown directly on the charger. The actual charging times may vary slightly from the stated charging times depending on the existing battery charge. |
| Off | On | The battery is charged and ready for use. Action: |
| Flashing | Off | Adapted charging
Action: |
| Flashing | Flashing | Fault Action: |
| On | On | Temperature fault Action: |
Documents / ResourcesDownload manual
Here you can download full pdf version of manual, it may contain additional safety instructions, warranty information, FCC rules, etc.
Advertisement


Need help?
Do you have a question about the Power-X-Twincharger and is the answer not in the manual?
Questions and answers