
Related Manuals for Dinstar DP83


Summarization of Contents
Physical Specifications
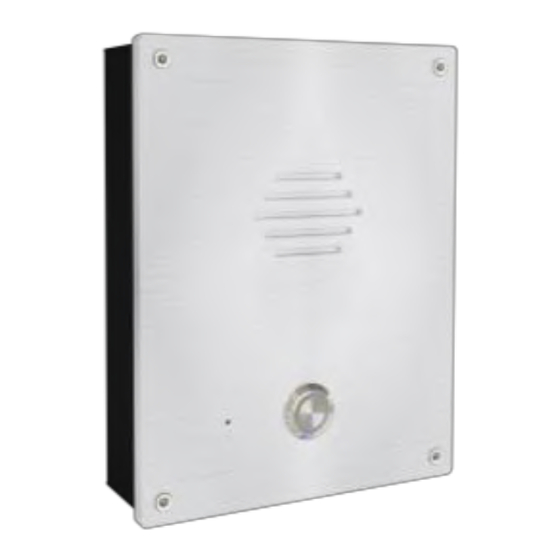
Front Panel Components
Identifies and labels the front panel components for DP81, DP82, DP83, DP85, and DP88 models.
Interface and Jumper Descriptions
Details the function of each numbered interface port and the JP1/JP6 jumpers on the device.
JP1 Jumper Wiring
Provides wiring instructions and diagrams for the JP1 jumper for electric lock power supply.
JP6 Jumper Wiring
Provides wiring instructions and diagrams for the JP6 jumper for electric lock power supply.
Installation Steps
Preparations for Installation
Lists the required contents and tools necessary before beginning the installation process.
Mounting the Intercom
Details the physical steps for drilling holes and securing the intercom unit to the wall.
SIP Intercom Configuration
Logging into Web GUI
Instructions on accessing the device's web interface using its IP and default credentials.
Adding SIP Account
Guides on configuring SIP account status, username, password, and server IP address.
Door Open Settings
Open Door via DTMF Code
Enables and configures DTMF codes for door opening during an intercom call.
Open Door via RFID Card
Details registering and using RFID cards for door access on supported DP8 models.
Open Door via Password
Explains configuring and using password-based door opening for the DP88 model.
Need help?
Do you have a question about the DP83 and is the answer not in the manual?
Questions and answers