Table of Contents
Advertisement
Quick Links
User Manual
Thank you for purchasing our product. If there are any
questions, or requests, do not hesitate to contact the
dealer.
This manual applies to the models below:
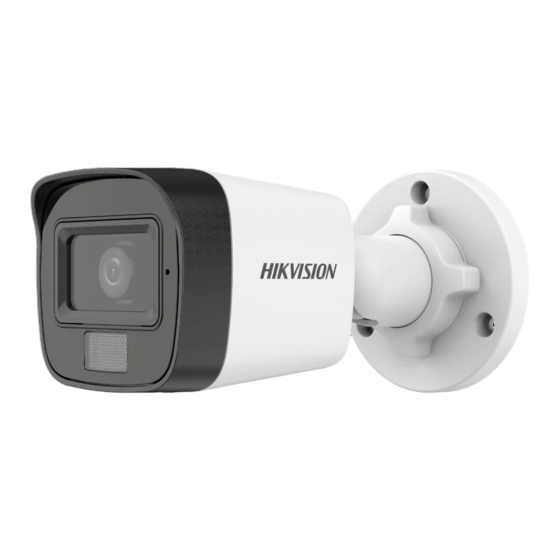
Type I Camera
Type II Camera
Type III Camera
Type IV Camera
This manual may contain several technical mistakes or
printing errors, and the content is subject to change
without notice. The updates will be added to the new
version of this manual. We will readily improve or
update the products or procedures described in the
manual.
Dual-Light Bullet & Turret
Type
Eco Camera
User Manual
Model
DS-2CE16D0T-EXLF
DS-2CE16D0T-EXLPF
DS-2CE16K0T-EXLF
DS-2CE16K0T-EXLPF
DS-2CE17D0T-EXLF
DS-2CE17K0T-EXLF
DS-2CE76D0T-EXLMF
DS-2CE76K0T-EXLMF
DS-2CE76D0T-EXLPF
DS-2CE76K0T-EXLPF
01000020221014
Advertisement
Table of Contents

Summarization of Contents
Regulatory Information
FCC Information
Details FCC compliance, conditions, and potential interference issues for digital devices.
EU Conformity Statement
Confirms compliance with EU directives for CE-marked products, including WEEE and battery directives.
Industry Canada ICES-003 Compliance
States compliance with Industry Canada standards for digital devices.
1 Introduction
1.1 Product Features
Lists key features of the Eco Camera, including sensor, OSD menu, and smart light capabilities.
1.2 Overview
Provides visual overviews of camera types and their components.
2 Installation
2.1 Installation of Type I & II Camera
Details the process for installing Type I and Type II cameras without a junction box.
2.1.2 Ceiling/Wall Mounting with Junction Box
Explains how to mount Type I and II cameras using a junction box, covering ceiling and wall options.
2.2 Installation of Type III Camera
Provides instructions for mounting Type III cameras without using a junction box.
2.2.2 Ceiling Mounting with Junction Box
Details ceiling mounting for Type III cameras using a junction box.
2.2.3 Wall Mounting
Explains the steps for wall mounting Type III cameras.
2.3 Installation of Type IV Camera
Provides instructions for installing Type IV cameras, including ceiling and wall mounting methods.
2.3.2 Ceiling Mounting with Junction Box
Details the process for ceiling mounting Type IV cameras with a junction box.
2.3.3 Wall Mounting
Explains the steps for wall mounting Type IV cameras.
3 Menu Description
3.1 VIDEO FORMAT
Lists available video output formats (TVI, AHD, CVI, CVBS) and supported camera models.
3.2 EXPOSURE
Explains EXPOSURE MODE settings like GLOBAL, BLC, HLC, DWDR, and AGC for image optimization.
3.3 LIGHTING SETTINGS
Details LIGHTING MODE options including IR LIGHT, SMART IR, and WHITE LIGHT with adjustable thresholds.
3.4 VIDEO SETTINGS
Covers adjustable video settings: IMAGE MODE, WHITE BALANCE, BRIGHTNESS, CONTRAST, SHARPNESS, SATURATION, and DNR.
3.5 FACTORY DEFAULT
Resets all settings except video format to their original factory defaults.
3.6 EXIT
Provides instructions on how to exit the menu system.
3.7 SAVE & EXIT
Explains how to save current settings and exit the menu.


Need help?
Do you have a question about the DS-2CE16K0T-EXLF and is the answer not in the manual?
Questions and answers