Table of Contents
Advertisement
Quick Links
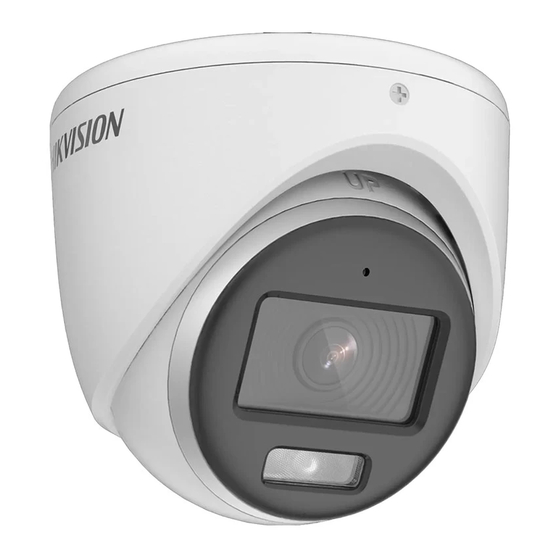
2MP ColorVu Audio Fixed
Bullet & Turret Camera
User Manual
Thank you for purchasing our product. If there are any
questions, or requests, do not hesitate to contact the
dealer.
This manual applies to the models below:
Type I Camera
Type II Camera
Type III Camera
Type IV Camera
Type V Camera
This manual may contain several technical mistakes or
printing errors, and the content is subject to change
without notice. The updates will be added to the new
version of this manual. We will readily improve or update
the products or procedures described in the manual.
Type
User Manual
Model
DS-2CE10DF0T-FS
DS-2CE10DF0T-PFS
DS-2CE12DF0T-FS
DS-2CE70DF0T-PFS
DS-2CE70DF0T-MFS
DS-2CE72DF0T-FS
01040020220720
Advertisement
Table of Contents

Summarization of Contents
Regulatory Information
FCC Information
Details FCC compliance, operating conditions, and potential interference in commercial/residential areas.
FCC Conditions
Specifies the two conditions for compliance with FCC Part 15.
EU Conformity Statement
Confirms compliance with EU directives and provides WEEE/battery recycling info.
Industry Canada ICES-003 Compliance
Confirms compliance with Industry Canada ICES-003 standards.
1 Introduction
1.1 Product Features
Lists key features: CMOS sensor, OSD menu, 24-hour color image, smart light, and 3-axis adjustment.
1.2 Overview
Provides a general overview of camera components and their functions, including video output switching.
2 Installation
Type I Camera: Ceiling/Wall Mounting Without Junction Box
Steps for mounting the Type I camera on a ceiling or wall without a junction box.
Type I Camera: Ceiling/Wall Mounting with Junction Box
Steps for installing the Type I camera using a junction box on a wall or ceiling.
Type II Camera: Ceiling/Wall Mounting Without Junction Box
Steps for mounting the Type II camera on a ceiling or wall without a junction box.
Type III Camera: Ceiling Mounting Without Junction Box
Steps for mounting the Type III camera on a ceiling without a junction box.
Type III Camera: Ceiling Mounting with Junction Box
Steps for mounting the Type III camera on a ceiling using a junction box.
Type III Camera: Wall Mounting
Steps for mounting the Type III camera on a wall using a wall mount.
Type IV Camera: Ceiling Mounting Without Junction Box
Steps for mounting the Type IV camera on a ceiling without a junction box.
Type IV Camera: Ceiling Mounting with Junction Box
Steps for mounting the Type IV camera on a ceiling using a junction box.
Type IV Camera: Wall Mounting
Steps for mounting the Type IV camera on a wall using a wall mount.
Type V Camera: Ceiling Mounting without Junction Box
Steps for mounting the Type V camera on a ceiling without a junction box.
Type V Camera: Ceiling Mounting with Junction Box/Inclined Ceiling Mount
Steps for mounting the Type V camera using a junction box or inclined mount.
Type V Camera: Wall Mounting
Steps for mounting the Type V camera on a wall using a wall mount.
3 Menu Description
3.1 VIDEO FORMAT
Allows setting the video output format to 2MP@25fps, 2MP@30fps, PAL, or NTSC.
3.2 EXPOSURE MODE Configuration
Configure exposure modes: GLOBAL, BLC, HLC, DWDR, and AGC for optimal image capture.
3.3 VIDEO SETTINGS
Adjust image parameters: IMAGE MODE, WHITE BALANCE, BRIGHTNESS, CONTRAST, SHARPNESS, SATURATION, and 3DNR.
3.4 SMART LIGHT
Control integrated white light: set to AUTO or OFF for avoiding overexposure.
3.5 AUDIO SETTINGS
Adjust audio mode to ON/OFF and control volume level.
3.6 FACTORY DEFAULT
Option to reset all settings to their factory defaults.
3.7 EXIT
Procedure to exit the camera menu.
3.8 SAVE & EXIT
Procedure to save settings and exit the camera menu.


Need help?
Do you have a question about the DS-2CE70DF0T-PFS and is the answer not in the manual?
Questions and answers