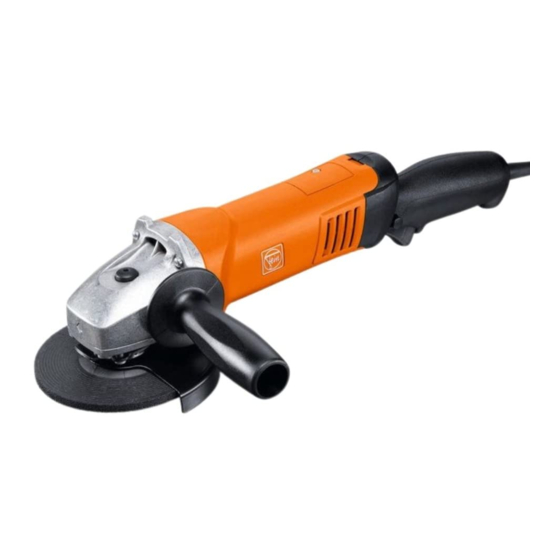
Table of Contents
Advertisement
Quick Links
Advertisement
Table of Contents

Summarization of Contents
Technical Data
Technical Specifications
Details on the technical specifications of the tool.
Troubleshooting Guide
Information on identifying and resolving issues with the tool.
Test Data and Values
Data for testing and verifying tool performance.
Tools and Lubricants Required
List of required special tools, lubricants, and auxiliary substances.
Spare Parts Information
Information on obtaining spare parts and exploded views.
Connection Diagram
Diagram illustrating the tool's electrical connections.
Symbols Used
Safety and Hazard Symbols
Symbols indicating potential hazards and safety measures.
Instructional Symbols
Symbols for following instructions and important notes.
Navigation Interface Symbols
Symbols related to the document's navigation interface.
Notes and Requirements
User Training and Spare Parts
Important notes for users regarding training and spare parts.
Repair Regulations and Provisions
Applicable regulations, standards, and safety provisions for repair.
Document Disclaimer
Legal disclaimer regarding the content and liability.
Safety Instructions
Danger Classification System
Structure for classifying dangers and required measures.
Hazard Warning Levels
Definitions of 'Warning' and 'Caution' levels for potential hazards.
Product and Environment Hazards
Notes indicating potentially harmful situations to the product or environment.
Information for Better Understanding
Notes providing additional information for better understanding and use.
Required Tools and Substances
Standard Tools List
List of standard tools required for the repair process.
Special Tools List
List of specialized tools needed for specific repair tasks.
Lubricants and Auxiliary Substances
Specific lubricants and auxiliary substances required for maintenance.
Test and Diagnostics Options
Availability of Testing Options
Information on the availability of test and diagnostics options.
Disassembly
Removing the Handle
Step-by-step guide to removing the tool's handle assembly.
Removing the Housing
Procedure for detaching and removing the tool's outer housing.
Removing the Carbon Brushes
Guide to accessing and removing the carbon brushes and their holders.
Removing the Gearbox Housing
Steps to detach and remove the gearbox housing assembly.
Motor Removal
Removing the Stator
Procedure for removing the stator from the motor housing.
Removing the Armature
Instructions for detaching and removing the motor's armature.
Disassembling the Armature
Steps to disassemble the armature, including bearing bush and pinion.
Gearbox Removal
Removing the Bearing Plate
Procedure for detaching and removing the bearing plate from the gearbox.
Disassembling the Bearing Plate
Procedure for pressing out the deep grooved ball bearing from the plate.
Disassembling the Gearbox Housing
Steps to disassemble the gearbox housing, starting with air guide ring and pushbutton.
Assembly
Assembling the Gearbox Housing
Procedure for reassembling the gearbox housing components.
Assembling the Bearing Plate
Steps to press in the ball bearing and position the bearing plate.
Positioning the Bearing Plate
Procedure for positioning and securing the bearing plate to the gearbox.
Fitting the Motor
Assembling the Armature
Steps for assembling the armature components, including plates and bearings.
Fitting the Armature
Procedure for pressing the armature into the tool assembly.
Fitting the Stator
Instructions for positioning the stator and ensuring correct cable placement.
Fitting the Housing
Fitting the Gearbox Housing
Procedure for positioning and securing the gearbox housing.
Positioning the Carbon Brushes
Steps for positioning and connecting carbon brushes and cables.
Fitting the Switch
Procedure for installing and securing the tool's switch.
Positioning the Electronics
Steps for correctly placing and connecting the electronic components.
Fitting the Handle
Handle Fitting (Various Voltages)
Steps to fit the handle for specific voltage models.
Handle Assembly Details
Further steps for handle assembly, including switch, cables, and terminals.
Setting Gearbox Clearance
Checking Gearbox Clearance
Procedure for performing a test run and checking gearbox clearance.
Inspection Following Repairs
Post-Repair Inspection Checklist
Checks to perform after completing repairs, including visual and functional tests.


Need help?
Do you have a question about the WSG 17-125PRT and is the answer not in the manual?
Questions and answers