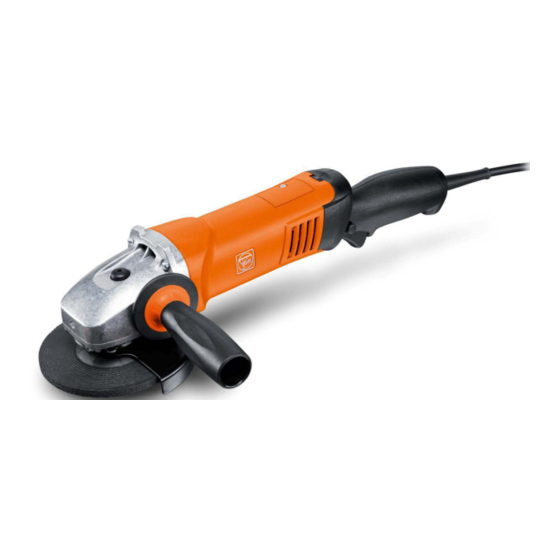
WSG 11 R/RT; WSG 15 PR/PRT; WSG 15-70InoxR/RT; WSG 17 PR/PRT; WSG 17-70InoxR/RT
Repair instructions
C-SC_CSSM
Version 1.0
2015-07-20
All rights reserved by FEIN, especially in case of property rights applications.
FEIN retains all rights of disposal, such as copying and circulation
.
Page 1 of 55


Need help?
Do you have a question about the WSG 11 R and is the answer not in the manual?
Questions and answers