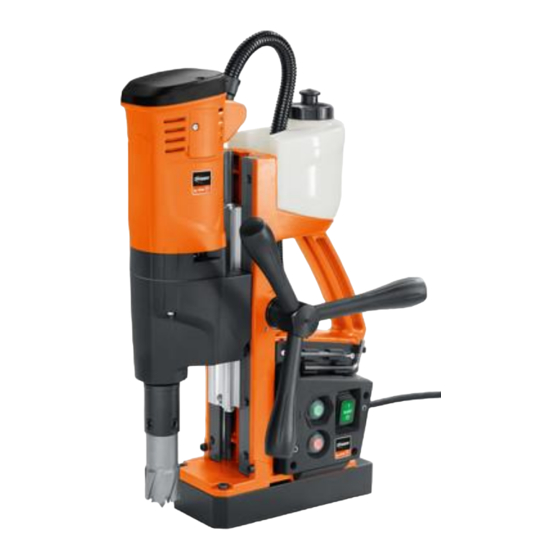
Summarization of Contents
Technical Data and Resources
Technical Data Location
Information on where to find the model's technical data.
Test Data and Lubricant Information
Accessing test data and lubricant details via FEIN Extranet.
Spare Parts and Exploded Views
Accessing spare parts lists and exploded views online.
Safety and Operational Requirements
User Qualifications
Instructions are for technically trained personnel with electrical and mechanical knowledge.
Original Parts Mandate
Mandatory use of original FEIN spare parts for all repairs.
Repair Compliance
Adherence to safety standards (DIN VDE 0701-0702) and regulations is required.
Tools Required for Repair
Standard Tools
List of common hand tools needed for disassembly and assembly.
Specialized Tools
List of specific tools required for particular repair tasks.
Disassembly Procedures
Removing the Container
Step-by-step guide to safely remove the fluid container.
Removing the Electronics (Initial Steps)
Initial steps for removing electronic covers, components, and connectors.
Removing the Electronics (Connector Disconnection)
Disconnecting cables and removing electronic modules.
Removing the Magnetic Foot
Procedure for detaching the magnetic base from the unit.
Removing the Connecting Cable
Steps to safely remove the power connecting cable.
Removing the Guide Assembly
Steps to dismantle the main guide assembly, including its parts.
Removing the Motor Housing
Steps for disassembling the motor housing, covers, and internal components.
Removing the Armature
Procedure for safely removing the armature assembly.
Removing the Gearbox Housing
Steps to dismantle the gearbox housing and its internal gears.
Removing the Holder
Instructions for disassembling the tool holder mechanism.
Assembly Procedures
Fitting the Holder
Steps for assembling the holder components, including springs and screws.
Fitting the Gear-Wheels
Procedure for pressing gear-wheels onto their respective shafts.
Fitting the Drill Shaft
Steps for assembling the drill shaft with bearings and circlips.
Fitting the Gearbox Housing
Detailed steps for assembling the gearbox housing, including seals, bearings, and shafts.
Fitting the Intermediate Gearbox
Instructions for installing and greasing bearings in the intermediate gearbox.
Fitting the Armature
Procedure for assembling the armature with plates, bearings, and magnets.
Fitting the Stator
Steps for connecting cables and correctly positioning the stator.
Fitting Electronics - Connecting Piece
Placing the connecting piece and cable for the electronics.
Fitting Electronics - Housing Attachment
Connecting cables and fitting the motor housing for electronics.
Fitting the Motor Housing
Steps for attaching the motor housing to the drill motor.
Fitting Electronics - Circuit Board Installation
Placing and securing the main electronic circuit board.
Fitting Electronics - Cover and Hose
Securing covers and protective hose for the electronics.
Fitting Electronics - Final Connections
Connecting final cables and fitting the cover for electronics.
Fitting Electronics - Buttons and Switches
Installing buttons, switches, and connecting all cables.
Fitting Motor Housing Cover
Procedure for placing and securing the motor housing cover.
Fitting the Container
Procedure for placing the fluid container and hose back onto the unit.


Need help?
Do you have a question about the Holemaker III and is the answer not in the manual?
Questions and answers