Table of Contents
Advertisement
USA
Address: 2570 N. First Street, Suite 200, San Jose, CA 95131
TEL: +1 888-598-9901
Japan
Address: 812-0011 福岡市博多区博多駅前 3-10-24 藤井ビル 1F
TEL: +81 092-433-3252
FAX: +81 092-433-3171
China
Address: No.1 Anhe Rd Tsingtao Export Processing Zone, Tsingtao, China 266113
TEL: +86 532 87963900
FAX: +86 532 81100917
Email: info@northernep.com
Web: h�p://www.northernep.com
h�p://www.nep-japan.com
h�p://www.micro-inverter.jp
Rev. 2017-01-12
Installa�on and Opera�on Manual
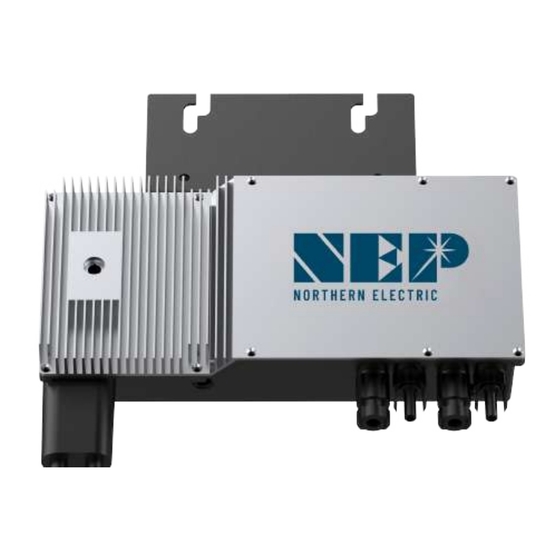
BDM-300X2-240A(-D) & BDM-300X2-208A(-D)
BDM-300X2-AU(-D) & BDM-300X2-EU(-D)
l
SAA
152167
Advertisement
Table of Contents

Related Manuals for NEP BDM-300X2-EU


Summarization of Contents
Safety Instructions
General Safety Precautions
Essential safety warnings and precautions for inverter installation and use.
Electrical Safety and Wiring
Instructions regarding AC/DC wiring, circuit breakers, and RCD/RCM usage.
Module Disconnection Warning
Warning about disconnecting PV modules from the micro-inverter.
Introduction
Grid-tied PV System
Explanation of grid-tied PV systems using BDM-300X2 inverters.
How to Use This Manual
Guidance on how to effectively use the installation and operation manual.
Inverter Labels and Safety Icons
Explanation of labels, safety icons, and warnings on the inverter.
Installation
Parts Included
List of components included in the BDM-300X2 installation kit.
Other Parts and Tools Required
List of additional parts and tools needed for installation.
Lightning Surge Suppression
Information and recommendations on surge protection for lightning.
Installation Procedure
Step-by-step guide for installing the BDM-300X2 micro inverter system.
Step 1 - Install AC Branch Circuit Junction Box
Procedure for installing the AC branch circuit junction box and verifying AC voltage.
Step 2 - Attach BDM-300X2 to Racking
Instructions for mounting the BDM-300X2 micro inverter onto the racking system.
Step 3 - Connect Wiring Harnesses
Guide on connecting the AC wiring harnesses of the BDM-300X2.
Step 4 - Ground the System
Instructions for grounding the BDM-300X2 system, including optional racking ground.
Step 5 - Ground System Through Racking
Optional method for grounding the BDM-300X2 system via the racking.
Step 6 - Connect Connection Map and PV Modules
Steps for completing the connection map and connecting PV modules to the inverters.
Commissioning
Commissioning Steps
Procedure for commissioning the BDM-300X2 PV system.
LED Status: Standby
LED status indication for standby mode (LED on for 2s, off for 2s).
LED Status: Producing Power
LED status indication for producing power (LED on for 1s, off for 1s).
LED Status: Grounding Fault
LED status indication for grounding fault (solid red LED).
Troubleshooting and Maintenance
General Warnings
Warnings regarding repair, DC wire disconnection, and power cycling for troubleshooting.
LED Error Indicators
Explanation of LED error codes and indicators for troubleshooting.
Troubleshooting Inoperable Unit
Step-by-step guide to troubleshoot an inoperable BDM-300X2 unit.
Disconnecting from PV Module
Procedure for safely disconnecting a BDM-300X2 from PV modules.
Installing a Replacement Unit
Steps for installing a replacement BDM-300X2 micro inverter.
Warranty and Production Information
Warranty Coverage and Duration
Details on the warranty coverage period and transferability.
NEP's Warranty Service Actions
Explanation of NEP's warranty service actions (repair or replacement).
How to Obtain Service
Instructions on how to obtain warranty service or support.
Warranty Exclusions
Exclusions from the NEP limited warranty coverage.
Product Disclaimer
Legal disclaimers and limitations of warranty provided by NEP.
Need help?
Do you have a question about the BDM-300X2-EU and is the answer not in the manual?
Questions and answers