
Related Manuals for Duratech ECO+9


Summarization of Contents
Preface
Durable Construction
Heating exchanger made of PVC & Titanium tube, designed to withstand prolonged exposure to swimming pool water.
Flexible Installation Options
Heat pumps are fully tested and ready for use; simply connect water and plug into a wall socket.
Quiet Operational Design
Unit features an efficient rotary compressor and a low-noise fan motor for quiet operation.
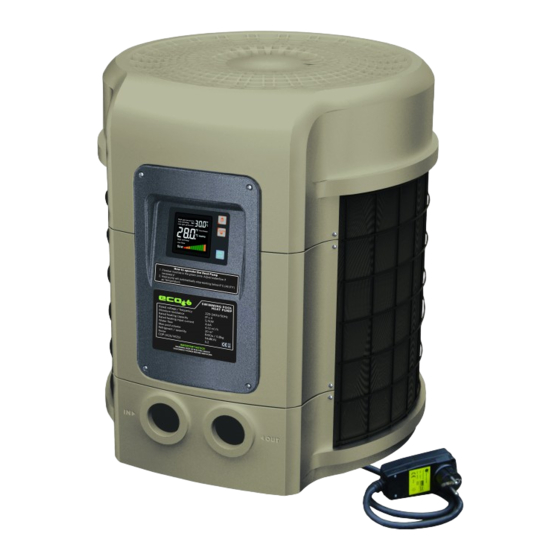
User-Friendly Control Panel
Electronic control panel allows easy setting of desired temperature and viewing of operation information.
Specifications
Performance Data Overview
Table detailing heating capacity, power input, pool volume, current, COP, power supply, and other technical specs for different models.
Unit Dimensions and Layout
Diagrams illustrating the external physical dimensions of the heat pump units for various models.
Installation and Connections
Installation Remarks and Requirements
Notes on box contents, by-pass requirement, keeping unit upright, and mandatory outdoor installation.
Selecting the Heat Pump Location
Unit requires fresh air, electricity, and filter pipes; can be installed outdoors respecting minimal distance to objects.
Optimal Pool Proximity
Install close to pool to minimize heat loss, at least 2 meters away, on a solid base.
Typical Installation Configuration
Diagram illustrating a standard installation setup, including recommended distances and connections.
Water Connection Guidelines
Piping needs 50mm outer diameter, glued connections; use PVC or flexible piping intended for pool use.
Electrical Connection Procedures
Importance of grounding, voltage check, operation with filter pump, and guidelines for cable sections.
Initial Unit Startup Steps
Steps for startup: turn on filter pump, plug in heat pump, verify airflow, and allow 24h run time.
Understanding Condensation
Explanation of condensation formation on evaporator fins due to cooling air and high humidity.
Guidelines for Operation
Maintaining Pool Water Chemistry
Recommended pH, chlorine, TAC, and salt levels for pool water to ensure optimal performance and maintain warranty.
Winterizing the Heat Pump
Steps to drain the unit for winter storage to prevent freezing and potential damage.
Spring Startup Procedure
Instructions for restarting the system in the spring after winterization.
General Unit Control and Checks
Guidelines for periodic inspections: accessibility, surroundings, plants, sprinklers, and handling submersion.
Usage and Operation
Interpreting the Control Display
Explanation of the heat pump's control panel display elements and information shown when ON or OFF.
Setting the Desired Water Temperature
How to set the target temperature using arrow keys and switch between °C and °F.
Understanding the Flow Bar Indicator
Description of the flow bar as a graphical representation of water volume and its relation to operation time delay.
Maintenance and Inspection
Routine Maintenance Tasks
Regular checks for water supply, filter cleaning, unit area cleanliness, power supply, and water discharge for extended periods.
Troubleshooting Common Issues
Safety warnings for troubleshooting and a table with common problems, causes, and solutions.
Understanding Error Messages
Lists common error messages (e.g., Low air temp, Overheat, Low flow) and their respective solutions.
Warranty Information
Limited Warranty Details
Details the two-year warranty terms, exclusions, limitations of liability, and warranty claim process.
Need help?
Do you have a question about the ECO+9 and is the answer not in the manual?
Questions and answers