Advertisement
OPERATING
INSTRUCTION MANUAL
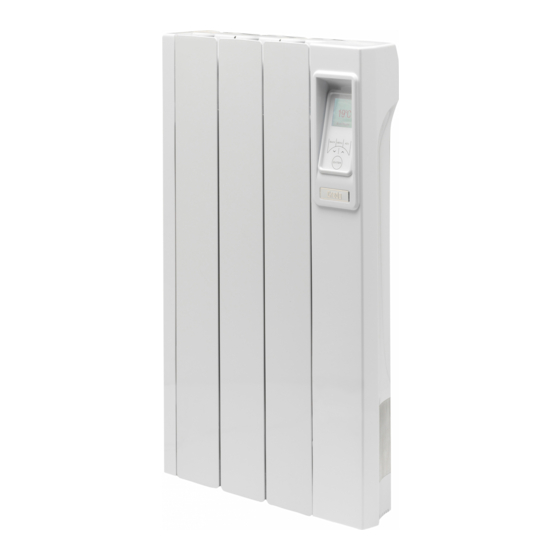
Creda Aluminium Radiator
Models: CAR 033 / CAR 050 / CAR 075 / CAR 100 / CAR 150 / CAR 200
These instructions should be read carefully and
retained for future use. Note also the information
presented on the appliance.
Integrated 7-day timer
Colour-changing LCD display
Adaptive start
Open window detection
08/53455/0 ISSUE 1
Advertisement
Table of Contents

Related Manuals for Creda CAR 150


Summary of Contents for Creda CAR 150
- Page 1 Adaptive start Open window detection Creda Aluminium Radiator Models: CAR 033 / CAR 050 / CAR 075 / CAR 100 / CAR 150 / CAR 200 These instructions should be read carefully and retained for future use. Note also the information presented on the appliance.
- Page 2 FUTURE REFERENCE. CAUTION: FAILURE TO FOLLOW THESE INSTRUCTIONS MAY CAUSE INJURY AND/OR DAMAGE AND MAY INVALIDATE YOUR CREDA GUARANTEE IMPORTANT SAFETY ADVICE When using electrical heaters, basic precautions should always be followed to reduce the risk of fire, electrical shock, and injury to persons, including the following: IMPORTANT –...
- Page 3 IMPORTANT - Remember to observe all safety warnings and precautions when operating the heater on the automatic or timer modes, either attended or unattended. Note that due care and consideration must be taken when using this heater in series with the built-in thermal control, program controller, timer or any other device that switches on the heat automatically, since a fire risk exists when the heater is accidentally covered or displaced.
-
Page 4: Wall Mounting
5. The product can now be hung on the top wall mounting bracket then fixed in place by securing the bottom wall bracket(s) in place. Wattage (W) Model(s) Watt (kW) A (mm) CAR 033 0.33 kW CAR 050 0.50 kW CAR 075 0.75 kW CAR 100 1.00 kW... -
Page 5: Minimum Mounting Clearance
Fig. 1 Fig. 2 Shelf Minimum mounting clearance 300 mm 119 mm 150 mm 150 mm (Min) A mm (Min) 300 mm 570 mm 150 mm (Min) Fig. 3 Template *Plase note correct product orientation. - Page 6 Timer Modes Timer Mode Description Your Creda Aluminium Radiator comes pre-programmed with four Out All Day 6 hours heating per day in two periods timer modes. These modes define...
- Page 7 Which Timer Mode is Best for Me? The heater leaves the factory set in Out All Day mode. If you are out during the day and only require heat in the mornings and evenings then this mode will suit your lifestyle and you won’t need to alter anything.
-
Page 8: Operation
Operation WARNING - FAILURE TO FOLLOW THESE OPERATING INSTRUCTIONS MAY RESULT IN INJURY AND/OR DAMAGE. The controls are located on the top right of the heater. The heater is fitted with an adjustable electronic controller consisting of a display screen and six touch buttons. Display Screen ‘Menu’... -
Page 9: Control Functions
Control Functions The heater controls can be easily adjusted by using the six buttons on the User Interface. The Display Screen shows the options available at each stage of adjustment. Menu - displays the main options list; - Date/Time - Set the date and time. - Mode - Set the mode of operation. -
Page 10: Main Screen
When left inactive for a long period of time this display will ‘sleep’ and the text will disappear. Press any button for its return. NOTE: The display screen will return to the main screen ES OW after a period of 30 seconds of inactivity. Creda AL1E1C UI Rev 01 Home All Day NOTE: ACC Rev 01... -
Page 11: Modes Of Operation
Modes of Operation The heater comes pre-programmed with a set of heating profiles. There are four options available - three pre-programmed and one user adjustable timer; Out All Day (pre-programmed) - has the following preset times Monday to Sunday, which can be altered if desired 07.00 until 08.30 17.30 until 22.00 Home All Day (pre-programmed) - has the following preset times Monday to Sunday, which can be altered if desired;... - Page 12 Choosing and Setting a Mode Timer Modes To choose a timer mode press Menu and then to select Mode. Then press Enter. Then select Timer Mode, again using the Enter button. followed by Enter. Select the mode required, by pressing the For options Out All Day, Home All Day and User Timer, three choices are available - Select, Preview and Modify.
- Page 13 If anticipatory control is disabled, the heater will not operate until the beginning of the heating period. This should be taken into consideration when setting the heating periods. In Holiday mode the number of days that the room will be unoccupied can be adjusted together with the required room temperature.
- Page 14 Advance The Advance function allows the heating profile of the heater to be changed temporarily. When a timer has been selected, the Advance Advance function is used to begin the next Comfort On mode early. If the heater is in Comfort Off mode and heat is required, press the Advance button.
-
Page 15: Child Lock
Child Lock To lock the controls press Back and Enter for three seconds. Child Lock will appear at the bottom of the screen. To unlock the control repeat the action of pressing Back and Enter for three seconds. Child Lock NOTE: The controls cannot be adjusted when child lock is active. - Page 16 Runback Lock Mode Introduction This appliance has a built in runback lock mode, when this mode is activated all functionality of the appliance is locked and the user will only have the ability to activate a runback timer functionality. It is possible to limit the maximum operating temperature and runback duration in the runback lock mode.
-
Page 17: Changing The Password
Runback Lock Mode In order to enter the runback lock mode, Back, Menu & Enter must be pressed simultaneously and held for 10 seconds. The user will then be prompted to enter the runback lock PIN. NOTE: The default password is 0000, the password be changed Runback lock Runback lock... -
Page 18: Setback Mode
Runback Duration During setup it is possible to select from a number of preset runback periods. This is achieved by selecting the maximum runback time. The maximum runback time is subdivided into four periods to deliver options to the user, the maximum time options and corresponding runback periods are shown in the table below. -
Page 19: Energy Saving Tips
Energy Saving Tips The energy we use to heat, light and power our homes contributes over a quarter of the UK’s carbon emissions, the principle contributor to climate change. Around half the energy used in the home is for heating and hot water, so using your heating system efficiently will not only help the environment, but also save you money. - Page 20 With electronic room temperature control Electronic room temperature control plus week timer With open window detection With adaptive start control Contact details Creda Heating, Milbrook House, Grange Drive, Hedge End, Southampton, SO30 2DF This product complies with Lot20 of the Energy Efficiency Directive (2015/1188).
- Page 21 Important During the initial operation, some odour may be noticed due to the newness of materials used in manufacture. This is normal and will disappear after a short period or use. It is however advisable to keep the room well ventilated. Cleaning WARNING - ALWAYS DISCONNECT FROM THE POWER SUPPLY BEFORE CLEANING THE HEATER.
- Page 22 If your Creda product is not covered by this Creda Guarantee there may be a charge to repair your product. However, we will contact you for agreement to any charges before any chargeable service is carried out.
-
Page 23: Terms And Conditions
• You must provide to Creda or its authorised agents on request the original receipt as proof of purchase and - if required by Creda - proof of delivery. If you are unable to provide this documentation, you will be required to pay for any repair work required. - Page 24 Customer Helpline: 0844 879 3588 Email: presales@credaheating.co.uk Email: aftersales@credaheating.co.uk www.credaheating.co.uk Millbrook House, Grange Drive, Hedge End, Southampton, SO30 2DF For ROI please email serviceshared@dimpco.ie or call +353(0)1 842 8222 © GDC Group Limited. All rights reserved. Material contained in this publication may not be reproduced in whole or in part, without prior permission in writing.
Need help?
Do you have a question about the CAR 150 and is the answer not in the manual?
Questions and answers