Sign In
Upload
Download
Table of Contents
Contents
Add to my manuals
Delete from my manuals
Share
URL of this page:
HTML Link:
Bookmark this page
Add
Manual will be automatically added to "My Manuals"
Print this page
×
Bookmark added
×
Added to my manuals
Manuals
Brands
Creda Manuals
Heater
CEP050E
Instruction manual
Creda CEP050E Instruction Manual
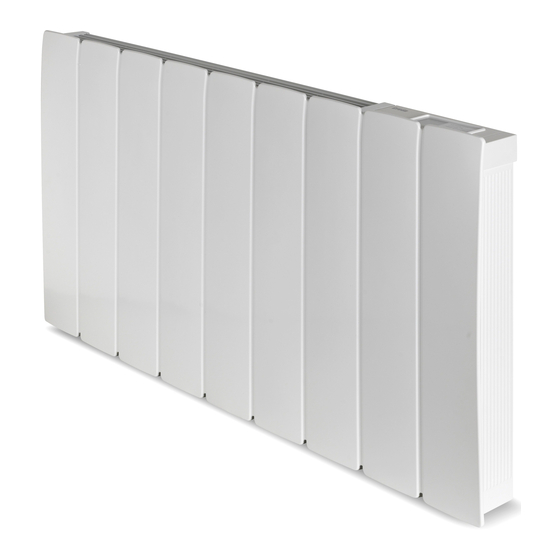
Cepe contour panel heater
Hide thumbs
1
2
3
4
5
6
7
8
9
10
11
12
13
14
15
16
17
18
19
20
21
22
23
24
25
26
27
28
Table Of Contents
29
page
of
29
Go
/
29
Contents
Table of Contents
Bookmarks
Table of Contents
Suitable Applications
Operating Warnings
Electrical Installation
Child Safety
General Information
Wall Mounting Instructions
Control Functions
Main Screen
Setting the Date and Time
Mode of Operation
Setting a Timer
Setting Modes
Child Lock
User Information
Error Messages
Battery Replacement
Advertisement
Quick Links
1
Control Functions
2
Main Screen
3
Error Messages
Download this manual
INSTRUCTION MANUAL
Installation and Operating
Creda CEPE Contour Panel Heater
Models: CEP050E / CEP075E / CEP100E / CEP150E / CEP200E
These instructions should be read carefully and
retained for future use. Note also the information
presented on the appliance.
08/80254/0 ISSUE 3
Table of
Contents
Previous
Page
Next
Page
1
2
3
4
5
Advertisement
Table of Contents
Need help?
Do you have a question about the CEP050E and is the answer not in the manual?
Ask a question
Questions and answers
Related Manuals for Creda CEP050E
Heater Creda Contour 100 Installation And Operating Instructions
Electronic panel heaters (4 pages)
Heater Creda CEP 2000E Installation And Operating Instructions
Electronic panel heaters (4 pages)
Heater Creda CEP075E Instruction Manual
Cepe contour panel heater (29 pages)
Heater Creda CEP100E Instruction Manual
Cepe contour panel heater (29 pages)
Heater Creda CEP150E Instruction Manual
Cepe contour panel heater (29 pages)
Heater Creda Sunplus CSP2 Catalogue
Commercial space heating (7 pages)
Heater Creda CSQ15 Installation And Operating Instructions Manual
(8 pages)
Heater Creda CQH070 Operating Instructions Manual
Quantum heater (17 pages)
Heater Creda CQH100 Installation Instructions Manual
(16 pages)
Heater Creda CAR 033 Operating Instructions Manual
Aluminium radiator (25 pages)
Heater Creda CAR 100 Operating Instructions Manual
Aluminium radiator (25 pages)
Heater Creda CAR 150 Operating Instructions Manual
Aluminium radiator (25 pages)
Heater Creda CAR 200 Operating Instructions Manual
Aluminium radiator (25 pages)
Heater Creda COR15TS Manual
(8 pages)
Heater Creda CLSTH050 Operating Instructions Manual
Low surface temperature heater (21 pages)
Heater Creda CTR7W Instruction Manual
Towel rail (25 pages)
This manual is also suitable for:
Cep075e
Cep100e
Cep150e
Cep200e
Table of Contents
Print
Rename the bookmark
Delete bookmark?
Delete from my manuals?
Login
Sign In
OR
Sign in with Facebook
Sign in with Google
Upload manual
Upload from disk
Upload from URL


Need help?
Do you have a question about the CEP050E and is the answer not in the manual?
Questions and answers