
Related Manuals for Medion MD 20664


Summary of Contents for Medion MD 20664
-
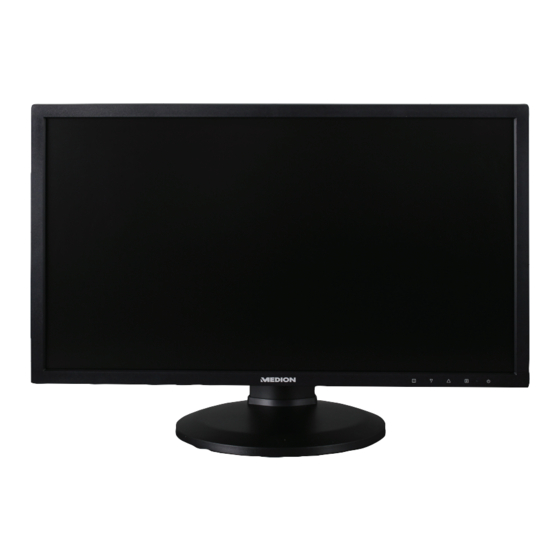
Page 1: Instruction Manual
Instruction manual 61 cm / 24“ LED Backlight Monitor MEDION AKOYA ® ® P55664 (MD 20664) -
Page 2: Table Of Contents
Contents Notes on how to use these instructions ....................... 3 1.1. Symbols and key words used in these instructions ......................3 Proper use ................................3 Package contents ..............................3 Safety instructions ..............................4 4.1. Operating safety ....................................4 4.2. Installation location ..................................4 4.3. -
Page 3: Notes On How To Use These Instructions
1. Notes on how to use these instructions Please be sure to read these operating instructions carefully and follow all instructions given. This guar- antees reliable operation and a longer life expectancy for your monitor. Always store these instructions near your monitor. Keep the operating instructions so that you can pass them on with the monitor if you sell it. -
Page 4: Safety Instructions
4. Safety instructions 4.1. Operating safety • This device is not intended for use by people (including children) with reduced physical, sensory or mental abilities or by those without experience and/or knowledge, unless they are supervised by a person responsible for their safety or they have been instructed in its use by that person. Children should be supervised to ensure they do not play with this device. -
Page 5: Repairs
4.3. Repairs • Repairs to your monitor should only be carried out by qualified specialists. • if a repair must be carried out, please contact only our authorised service partner. 4.4. Environmental temperature • The monitor can be operated at an ambient temperature of +0°C to +35°C with a relative humid- ity of <... -
Page 6: Notes On Conformity
This function is generally defined or specified for this product category using the connect- ed end device (Personal Computer). This monitor is ENERGY STAR® compliant. As an ENERGY STAR® partner, MEDION guarantees that this device complies with the ENERGY STAR® direc- tives on optimising the power consumption. -
Page 7: Initial Operation
6. Initial operation 6.1. Installation Attach the monitor stand as shown in the illustration. Carry out this step before connecting up the monitor. Slide the cable holder onto the standing leg as illustrated. Then place the base onto the stand on the device. Ensure that the connecting piece fits into the recess on the device and the base clicks into place. -
Page 8: Supported Monitor Settings
6.3. Supported monitor settings This monitor supports the following modes Resolution Horizontal frequency Vertical frequency 720 x 400 31,47 kHz 70 Hz 640 x 480 31,47 kHz 60 Hz 640 x 480 35 kHz 67 Hz 640 x 480 37,8 kHz 72 Hz 640 x 480 37,5 kHz... -
Page 9: Monitor Settings Under Windows 7
6.5. Monitor settings under Windows ® For Windows® 7, adjust the monitor settings in the Windows program “Appearance and Personalization”. The program can be started as follows: Right-click on the Windows desktop and left-click on “Customize”. Via Start Control Panel Appearance and Personalization by double-clicking the left mouse button. ... -
Page 10: Rear Connections
6.7. Rear connections On/Off switch (POWER SWITCH) Power supply (AC POWER IN) Height-adjustable cable holder Display port connection (DP) HDMI connection (HDMI) D-Sub mini 15-pin connection (VGA) Audio connection 3.5 mm stereo jack (AUDIO IN) Headphone jack CAUTION! Using headphones/earphones at high volume can result in permanent damage to your hear- ing. -
Page 11: Connecting The Monitor
6.8. Connecting the monitor Prepare your computer for the monitor as necessary so that the correct settings are available for your monitor. Make sure that the monitor is not connected to the mains (mains plug is not yet inserted) and the monitor and the computer are not switched on. -
Page 12: Setting Up The Monitor
6.9. Setting up the monitor In order to be able to work optimally, you can adjust both the inclination and the height of the monitor. In addition, it is also possible to change the orientation of the monitor from landscape to portrait format Set up the monitor in such a way as to avoid reflections, glare, and excessive contrast. - Page 13 6.9.2. Adjusting the height of the monitor You can adjust the height of the monitor by pulling the monitor up or pushing in down with both hands. 6.9.3. Adjusting the inclination of the monitor / turning the monitor Set the inclination of the monitor by tiling it horizontally either up or down using both hands. ...
-
Page 14: Operating Elements
7. Operating elements This button starts the OSD (on screen display). Press the button to exit the OSD. + Blocking of On/Standby button, with deactivated OSD + Blocking of the OSD menu button, with deactivated OSD To activate/deactivate, keep the key combination pressed down until the displayed bar has moved completely from left to right. -
Page 15: Setting The Screen
8. Setting the screen The OSD (On Screen Display) menu lets you set specific screen parameters. 8.1. Using the OSD menu Touch the button to activate the OSD. Use the / buttons to select the options from the main menu. Confirm your selection with the ... - Page 16 COLOUR SETTINGS PICTURE MODE offers an optimal display environment corresponding to the dis- played content STANDARD is suitable for general Windows environments and standard monitor settings GAME is optimum for PC/TV games VIDEO is optimum for playing back movies and mov- ing pictures LANDSCAPE is optimum for displaying landscape pictures...
-
Page 17: Power-Saving Options
9. Power-saving options This monitor switches to different power-saving modes which are specified by the respective computer/operating sys- tem. This complies with the current requirements for reducing the energy consumption. The monitor supports the following types of power-saving modes: Power consumption (nominal Colour of Status Standby (approx.) -
Page 18: Do You Need More Help
10.1.7. The display is too bright or too dark: • Check if the video output level of the computer matches the technical data of the monitor. • Select Autom. adjustment to optimise the settings for brightness and contrast. For optimisation, the display should show a text page (e.g. -
Page 19: Pixel Defects On Screens
However, these approaches were mostly very compli- cated and varied from one manufacturer to the next. When handling warran- blue ty issues for all of its display products, MEDION therefore adheres to the strict green and transparent requirements of the standard ISO 9241-307, Class II; which Sub-Pixel has been briefly summarised below. -
Page 20: Technical Data
14. Technical data Model P55664 (MD 20664) Screen size 61 cm (24”), TFT with LED-backlight Format (aspect ratio) 16:9 Input voltage AC 100-240 V ~ 50/60 Hz 0.8 A Resolution 1920 x 1080 pixels Brightness 250 cd/m² (typ.) Contrast ratio 1,000:1 (typ.) Dynamic contrast ratio 5,000,000:1... -
Page 21: Legal Notice
This operating manual is protected by copyright. Mechanical, electronic and any other form of reproduction is prohibited without the written per- mission of the manufacturer Copyright is owned by the company: Medion AG Am Zehnthof 77 45307 Essen Germany The operating manual can be reordered via the service hotline and is available for download via the service portal at www.medion.com/gb/service/start/.
Need help?
Do you have a question about the MD 20664 and is the answer not in the manual?
Questions and answers