Table of Contents
Advertisement
Advertisement
Table of Contents

Related Manuals for Packard Bell iXtreme


Summarization of Contents
Overview and Preparation
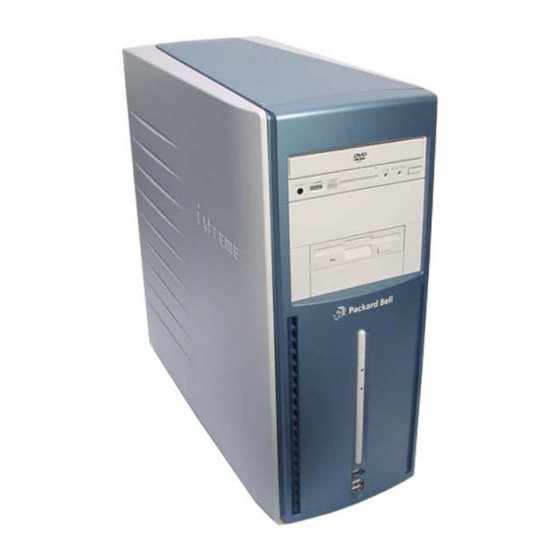
Overview
Introduction to the disassembly manual and its purpose.
Technician Notes
Notes for authorized technicians regarding repair procedures and component-level modifications.
Disassembly Instructions
General rules to follow when disassembling the system unit.
Reassembly Instructions
Instructions for reassembly, emphasizing proper placement and tightening of parts.
Required Tools
Lists the necessary tools for all disassembly procedures.
Safety Precautions and Warnings
Hazardous Voltage
Warning about hazardous voltage present when the computer is connected to AC supply.
Avoid Electrostatic Discharge
Precautions to prevent damage to electronic components from static electricity.
Power Supply Unit Warning
Warning against disassembling the power supply due to hazardous voltages.
System Operation Warning
Ensures the computer is disconnected from power and telecommunications before removing the cover.
Component Disassembly Procedures
Removing the Rear Bezel
Steps to remove the rear bezel from the computer chassis.
Removing the Left Side Cover
Steps to remove the left side cover of the computer chassis.
Removing the Right Side Cover
Steps to remove the right side cover of the computer chassis.
Removing the Front Bezel
Steps to remove the front bezel from the computer chassis.
Removing the Drive Bracket
Steps to remove the drive bracket containing DVD/CD-ROM and floppy drives.
Removing the DVD/CD-ROM Drive
Steps to remove the DVD or CD-ROM drive from its bay.
Removing the Floppy Disk Drive
Steps to remove the 3.5-inch floppy disk drive from its bay.
Removing the Hard Disk Drive
Steps to remove the hard disk drive from the chassis.
Removing Add-In Cards
Steps to remove expansion cards from their slots.
Removing the Front USB Port
Steps to remove the front USB port assembly.
Removing the Switch/LED Assembly
Steps to remove the power switch and LED assembly.
Removing the CPU
Steps to remove the Central Processing Unit (CPU) from the motherboard.
Removing the Pentium 4 CPU
Additional steps for removing a Pentium 4 CPU, including its heat bracket.
Removing the System Fan
Steps to remove the system cooling fan.
Removing the Motherboard
Steps to remove the main circuit board (motherboard) from the chassis.
Removing the Power Supply
Steps to remove the computer's power supply unit.
Need help?
Do you have a question about the iXtreme and is the answer not in the manual?
Questions and answers