
Related Manuals for Samsung SP-L301


Summarization of Contents
Major Safety Precautions
Before You Start
Provides an overview of icons used in the manual and general guidance for using the manual and copyright notice.
Care and Maintenance
Details on how to clean the projector's surface, lens, and interior to maintain its condition and performance.
Safety Precautions
Covers warning and caution symbols, meaning of signs, and specific safety guidelines for power, installation, and usage.
Installation and Connection
Package Contents
Lists and illustrates all items included in the projector package for user verification upon unpacking.
Installing the Projector
Provides guidance on projector placement, screen alignment, and optimal installation locations for image quality.
Leveling with Adjustable Feet
Explains how to use the adjustable feet to level the projector for optimal image projection and discusses keystone distortion.
Zoom and Focus Adjustment
Details how to use the zoom knob and focus ring to adjust image size and clarity for optimal picture quality.
Screen Size and Projection Distance
Provides a detailed table with screen diagonal sizes, horizontal/vertical dimensions, and corresponding throw distances.
Adjusting H-Keystone and V-Keystone
Guides users through adjusting horizontal and vertical keystone correction to achieve a rectangular projected image.
Lamp Replacement
Offers cautions and a step-by-step procedure for safely replacing the projector lamp.
Rear Side Connections
Identifies and labels all the ports and connectors available on the rear panel of the projector.
Setting Up the PC Environment
Explains how to configure PC display settings like resolution and refresh rate for optimal projector compatibility.
Supported Display Modes
Lists supported PC timing formats, resolutions, and frequencies for D-Sub/HDMI and AV connections.
Connecting the Power
Provides instructions on how to properly connect the projector to a power source using the power cord.
Connecting with a PC
Details how to connect a PC to the projector using a video cable and an audio cable, and how to select the PC source.
Connecting a PC via HDMI/DVI
Explains the process of connecting a PC to the projector using HDMI or DVI cables, including audio connections.
Connecting an External Monitor
Describes how to connect an external monitor simultaneously with the projector for dual display.
Connecting HDMI-Compatible Devices
Guides on connecting digital output devices like Blu-ray players or set-top boxes using HDMI/DVI cables.
Connecting AV Device via D-Sub
Details how to connect AV devices using a D-Sub cable for video and audio input.
Connecting AV Device with Component Output
Explains how to connect AV devices with component output using a D-Sub to Component cable.
Connecting via Video/S-Video
Provides instructions for connecting AV devices using Video or S-Video cables for signal input.
Connecting an External Speaker
Details how to connect external speakers to the projector for enhanced audio output.
Connecting to a Network
Explains how to connect the projector to a network, covering both Dynamic (DHCP) and Static IP configurations.
Kensington Lock Security
Describes the use of a Kensington lock for anti-theft security and how to attach it to the projector.
Using the Projector
Product Features
Highlights key features such as LCD technology, brightness levels, multiple inputs, audio output, and network functionality.
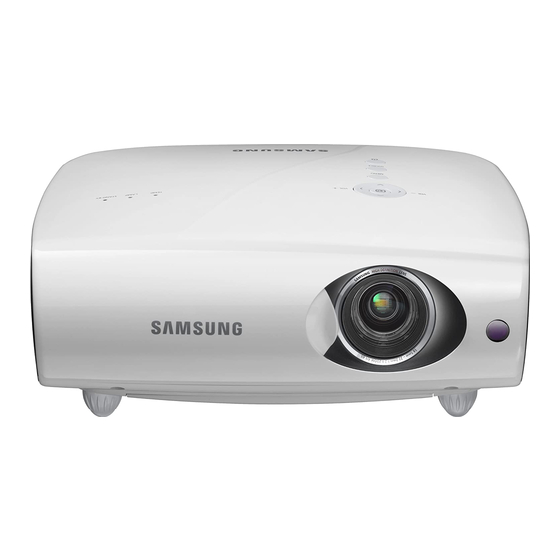
Front and Upper Panel Overview
Identifies and describes the indicators, buttons, lens, and signal receiver on the front and upper panels.
Remote Control Functions
Details the function of each button on the remote control for operating the projector.
LED Status Indicators
Explains the meaning of the LED indicators (Standby, Lamp, Temp) and their corresponding status meanings.
Screen Adjustment Menu (OSD)
Provides a structural overview of the OSD menu and details on input source selection and picture adjustments.
Network Management
Explains how to manage and control the projector remotely via a web browser or PC software.
Troubleshooting Guide
Before Requesting Service
Offers common troubleshooting steps for installation, connection, menu, and remote control issues before contacting support.
More Information
Product Specifications
Lists detailed technical specifications for models SP-L301, SP-L331, and SP-L351, including dimensions, power, and input signals.
RS-232C Command Table
Details the communication format and command structure for serial control of the projector via RS-232C.
Contact SAMSUNG Worldwide
Provides contact information, including phone numbers and websites, for Samsung customer support across various regions.
Need help?
Do you have a question about the SP-L301 and is the answer not in the manual?
Questions and answers