Table of Contents
Advertisement
f
®
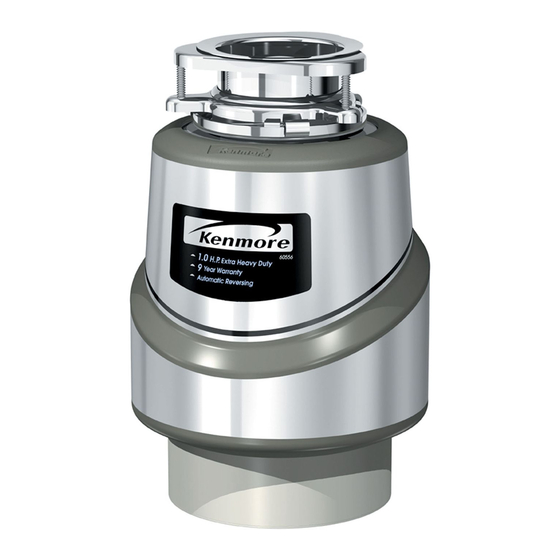
FOOD WASTE DISPOSERS
Installation, Care & Use Manual
TOOLS AND MATERIALS YOU WILL NEED:
Slotted Screwdriver, Adjustable Pliers, Plumber's Putty,
Electrical Tape
TOOLS, MATERIALS,
AND ACCESSORIES
YOU MAY NEED:
Phillips Screwdriver, Drain Auger, 3/8" Electrical Clamp
Connector, Wire Nuts (2), Second 1 1/2" Drain Trap,
Hammer, Hacksaw, Water Hose Clamp, Pipe Wrench,
Copper Ground Wire, Dishwasher Drain Connection Kit, Air
Gap, Electrical On/Off Switch, Drain Tube Extension
Read through
the entire Installation,
Care
& Use manual
before
installing
the dis-
poser. Determine
which
of the tools,
materials,
and accessories
you will need
before you begin. Make sure you have all
necessary
disposer
parts before
install-
ing the disposer
(see part identification
diagram
below).
(_/A
JlB
O--c
O--G
Mounting
Assembly
A: Stopper
B: Sink Flange
C: Fiber Gasket
D: Backup Ring
E: Mounting Ring
F: Screws (3)
G: Snap Ring
Disposer
H: Mounting Gasket/Splash Baffle
1: Lower Mounting Ring
J: Dishwasher Inlet
K: Discharge Outlet
L: Wrenchette
_
@-N
#1
.-0
OR
--#2
___N
Two-Bolt Discharge
N: Bolt (2)
_10:
Discharge Tube (1-1/2" Diam.)
P: Flange
Q: Gasket
OR
One-Bolt Discharge
N: Bolt
#20:DischargeTube
(1-1/2" Diam.)
P: Flange
Q: Gasket
SAFETY
SYMBOLS
Danger indicates an
imminently hazardous situation which,
if not avoided, will result in death or
serious injury.
It" WARNINGI
Warning indicates
a potentially hazardous situation
which, if not avoided, could result in
death or serious injury.
[_kCAUTION]
Caution indicates a
potentially hazardous situation which,
if not avoided, may result in minor or
moderate injury,
Advertisement
Table of Contents


Need help?
Do you have a question about the 60581 - 3/4 HP Food Waste Disposer and is the answer not in the manual?
Questions and answers