Advertisement
What's in the box
Your Hisense XClass TV comes with the following items:
- TV
- 1 set of AAA (1.5Vcc) batteries
- Remote control
- Power cord
- 4 screws (M4x16 for 43" TVs)
4 screws (M4x12 for 50" TVs) - Quick Setup Guide (this document)
- 2 base stands
- Important safety information and warranty card

To prevent accidentally discarding items that came with your TV, be sure to check ALL of the foam in the box.

- Please check foam for accessories before discarding.
You will also need the following items (which are not included) to set up your TV:
- Wireless router for Internet connectivity
- Phillips screwdriver to secure the TV stand
- HDMI and other types of cables to connect external devices to the TV
- Optional: Wall mount and screws to mount the TV on the wall
Getting started
Attach stand or mount
Before using your TV, attach your TV stand or mount it on the wall.

- Disconnect the AC power cord before installing a stand or a wall mount bracket.
- The LED display on your TV is fragile. Make sure the TV screen is not scratched or damaged by hard objects or from pressure.
- After the installation is complete, make sure the TV is steady on a table or firmly attached to a wall mount before removing all protective film, if any.
Attach the TV stand
To attach the TV stand legs to your TV:

- Carefully place your TV face down on a clean, soft and flat surface.
- Insert the TV base stands into the bottom slots on your TV.
- Use the screws provided to secure each leg tightly.
Attach the wall mount bracket (not included)
Before you begin the third-party manufacturer instructions, be sure to do the following things:

- Place the TV face down on a clean, safe and cushioned surface.
- Remove the TV stand if you have already attached it.
- Place spacers (not included) in the corresponding bracket holes.
- Follow instructions provided with the wall mount bracket. If it is not correctly mounted, the TV may fall and cause property damage or personal injury.
- When you attach the mount, be sure to use spacers (provided by the third-party manufacturer) between the TV and the bracket.
- To prevent internal damage to the TV and to ensure it is mounted securely, be sure to use fixing screws (not included) that are 8.0 - 10.0 mm in length when measured from the attaching surface of the rear cover.
- Make sure the tilt angle between the TV screen and the vertical surface is no more than 15 degrees.

Wall mount hole pattern (mm) 200 × 300 Wall mount screw size M6

NOTE:
- If you have additional questions, please contact the wall mount manufacturer or the retailer from which you purchased the TV.
- The diameter and length of the screws differ depending on the wall mount bracket model.
Connect devices to your TV
Check to ensure that you have connected right cables for right ports securely. Loose connections can affect picture image and color.


Get your remote ready

Set up your remote in just a few easy steps

- Push the battery cover down and slide it off the remote
- Insert the included batteries
- Replace the battery cover
Pairing your remote to a new TV
If you set up your remote within 15 minutes of plugging in your TV for the first time, your remote will automatically pair. Your remote should pair automatically, but if you experience any issues, please follow instructions under "Pairing your remote to an existing TV".
Pairing your remote to an existing TV
- Press the
![]() button
button - Follow the on-screen instructions
- If you're having trouble, try pressing and holding the 1 and 3 buttons simultaneously for 3 seconds
Pairing your remote to a sound system
- Press the
![]() button
button - Select Remote > Pair your remote and sound system
- Follow the on-screen instructions
- Properly dispose of old batteries in a designated area. Do not throw old batteries into a fire
- Remove old batteries immediately to prevent them from leaking
- Remove the batteries from your remote if you don't intent to use it for a while
- If the batteries leak, be sure to clean the battery compartment. Wash your skin immediately if you come into contact with battery chemicals
- Do not mix old and new batteries
- Do not mix alkaline, standard (carbon-zinc), or rechargeable (for example NiCd or NiMH) batteries
- If your remote gets warm or hot during use, stop using it and contact customer support immediately at www.hisense-usa.com/support
Power on the TV
Connect your power cord to the TV and plug it into a power outlet.
Your TV will display a launch screen showing the Hisense XClass TV logo.

Set up your TV
Turn on your TV and follow the on-screen instructions to connect it to the Internet and set your preferences.
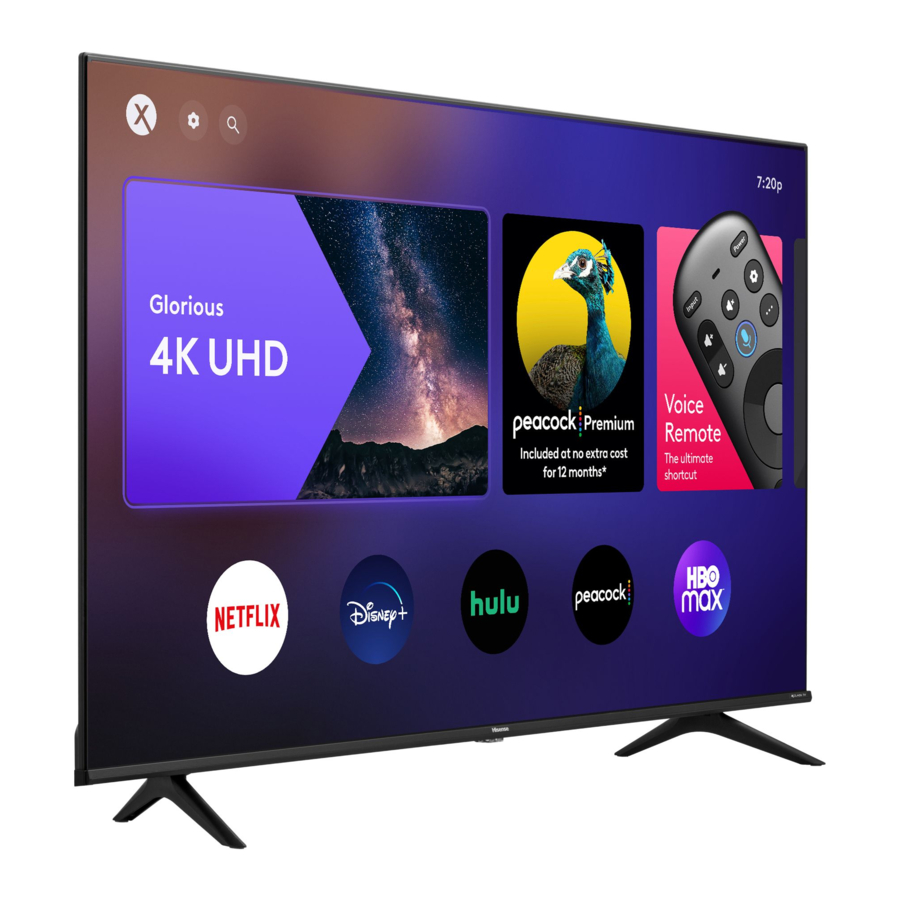
Enjoy your TV!
Your Hisense XClass TV gives you access to instant entertainment, all in one place. Connect to your favorite apps to start streaming today. Plus, a personalized launchpad gives you a tailored experience.
Press the Home button on your remote to get started.
Voice Guidance and Audio Description (AD)
Voice Guidance and Audio Description (AD) can help you to navigate on-screen menus and hear audio descriptions of compatible programs. Voice Guidance reads written text aloud to help convey information. Audio Description (AD) narrates compatible programs by describing main visual elements.
Follow the steps below to turn on these features:
- Press the Settings button on your remote.
- Select Accessibility > Voice Guidance or Accessibility > Audio Description (AD).
Troubleshooting
If you are having trouble with your TV, first try turning it off and on again. If this does not fix the problem, check the tips in the following table. If your problem is not listed, then contact us.
| Issues | Possible solutions |
| No sound or picture |
|
| I have connected an external source to my TV but there is not picture or sound. |
|
| When I turn on my TV, there is a delay for a few seconds before the picture appears. |
|
| The picture is normal but there is no sound. |
|
| The sound is on but there is no picture, or the picture is in black and white. |
|
| The sound and/or picture is distorted or appears wavy. |
|
| The sound and picture is blurry or cuts out. |
|
| A horizontal or vertical stripe appears on the picture and/or the picture is shaking. |
|
| The TV makes a "clicking" type of sound. |
|
| The remote control does not work. |
|
Product Specifications
| Model Name | 43A6GX | 50A6GX | |
| Dimension (W × H × D | Without Stand | 37.9 × 22.0 × 2.9 in (963 × 560 × 74 mm) | 44.0 × 25.4 × 2.9 in (1117 × 646 × 74 mm) |
| With Stand | 37.9 × 24.2 × 7.7 in (963 × 614 × 196 mm) | 44.0 × 27.9 × 8.9 in (1117 × 709 × 225 mm) | |
| Weight | Without Stand | 15.0 lbs (6.8 kg) | 21.6 lbs (9.8 kg) |
| With Stand | 15.2 lbs (6.9 kg) | 22.0 lbs (10.0 kg) | |
| TV Stand Width (W × D) | 32.9 × 7.7 in (835 × 196 mm) | 38.0 × 8.9 in (964 × 225 mm) | |
| Class | 43" (109.2 cm) | 50" (127.0 cm) | |
| Active Screen Size (Diagonal) | 42.5 in (107.9 cm) | 49.5 in (125.7 cm) | |
| Screen Resolution | 3840 × 2160 | ||
| Audio Power | 7 W + 7 W | 8 W + 8 W | |
| Power consumption | 100 W | 120 W | |
| Power Supply | 120 V ~ 60 Hz | ||
| Connectivity | Built-in Wireless feature (2x2 dual band) | ||
| Ports | 3 HDMI ports, 1 LAN port for Ethernet, 1 Digital Audio Output, 1 RF Input, 1 Headphone Audio Output, 1 RCA Composite Video Input, 1 left/right Audio Input for Composite | ||
| Receiving Channels | VHF: 2 - 13, UHF: 14 - 69 Digital Terrestrial Broadcast (8VSB): 2 - 69 | ||
| Tuner Type | Frequency synthesized | ||
| Receiving System | ATSC | ||
| Operating Temperature | 41°F - 95°F(5°C - 35°C) | ||
| Operating Humidity | 20% to 80% non-condensing | ||
| Storage Temperature | 5°F to 113°F(-15°C to 45°C) | ||
| Storage Humidity | 10% to 70%, non-condensing | ||
Disclaimer: All products, product specifications, and data are subject to change without notice to improve reliability, function, design or otherwise.
The model and serial number of the TV is located on the back or side of the TV. We recommend that you record this information if you ever need service.
| Country | Customer Care Center | Hisense Support Page | Device Registration | XClass TV Privacy Policy |
| U.S.A |
| http://www.hisense-usa.com/support/
| http://www.hisense-usa.com/support/register
| http://www.xclasstv.com/privacy/policy
|


Disclaimer: This Quick Setup Guide is intended as a general guideline to help you set up your TV. Images throughout this document are for illustrative purposes only and may differ from the actual product.
Documents / Resources
References
![www.hisense-usa.com]() Hisense Support - For All Your Appliance Needs - Hisense USA
Hisense Support - For All Your Appliance Needs - Hisense USA![www.hisense-usa.com]() Hisense Support - For All Your Appliance Needs - Hisense USA
Hisense Support - For All Your Appliance Needs - Hisense USA![www.hisense-usa.com]() Product Registration Form - Register Today - Hisense USA
Product Registration Form - Register Today - Hisense USA![www.xclasstv.com]() http://www.xclasstv.com/privacy/policy
http://www.xclasstv.com/privacy/policy
Download manual
Here you can download full pdf version of manual, it may contain additional safety instructions, warranty information, FCC rules, etc.
Advertisement


Need help?
Do you have a question about the XClass and is the answer not in the manual?
Questions and answers