Advertisement
Introduction
To fully benefit from the support that Philips offers, register your product at www.philips.com/welcome.
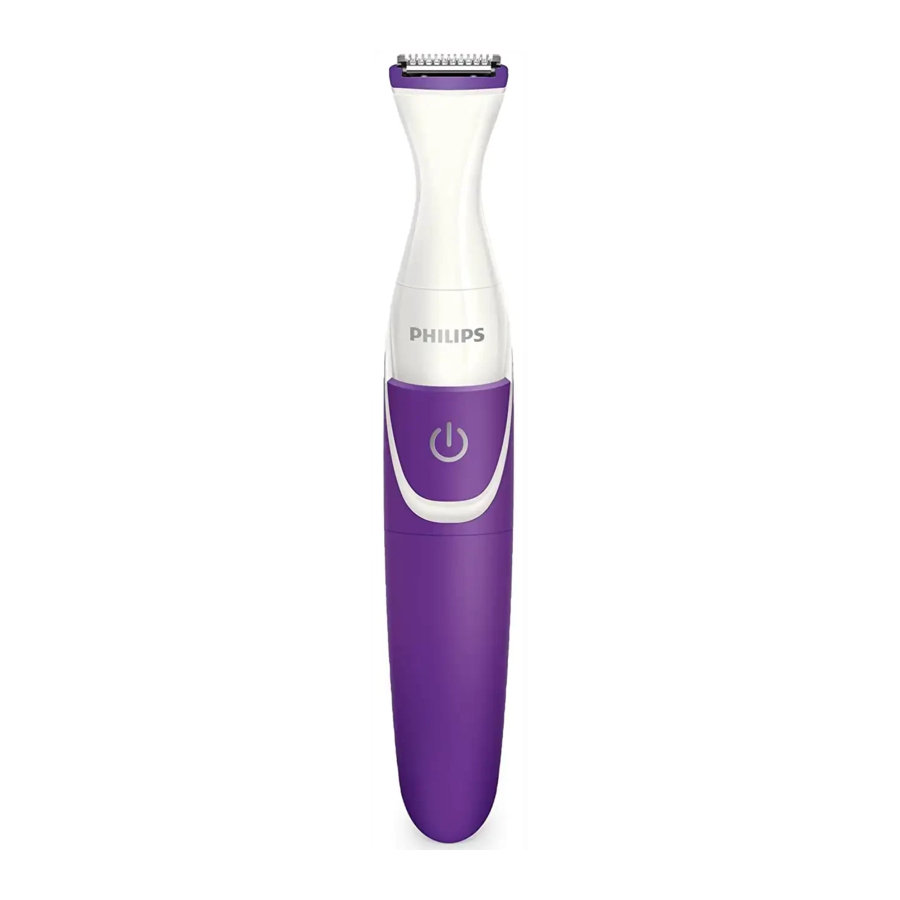
General description

- Precision trimming head
- Handle
- On/off slide
- Locking indicator
- 'Locked' indication
- 'Unlocked' indication
- Battery compartment cover
- Precision shaving head (BRT383, BRT382 only)
- Long trimming comb (L) (BRT383 only)
- Medium trimming comb (M)
- Cleaning brush
- Disposable AA alkaline battery
Preparing for use
Placing the batteries
- To remove the battery compartment cover, turn it clockwise until the locking indicator points to the 'unlocked' indication. (Fig. 3)
![]()
- Pull the battery compartment cover off the handle (Fig. 4).
![]()
- Put the battery in the battery compartment (Fig. 5).
Make sure the + and - poles of the battery point in the right direction.
Note: The appliance runs on one R6 AA 1.5-volt battery (included). Preferably use Philips alkaline batteries. A new AA alkaline battery has an operating time of up to 2 hours.
![]()
- Slide the battery compartment cover back onto the handle. (Fig. 6)
![]()
- Turn the battery compartment cover anticlockwise until the locking indicator points to the 'locked' indication. (Fig. 7)
![]()


To avoid damage due to battery leakage:
- do not expose the appliance to direct sunlight.
- do not expose the appliance to temperatures higher than 35°C.
- remove the battery if you are not going to use the appliance for a month or more.
- do not leave an empty battery in the appliance.
Attaching and detaching attachments
Note: The precision trimming head and precision shaving head can be attached and detached in the same way.
- To attach one of the attachments, align the locking indicator on the attachment with the 'unlocked' indication and put the attachment on the handle. Then turn the attachment clockwise until the locking indicator points to the 'locked' indication (I). (Fig. 8)
![]()
- To detach the attachment, turn it anticlockwise until the locking indicator points to the 'unlocked' indication. Then pull the attachment off the handle. (Fig. 9)
![]()


Using the appliance
When you trim for the first time, be careful and test the appliance on a small part of your arm or leg. Do not move the trimmer too fast. Make smooth and gentle movements.
If any irritation or allergic reaction occurs, discontinue use immediately. Do no use the appliance on sensitive or irritated skin.
Trimming with the precision trimming head
With the precision trimming head without trimming comb, you can trim hairs to a length of 0.5mm.
- Put the precision trimming head on the appliance (see section 'Attaching and detaching the attachments' in chapter 'Preparing for use'). (Fig. 8)
- Switch on the appliance. (Fig. 10)
![]()
- Touch the hairs lightly with the precision trimming head and move it against the direction of hair growth. (Fig. 11)
Note: You can use the precision trimming head with the trimmer teeth pointing towards the skin. You can also use it with the flat part touching the skin and the teeth pointing in the direction in which you move the appliance (Fig. 12).
![]()
![]()
- Switch off the appliance (Fig. 13).
![]()


Trimming with precision trimming head with trimming comb
- Put the precision trimming head on the appliance (see section 'Attaching and detaching the attachments' in chapter 'Preparing for use'). (Fig. 8)
- Choose the short, medium or long trimming comb, depending on the desired hair length. The indications 'M' and 'L' (BRT383 only) are on the combs.
- Medium trimming comb (M): 3mm
- BRT383 only: Long trimming comb (L): 5mm
Tip BRT383: We advise you to start trimming with the long comb.
- Slide the trimming comb onto the front of the precision trimming head and push it onto the back until it locks into place ('click'). (Fig. 14)
![]()
- Switch on the appliance. (Fig. 10)
- Move the appliance slowly and with light pressure against the direction of hair growth. (Fig. 15)
![]()
Note: To make trimming easier, stretch the skin with your free hand during trimming (Fig. 16).
![]()
Note: Make sure that the flat part of the comb always touches the skin to obtain an even result (Fig. 17).
Note: Do not press the appliance with the comb onto the skin too hard. This may cause the appliance to trim the hairs shorter than the length indicated on the comb.
Note: In areas where the hair grows in different directions, move the appliance upwards, downwards and sideways.
![]()
- Regularly remove cut hairs from the comb. If a lot of hairs have accumulated in the comb, detach the comb from the appliance and blow and/or shake the hairs out of it.
- Switch off the appliance (Fig. 13).


Shaving with the precision shaving head (BRT383, BRT382 only)
- Put the precision shaving head on the appliance (see section 'Attaching and detaching the attachments' in chapter 'Preparing for use'). (Fig. 18)
![]()
- Make sure that the whole shaving head is in contact with the skin. As hairs grow in different directions, move the appliance in different directions (upwards, downwards and sideways) (Fig. 19).
![]()
- Switch off the appliance (Fig. 13).


Cleaning
Clean the appliance immediately after use and when a lot of hair or dirt has accumulated on the cutting elements.
Never use compressed air, scouring pads, abrasive cleaning agents or aggressive liquids such as petrol or acetone to clean the appliance.
Do not tap on the cutting elements.
Do not use any sharp objects to clean the cutting elements.
- Switch off the appliance.
- Rinse the precision trimming head, the trimming combs and the precision shaving head with lukewarm water (Fig. 20).
![]()
- Let all parts dry completely before you use the appliance again.

Ordering accessories
If the trimming combs are damaged or worn, always replace them with original Philips trimming combs. If the cutting element of the precision trimming head or precision shaving head is damaged or worn, replace it.
To buy accessories or spare parts, visit www.shop.philips.com/service or go to your Philips dealer. You can also contact the Philips Consumer Care Centre in your country (see the worldwide guarantee leaflet for contact details).
Guarantee and support
If you need information or support, please visit the Philips website at www.philips.com/support or read the worldwide guarantee leaflet.
Troubleshooting
This chapter summarises the most common problems you could encounter with the appliance. If you are unable to solve the problem with the information below, visit www.philips.com/support for a list of frequently asked questions or contact the Consumer Care Centre in your country.
| Problem | Cause | Solution |
The appliance does not shave long hairs | The hairs are too long. | Pre-trim long hairs with the precision trimming head and move the appliance against the direction of hair growth. Make sure that the appliance is fully in contact with the skin. |
The appliance does not work as well as it should | Hairs may be stuck in the precision trimming head or precision shaving head. | Clean the precision trimming head or the precision shaving head (see chapter 'Cleaning'). |
The appliance pulls at the hairs | You move the appliance too fast. | Do not move the appliance too fast. |
| The disposable battery is empty. | Insert a new battery. | |
The appliance works, but the result is uneven | You press the appliance onto the skin too hard. | Do not press the appliance onto the skin too hard, as this may cause the hair length after trimming to be shorter than the indicated hair lengths. |
| The precision trimming comb is not in full contact with the skin. | When you use one of the combs, always make sure it is fully in contact with the skin. | |
| Always move the appliance against the direction of hair growth. As not all hairs grow in the same direction, this means that you have to move the appliance up, down and sideways. | ||
The appliance does not work | The disposable battery is empty or has been inserted incorrectly. | Replace the battery or insert it correctly. |
Important
Read this user manual carefully before you use the appliance and save it for future reference.

- This appliance is not intended for use by persons with reduced physical, sensory or mental capabilities or lack of experience and knowledge, unless they have been given supervision or instruction concerning use of the appliance by a person responsible for their safety.
- Children should be supervised to ensure that they do not play with the appliance.

- Always check the appliance before you use it. Do not use the appliance if any of its parts is damaged or broken, as this may cause injury.
- Only use this appliance for its intended purpose as shown in the user manual.
- If the appliance is subjected to a major change in temperature, pressure or humidity, let the appliance acclimatise for 30 minutes before you use it.
- For hygienic reasons, the appliance should only be used by one person.
- Be careful with hot water when you clean the attachments. Always check if the water is not too hot, to prevent your hands from getting burnt.
- Never use compressed air, scouring pads, abrasive cleaning agents or aggressive liquids such as petrol or acetone to clean the appliance.
- Only operate the appliance on one nonrechargeable 1.5V R6 AA battery.
- Use and store the appliance at a temperature between 15°C and 35°C.
- Do not expose the appliance to direct sunlight.
- Remove the battery from the appliance if you are not going to use it for some time.
- Maximum noise level: Lc= 75 dB(A).
Compliance with standards
- This Philips appliance complies with all applicable standards and regulations regarding exposure to electromagnetic fields.
- This appliance complies with the internationally approved IEC safety regulations and can be safely cleaned under the tap (Fig. 1).
![]()

Documents / Resources
References
![www.philips.com]() Product registration | Philips
Product registration | Philips![www.philips.com]() Philips Customer Service Support - Home | Philips
Philips Customer Service Support - Home | Philips![www.shop.philips.com]() Philips - United States | Philips
Philips - United States | Philips
Download manual
Here you can download full pdf version of manual, it may contain additional safety instructions, warranty information, FCC rules, etc.
Advertisement


Need help?
Do you have a question about the BRT383 and is the answer not in the manual?
Questions and answers