Philips QC5570 Manual
- User manual (150 pages) ,
- Manual (40 pages) ,
- Instruction manual (40 pages)
Advertisement
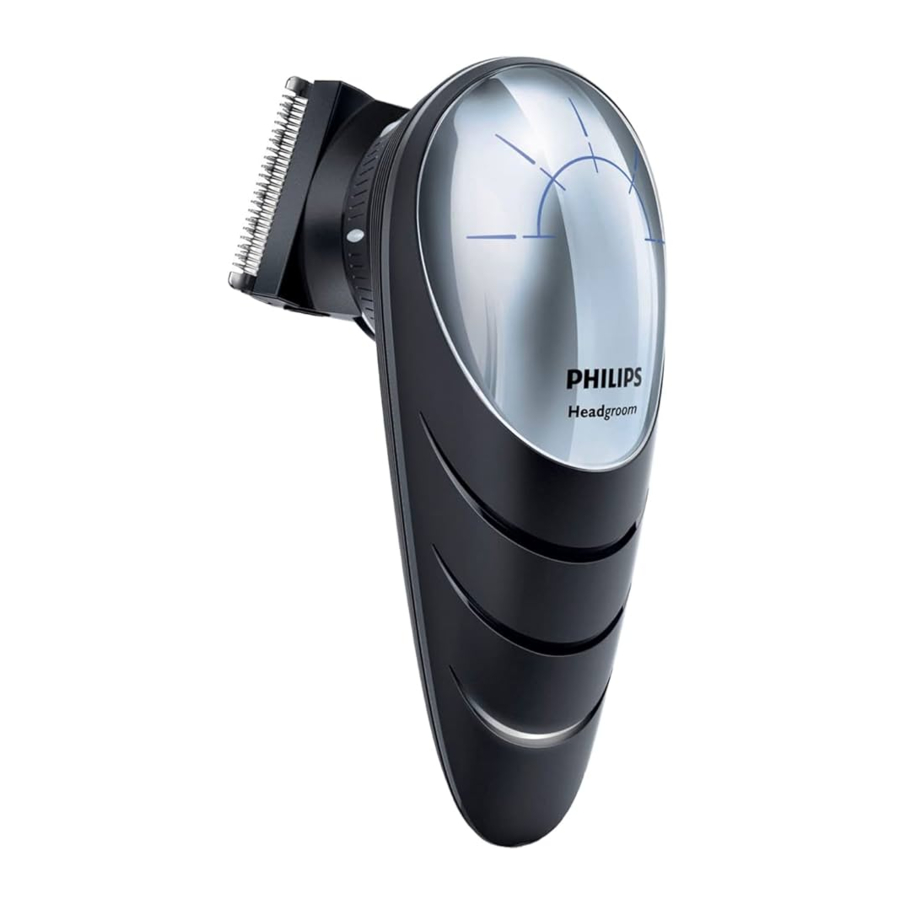
General description

Charging
Charge the appliance for at least 1 hour before you use it for the first time or after a long period of non-use.
When the appliance is fully charged, it has a cordless clipping time of up to 1 hour.
When the charging light flashes orange, the battery is running low (approx. 10 minutes of operating time left) and you need to charge the appliance.
- Make sure the appliance is switched off.
- Insert the appliance plug into the appliance and insert the adapter into the wall socket.
![]()
- The charging light starts to flash white to indicate that the appliance is charging.
![]()
- When the battery is fully charged, the charging light lights up white continuously.
- After approx. 30 minutes the charging light goes out to save energy.
- The charging light starts to flash white to indicate that the appliance is charging.


Optimising the lifetime of the rechargeable battery
Discharge the rechargeable battery completely twice a year by letting the motor run until it stops. Then fully recharge the battery.
Corded clipping
- Switch off the appliance.
- Connect the appliance to the mains and wait a few seconds before you switch it on.
Note: If the battery is completely empty, wait a few minutes before you switch on the appliance.
Using the appliance
Make sure your hair is clean and dry. Do not use the appliance on freshly washed hair.
Preparing for hair clipping
- Comb your hair with a styling comb in the direction of hair growth.
![]()

Clipping with comb attachment
- Insert the edge of the comb attachment into the swivel head.
Make sure the comb attachment locks into position properly
![]()
Note: The length settings are indicated on the comb attachment.
![]()
- Turn the length setting adjustment ring to set the comb attachment to the desired setting.
![]()
- The arrowhead on the appliance indicates which setting you have selected.
Tip: Use different settings to create a natural and smooth transition between the various hair lengths from your neckline to the top of your head.
![]()
Do not turn the length setting adjustment ring beyond the highest setting.
- The arrowhead on the appliance indicates which setting you have selected.
- Turn the swivel head to the position that is most comfortable for your arm when you clip the different parts of your head.
Using the swivel head- From its starting position of 0° (pointing forwards), you can turn the swivel head 45° or 90° to the left or right. This enables you to adjust the position of the cutting element to the part of your head that you are clipping. This makes it much easier to clip your own hair.
![]()
- To set the cutting element to the desired position, turn the swivel head ('click').
![]()
Note: Always adjust the position of the cutting element by turning the swivel head. Do not turn the cutting element or the comb attachment.
Note: Do not turn the swivel head more than 90° to the left or right. - The swivel head allows you to hold and use the appliance like a styling comb.
![]()
- From its starting position of 0° (pointing forwards), you can turn the swivel head 45° or 90° to the left or right. This enables you to adjust the position of the cutting element to the part of your head that you are clipping. This makes it much easier to clip your own hair.
- Press the on/off button to switch on the appliance.
QC5570: Press the button briefly.
QC5580: Press the button more than 2 seconds. - Move the clipper through the hair slowly.
- Regularly remove cut hair from the comb attachment.
If a lot of hair has accumulated in the comb attachment, remove the comb attachment from the appliance and blow and/or shake the hair out of it. When you remove the comb attachment, the selected setting does not change.


Tips
- We advise you to start clipping at the highest setting of the regular comb attachment and to reduce the setting gradually.
- To clip most effectively, move the appliance against the hair growth direction.
- Since all hair does not grow in the same direction, you need to move the appliance in different directions (upwards, downwards and across).
![]()
- Make sure that the flat part of the comb attachment is always fully in contact with the scalp to obtain an even result
- Write down the settings you use to create a certain hairstyle as a reminder for future clipping sessions.

Contouring without comb attachment
You can use the appliance without comb attachment to clip your hair very close to the skin (0,5mm) or to contour the neckline and the area around the ears.
Be careful when you clip without comb attachment because the cutting element removes every hair it touches.
- Pull the comb attachment off the swivel head.
![]()
Never pull at the flexible top of the comb attachment. Always pull at the bottom part. - Comb the hair ends over the ears before you start to contour the hairline.
- Press the on/off button to switch on the appliance.
- When you shape the contours around the ears, tilt the appliance in such a way that only one edge of the cutting element touches the hair ends.
![]()
- To contour the neckline and the sideburns, turn the appliance and make downward strokes.
![]()
Note: Move the appliance slowly and smoothly. Just follow the natural hairline. - Adjust the position of the swivel head to make contouring easier.


Shaving
Tip: Shaving is easier when the hairs are shorter than 1mm. If the hairs are longer than 1mm, we recommend that you use the cutting element without the comb attachment to pre-cut hairs to the shortest setting.
- Switch off the appliance.
- Pull the comb attachment off the swivel head.
![]()
- Press the release buttons (1) and remove the cutting unit from the handle (2).
![]()
- Attach the shaving head by pressing it onto the appliance ('click').
![]()
Make sure that the shaving head locks into position properly. - Remove the protection cap from the shaving head.
![]()
- Adjust the position of the swivel head to make shaving easier. You can do this before and/or during use.
![]()
- Place the shaving head on your scalp and start shaving.
![]()
Press the shaving head onto your scalp lightly.
Note: Make sure that the shaving foil is always in full contact with your scalp.


Cleaning and maintenance
Clean the appliance every time you have used it by rinsing it under the tap or with the cleaning brush supplied.
Never use compressed air, scouring pads, abrasive cleaning agents or aggressive liquids such as petrol, acetone or ethereal oils to clean the appliance.
Be careful that the cutting element does not fall on the floor.
Cleaning the cutting element and comb attachments
- Switch off the appliance and disconnect it from the mains.
- Remove the comb attachment.
![]()
- Rinse the comb attachment under the tap or clean it with the cleaning brush supplied.
- Place your thumb in the center of the round side of the cutting element and your index finger on the teeth of the cutting element (1). Use your index finger to lift the cutting element from the swivel head (2).
![]()
- Rinse the cutting element under the tap or clean it with the cleaning brush supplied.
![]()
- Rinse the inside of the appliance under the tap or clean it with the cleaning brush supplied.
![]()
- Insert the lug of the cutting element into the slot (1) and push the cutting element back onto the swivel head (2).
![]()


Cleaning the shaving head
Note: Regulary check the shaving foil for cracks.
- Switch off the appliance and disconnect it from the mains.
- Press the release buttons on the shaving head (1) and remove the shaving foil from the shaving head (2).
![]()
- Rinse the shaving head and shaving foil under the tap.
![]()
Note: To clean the shaving head with the cleaning brush, brush the inside and outside of the shaving head and the outside of the shaving foil. To remove cut hairs from the inside of the shaving foil, tap the bottom of the shaving foil gently on a flat surface. - Press the shaving foil back into the shaving head.
![]()


Storage
- Switch off the appliance and disconnect it from the mains.
- Put the protection cap on the shaving head.
- Store the appliance and its accessories in the storage pouch supplied.
Replacement
Only replace a worn or damaged cutting element with an original Philips cutting element, available from authorised Philips service centres.
For an optimal shaving result, replace the shaving foil and shaving cutter once a year.
To replace the shaving foil and shaving cutter:
- Switch off the appliance and disconnect it from the mains.
- Press the release buttons on the shaving head and remove the shaving foil from the shaving head.
![]()
- Remove the retaining frame from the old shaving foil.
![]()
- Place the retaining frame on the new shaving foil.
![]()
- Remove the old shaving cutters.
![]()
- Place the new cutters on the shaving head ('click').
![]()
- Press the shaving foil back into the shaving head.
![]()


- Make sure the adapter does not get wet.

- The adapter contains a transformer. Do not cut off the adapter to replace it with another plug, as this causes a hazardous situation.
- This appliance is not intended for use by persons (including children) with reduced physical, sensory or mental capabilities, or lack of experience and knowledge, unless they have been given supervision or instruction concerning use of the appliance by a person responsible for their safety.
- Keep the appliance and its cord out of the reach of children.

- Do not use the appliance in the bath or in the shower.
- Use, charge and store the appliance at a temperature between 5°C and 35°C.
- Only use the adapter supplied to charge the appliance.
- If the adapter is damaged, always have it replaced with one of the original type in order to avoid a hazard.
- Do not use the appliance when the shaving head, the cutting element or one of the comb attachments is damaged or broken, as this may cause injury.
- This appliance is only intended for clipping human scalp hair. Do not use it for any other purpose.
- If the appliance is subjected to a major change in temperature, pressure or humidity, let the appliance acclimatise for 30 minutes before you use it.
Documents / ResourcesDownload manual
Here you can download full pdf version of manual, it may contain additional safety instructions, warranty information, FCC rules, etc.
Advertisement


Need help?
Do you have a question about the QC5570 and is the answer not in the manual?
Questions and answers