Black & Decker BXVML700E Manual
- Manual (57 pages) ,
- Instructions for use manual (76 pages)
Advertisement
Introduction
Thanks to its technology, design and operation and the fact that it exceeds the strictest quality standards, a fully satisfactory use and long product life can be assured.
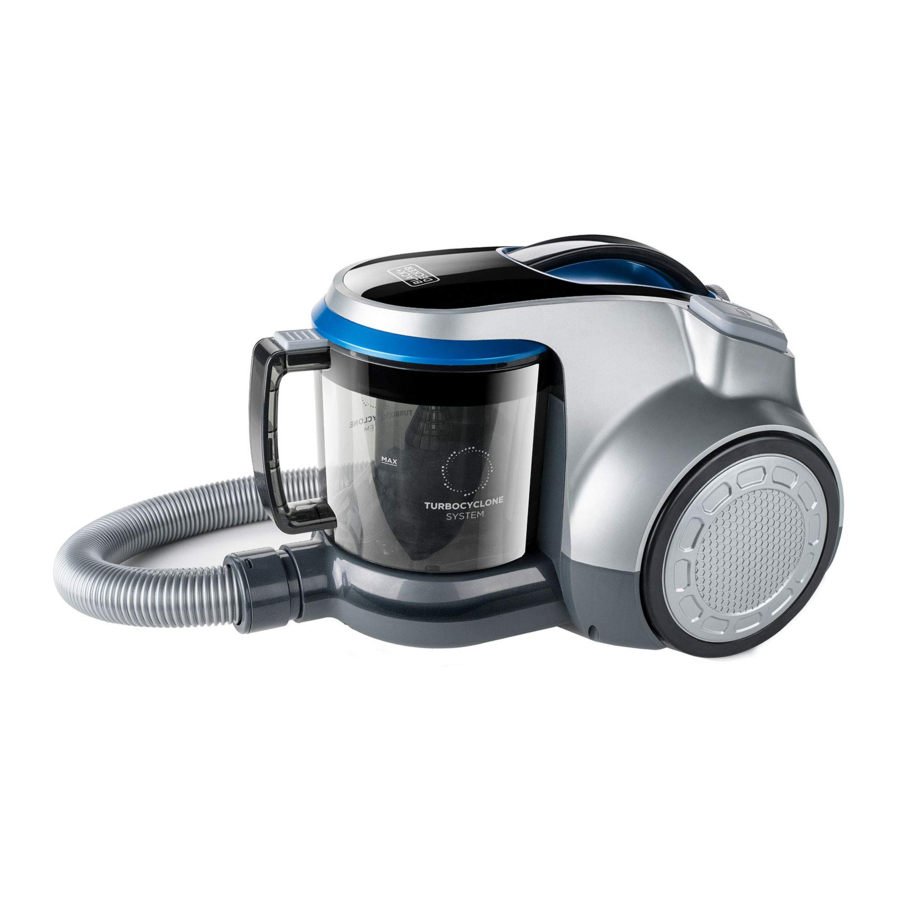
DESCRIPTION

- Floor nozzle
- Telescopic tube
- Hose set
- Manual air regulator
- Hose head
- Automatic cord rewind
- On/off switch
- Carry handles
- Tank
- Extraction button for deposit
- Opening button for deposit
- Wheels
- Cord housing
- Crevice nozzle + Multi-use brush
- Grill outlet filter
- Outlet filter
- Motor filter
- Foam filter
- Microfiber filter
- Fixing part of the motor filter
- Power regulator
If the model of your appliance does not have the accessories described above, they can also be bought separately from the Technical Assistance Service.
INSTRUCTIONS FOR USE
BEFORE USE
- Make sure that all products' packaging has been removed.
VACUUMING FUNCTION
- Fit the hose unit to the vacuum cleaners air intake and fix the hose turned to right side. (Fig. 1).

- To disconnect the hose unit from the vacuum cleaner, turn the connection to the left side and pull out the hose. (Fig. 2).


INSERTION OF ACCESSORIES INTO THE APPLIANCE'S GRIP
- The appliance's grip is designed in such a way that it allows the insertion of the following accessories (use the combination that best meets your requirements):
- Extendible tube: designed to provide access to surfaces which are out of reach and make floor cleaning comfortable, its length can be adjusted by using the adjustment control. (B)
- Floor nozzle: specially designed for cleaning floors (both rugs and carpets and hard floors), its base has a retractable brush that can be adjusted to two heights for greater efficiency on these floors. It is advisable to have the brush out for hard floors and the brush in for rugs and carpets.(A)
- Lance and multi-use brush: specially designed for getting into cracks and difficult corners, brush especially for textile surfaces. (N)
USE
- Take the length of cable required out of the housing. (M)
- Connect the appliance to the mains.
- Turn the appliance on, by using the on/off button. (G)
ONCE YOU HAVE FINISHED USING THE APPLIANCE
- Turn the appliance off using the on/off button. (G)
- Unplug the appliance from the mains.
- Retract the cable by pressing the roller cable button and guide the cable into the appliance. (F)
- The cable housing means you can remove and have available the required length of cable for working with the appliance, preventing accident risk situations.
- Clean the appliance.
CARRY HANDLE/S
- This appliance has a handle on the front part of the body, which facilitates comfortable transportation (H).
PARKING POSITION
- This appliance has its own parking position for comforta-ble and straightforward storage.
- You can use the parking aid on the back of the vacuum cleaner sliding the hook of the brush into the recess on the rear of the appliance. (Fig. 3).


CLEANING
- Disconnect the appliance from the mains and allow it to cool before undertaking any cleaning task.
- Clean the equipment with a damp cloth with a few drops of washing-up liquid and then dry.
- Do not use solvents, or products with an acid or base pH such as bleach, or abrasive products, for cleaning the appliance.
- Never submerge the appliance in water or any other liquid or place it under running water.
EMPTYING THE DUST BOX
- Empty the dust container after each use of the vacuum cleaner.
- Disconnect the hose unit from the vacuum cleaner, turn the connection to the left side and pull out the hose. (Fig. 2).
- Disconnect the dust box from the appliance by pressing the extraction button (J). (Fig. 4).

- Open the lid of the dust box and empty the contents into the appropriate waste disposal receptacle. (Fig. 5).

- Check the condition of the motor filter.
- Close the lid of the dust box.
- Attach the dust box to the appliance.
- Fit the hose unit to the vacuum cleaners air intake and fix the hose turned to right side. (Fig. 1).


CHANGING THE FILTERS
- Motor filter (Q): it is advisable to periodically check the state of the filter, which should be cleaned/replaced after every 50 hours of use.
- HEPA type air outlet filter (high efficiency air filter which effectively removes spores, ash, dust mites, pollen...): it is advisable to periodically check the condition of the filter, it should be cleaned/replaced after every 50 hours of use, or if a significant drop in suction power is noticed.
TO REMOVE THE FILTERS
MOTOR FILTER
- Disconnect the dust box from the appliance by pressing the extraction button (J). (Fig. 4).
- Open fixing part of the motor filter (R) that contains the filter. (Fig. 6).

- Remove the filters: black foam filter (Q1) and the microfiber filter (Q2) from its housing. (Fig. 7).

- Wash the black foam filter (Q1) under the tap with clean water, scrub it like a sponge and let it dry for 24 hours.
- Turn the microfiber filter (Q2) over and shake it in the garbage can. If necessary, you can wash it under the tap with lukewarm water and let it dry 24 hours.
- Once they are completely dry place the filters in the anchor. To fix the filters it is important to place the fixation piece correctly. First, it has to fit through the two points. (Fig. 8). Then, press the other side until you hear two "clicks". (Fig. 9).


![]()
You can not replace the tank until the filter fixing part is not correctly placed.


OUTLET FILTER
- Open the air outlet grille located on the back of the vacu-um cleaner. To access the filter (Fig. 10).

- Remove the filter (P) from its anchor. (Fig. 11).

- Turn the HEPA filter (P) over and shake it in the garbage can. If necessary, you can wash it under the tap with lukewarm water and let it dry 24 hours.
- Once they are completely dry, place the filters in the anchor.
- To assemble the filter, proceed in the opposite way to what was explained in the previous section.


SUPPLIES
- Supplies can be acquired from distributors and authorised establishments (such as filters, etc...) for your appliance model.
- Always use original supplies, designed specifically for your appliance model.
- These supplies are available in specialist shops.
SERVICE
- Any misuse or failure to follow the instructions for use renders the guarantee and the manufacturer's liability null and void.
ANOMALIES AND REPAIR
- Take the appliance to an authorised technical support service if problems arise. Do not try to dismantle or repair without assistance, as this may be dangerous.
SAFETY ADVICE AND WARNINGS
- Read these instructions carefully before switching on the appliance, and keep them for future reference. Failure to follow and observe these instructions could lead to an accident.
- This appliance can be used by children aged 8 years and above and persons with reduced physical, sensory or mental capabilities or lack of experience and knowledge if they have been given supervision or instruction concerning the use of the appliance in a safe way and understand the hazards involved. Children shall not play with the appliance. Cleaning and user maintenance shall not be done by children without supervision.
- Make sure that the appliance is switched off and the plug is removed from the socket outlet before cleaning or maintaining the appliance.
- If the supply cord is damaged, it must be replaced by the manufacturer, its service agent or similarly qualified persons in order to avoid a hazard.
- This appliance is for household use only, not professional or industrial use.
- Ensure that the voltage indicated on the rating label matches the mains voltage before plugging in the appliance.
- Connect the appliance to a mains socket rated at least 10 amperes.
- The appliance's plug must fit into the mains socket properly. Do not alter the plug. Do not use plug adaptors.
- Do not use the appliance if the cable or plug is damaged.
- If the appliance enclosure breaks, immediately disconnect the appliance from the mains to prevent the possibility of an electric shock.
- Do not use the appliance if it has been dropped, if there are visible signs of damage or if it has a leak.
- Do not pull on the supply cord. Never use the supply cord to lift up, carry or unplug the appliance.
- Do not wrap the supply cord around the appliance.
- Check the state of the supply cord. Damaged or tangled cables increase the risk of electric shock.
- Do not touch the plug with wet hands.
- Take care to avoid starting the appliance involuntarily.
- Do not touch any of the appliance's moving parts while it is operating.
- This appliance contains accessories with rotary parts. Loose clothes, jewellery or long hair can be caught in moving parts. Dress properly. Do not wear baggy or loose-hanging clothes or accessories. Keep your hair, clothing and gloves away from moving parts.
- Do not leave the appliance out in the rain or exposed to moisture. If water gets into the appliance, this will increase the risk of electric shock.
Documents / ResourcesDownload manual
Here you can download full pdf version of manual, it may contain additional safety instructions, warranty information, FCC rules, etc.
Advertisement


Need help?
Do you have a question about the BXVML700E and is the answer not in the manual?
Questions and answers