Bosch PKP 18 E Manual
- Original instructions manual (48 pages) ,
- Operating instructions manual (33 pages) ,
- Original instructions (5 pages)
Advertisement
Safety instructions

Read all the safety information and instructions. Failure to observe the safety information and follow instructions may result in electric shock, fire and/or serious injury. Save all warnings and instructions for future reference.
- Do not allow persons unfamiliar with the glue gun or the instructions to operate the glue gun.
- This glue gun is not intended for use by children and persons with physical, sensory or mental limitations or a lack of experience or knowledge. Otherwise, there is a risk of operating errors and injuries.
- This glue gun can be used by children aged 8 or older and by persons who have physical, sensory or mental limitations or a lack of experience or knowledge if a person responsible for their safety supervises them or has instructed them in the safe operation of the glue gun and they understand the associated dangers. Otherwise, there is a risk of operating errors and injuries.
- Supervise children. This will ensure that children do not play with the glue gun.
- Children must not be allowed to clean and perform maintenance on the glue gun without supervision.
- Always check the glue gun, cables and plugs before using the tool. Do not open the glue gun yourself, and have it serviced only by a qualified repair person using only original replacement parts. Damaged glue guns, cables and plugs increase the risk of electric shock.
- Do not leave the glue gun unattended.
- Do not expose the glue gun to rain or wet conditions. Water entering a glue gun will increase the risk of electric shock.
- If operating the glue gun in a damp location is unavoidable, use a residual current device (RCD) protected supply. Use of an RCD reduces the risk of electric shock.
- Do not throw the glue stick into fire.
- Safely place the glue gun down after use and let it cool completely before packing it away. The hot nozzle can cause damage.
- The plug for the glue gun must match the outlet. Never modify the plug in any way. Unmodified plugs and matching outlets will reduce the risk of electric shock.
- Do not misuse the cable, for example for carrying, hanging or unplugging the glue gun. Keep the cable away from heat, oil, sharp edges and moving parts. Damaged or entangled cords increase the risk of electric shock.
Products sold in GB only:
Your product is fitted with an BS 1363/A approved electric plug with internal fuse (ASTA approved to BS 1362).
If the plug is not suitable for your socket outlets, it should be cut off and an appropriate plug fitted in its place by an authorised customer service agent. The replacement plug should have the same fuse rating as the original plug.
The severed plug must be disposed of to avoid a possible shock hazard and should never be inserted into a mains socket elsewhere.
- Do not touch the nozzle while it is hot. There is a risk of burns.
Product Description and Specifications
Please observe the illustrations at the beginning of this operating manual.
Intended Use
The glue gun is intended for solvent-free gluing of materials such as paper, cardboard, cork, wood, leather, textiles, foam materials, plastic (except PE, PP, PTFE, Styrofoam® and plasticised PVC), ceramics, porcelain, metal, glass and stone.
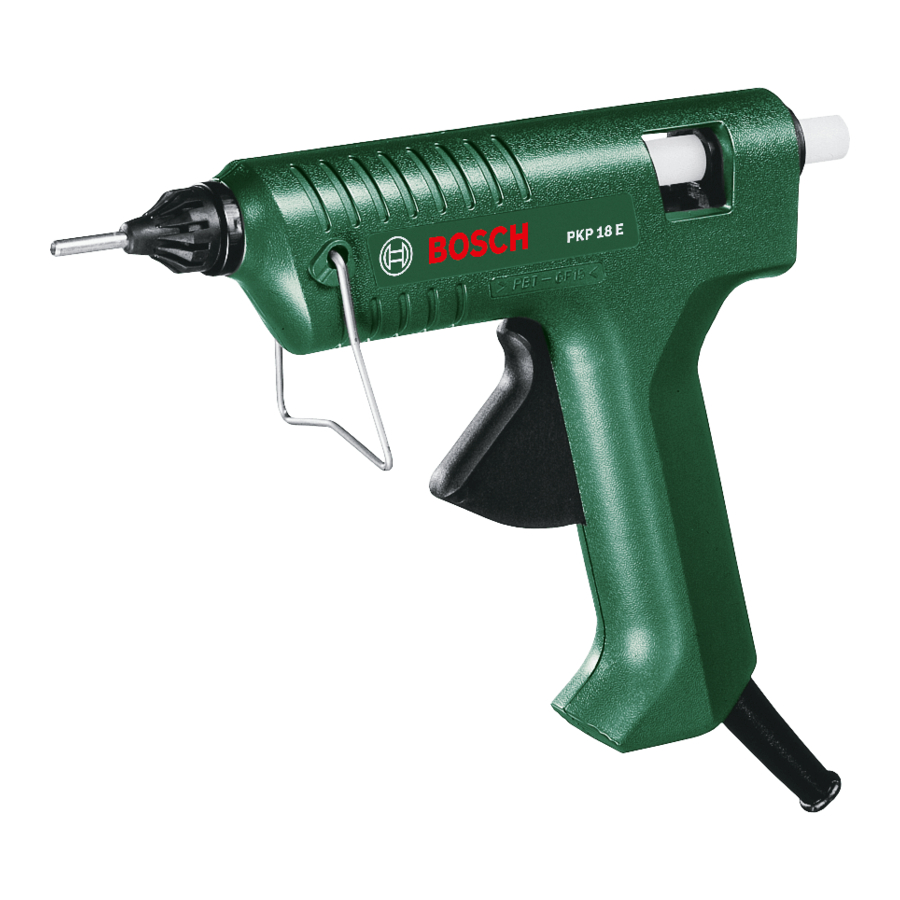
Product Features
The numbering of the product features refers to the illustration of the glue gun on the graphics page.

- Nozzle
- Heat shield
- Support bracket
- Feed trigger
- Glue stick
Technical Data
| Glue gun | PKP 18 E | |
| Article number | 0 603 264 5.. | |
| Rated power input | ||
| W | 200 |
| W | 16 |
| Heat-up time | min | 7 |
| Gluing temperature | °C | 200 |
| Gluing capacity | g/min | 20 |
| Glue stick diameter | mm | 11 |
| Glue stick length | mm | 45–200 |
| Weight according to EPTA- Procedure 01:2014 | kg | 0.35 |
| Protection class |  /Ⅱ /Ⅱ | |
The specifications apply to a rated voltage [U] of 230 V. These specifications may vary at different voltages and in country-specific models.
Assembly
Screw on a nozzle (1).
Insert the support bracket (3) into the recesses on both sides of the glue gun.
Operation
Starting Operation
- Pay attention to the mains voltage! The voltage of the power source must match the voltage specified on the rating plate of the glue gun.
Switching On/Off (see figure A)

To switch on the glue gun, plug the mains plug into a plug socket.
Allow the glue gun to heat up for approx. seven minutes before starting work. To do this, set the glue gun down on the support bracket (3), as shown in the figure. To switch off the glue gun, remove the mains plug from the plug socket.
- Safely place the glue gun down after use and let it cool completely before packing it away. The hot nozzle can cause damage.
Working Advice
- Keep people and animals away from the hot adhesive and the nozzle tip. Adhesive and nozzle tip will heat up to approx. 200°C, posing a risk of burns. If hot adhesive comes into contact with skin, immediately hold the affected area under a stream of cold water for several minutes. Do not try to remove the hot adhesive from the skin.
Only use adhesives that have been recommended by the manufacturer of the glue gun and that are suitable for the processing temperature.
Adhesive bonds can become unstuck when they are affected by moisture or heat.
- Remove the mains plug for longer work breaks.
The glue gun can also be used when it is switched off after heating using the heat accumulator. If the discharged adhesive becomes more viscous, plug the mains plug back into the plug socket.
Preparing for gluing
The bonding locations must be clean, dry and free from grease.
The materials to be glued together and the work surface must not be easily ignited or flammable. Test whether heat-sensitive materials are suitable beforehand on a sample workpiece.
The ambient temperature and the workpieces to be glued must not be colder than +5°C and not warmer than +50°C. Materials that cool the adhesive down quickly should be warmed first with a hot air gun.
Gluing (see figure B)

Allow the glue gun to heat up.
Push the glue stick (5) suited to the material into the glue gun from behind.
Apply moderate pressure to the feed trigger (4).
Apply the adhesive to a single side.
Press the materials you wish to glue together against each other for around 10 to 30 seconds immediately after applying the adhesive. It is still possible to correct the bonding location at this point.
The bond is stable after approx. two minutes of cooling time.
Set the glue gun down on the support bracket (3) in between gluing processes.
- Make sure you do not come into contact with the hot adhesive. Use a silicone mat to press permeable materials together.
Changing the nozzle
The nozzle (1) can only be removed when it is hot. To do so, heat up the glue gun for approximately two minutes.
- Wear protective gloves when changing the nozzle.
Only hold the heated nozzle by the heat shield (2). Touching the hot nozzle tip poses a risk of burns. Fasten the new nozzle (1) until it is hand-tight.
Application tips
| Material/workpiece | Recommendation |
| Long workpieces with large surface areas | Apply adhesive in dots |
| Flexible materials (e.g. textiles) | Apply adhesive in lines |
- Do not use flammable solvents to clean the bonding locations. The hot glue could ignite any solvent residue or release hazardous fumes.
Adhesive residue on clothing cannot be removed. The bonding locations can be painted.
Maintenance and Service
Maintenance and Cleaning
- Pull the mains plug out of the plug socket before carrying out any work on the glue gun.
- Keep the glue gun clean to ensure effective, safe operation.
In order to avoid safety hazards, if the power supply cord needs to be replaced, this must be done by Bosch or by an after-sales service centre that is authorised to repair Bosch power tools.
After the adhesive has hardened, you can remove it with a blunt object. Do not use solvents when cleaning. If necessary, the bonding locations can be unstuck again by applying heat.
An inserted glue stick (5) must not be removed from the rear of the glue gun. This is to prevent damage to the glue gun.
After-Sales Service and Application Service
Our after-sales service responds to your questions concerning maintenance and repair of your product as well as spare parts. You can find explosion drawings and information on spare parts at: www.bosch-pt.com
The Bosch product use advice team will be happy to help you with any questions about our products and their accessories.
In all correspondence and spare parts orders, please always include the 10‑digit article number given on the nameplate of the product.
Great Britain
Robert Bosch Ltd. (B.S.C.)
P.O. Box 98
Broadwater Park
North Orbital Road
Denham Uxbridge
UB 9 5HJ
At www.bosch-pt.co.uk you can order spare parts or arrange the collection of a product in need of servicing or repair.
Tel. Service: (0344) 7360109
E-Mail: boschservicecentre@bosch.com
You can find further service addresses at: www.bosch-pt.com/serviceaddresses
Documents / Resources
References
Download manual
Here you can download full pdf version of manual, it may contain additional safety instructions, warranty information, FCC rules, etc.
Advertisement


Need help?
Do you have a question about the PKP 18 E and is the answer not in the manual?
Questions and answers