Advertisement

Questions, problems, missing parts? Before returning to your retailer, contact our customer service department at www.torin-usa.com/support.
Read carefully and understand all ASSEMBLY AND OPERATION INSTRUCTIONS before operating. Failure to follow the safety rules and other basic safety precautions may result in serious personal injury.
SAFETY MARKINGS
- Study, understand, and follow all instructions before operating this device.
- Do not exceed rated capacity.
- Use only on hard, level surfaces, with less than 3 degrees of slope.
- Center load on saddle.
- Use as a matched pair only.
- Stands are not to be used to simultaneously support both ends of a vehicle.
- No alterations shall be made to this product.
- Support only on areas of the vehicle as specified by the vehicle manufacturer.
- Only attachments and/or adapters supplied by the manufacturer shall be used.
- Use wheel chocks or other blocking device on opposing wheels before using jack stands.
- Do not use jack stands for any use other than the manufacturer specified usage.
- Do not use if damaged in any way.
- NEVER use jack stands on a lawn mower or lawn tractor.
- Do not move or dolly the vehicle while on support stands.
- Do not rock the vehicle while working on or around equipment.
- The following are not recommended for supporting on this equipment: Foundations, Homes, Mobile Homes, Trailers, RV's, Campers, nor Fifth Wheels, etc...
- Failure to heed these markings may result in personal injury and/or property damage.
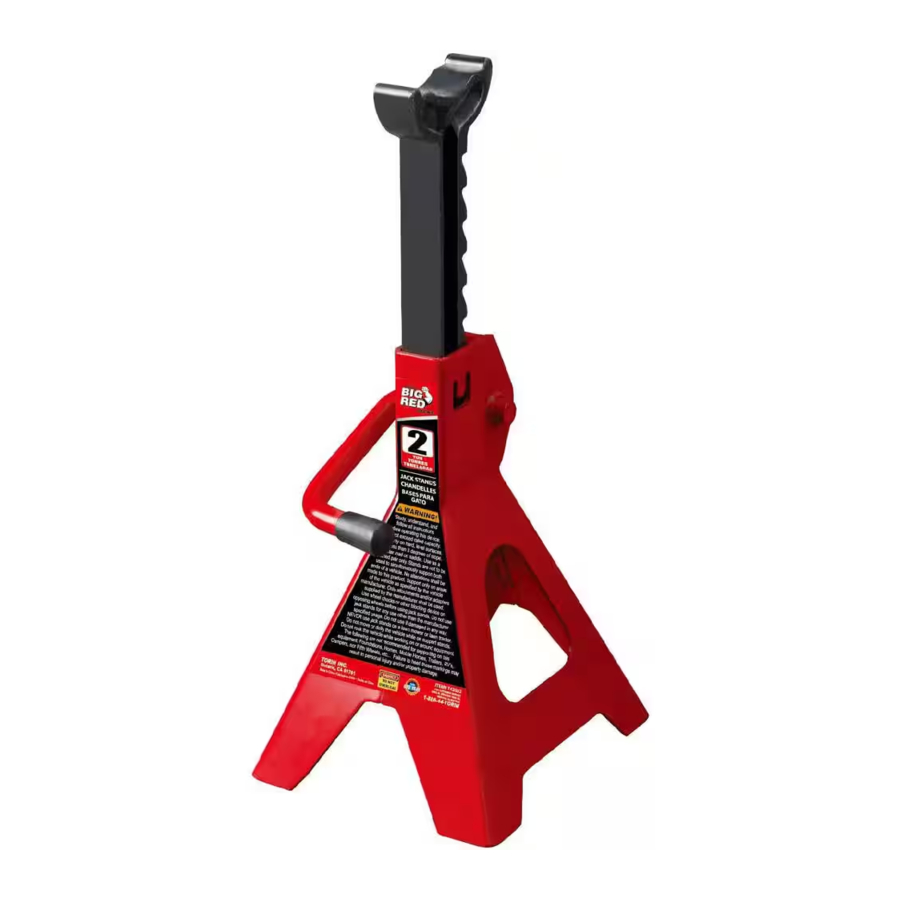
TECHNICAL SPECIFICATIONS
| Item | Capacity | Lifting Range Min. (inch) | Lifting Range Max. (inch) | Lifting Range Min. (cm) | Lifting Range Max. (cm) |
| T42002 T42002-1 | 2 TON | 10-13/16 | 16-9/16 | 27.5 | 42 |
| T42002X | 2 TON | 9-13/16 | 14-15/16 | 25 | 38 |
| T43002 T43002-1 | 3 TON | 11-1/4 | 16-3/4 | 28.5 | 42.5 |
| T43002X | 3 TON | 10-5/8 | 16-1/8 | 27 | 41 |
| T43006 T43006-1 | 3 TON | 14 | 20-1/2 | 35.5 | 52 |
| T46002 T46002-1 | 6 TON | 15-3/8 | 23-13/16 | 39 | 60.5 |
| T41202 T41202-1 | 12 TON | 18-5/16 | 28-1/8 | 46.5 | 71.5 |
ASSEMBLY INSTRUCTIONS
In order to prevent removal of the post from the base use a hammer and flat end punch to hammer the jack's tab in toward to post but not touching the post. If the same stands are equipped with a bolt instead of the tab. In this case the bolt can be threaded in toward the post until the bolt bottoms out.
Item: T42002,T42002-1 T42002X, T43002, T43002-1,T43002X,T43006, T46002, T46002-1
- Install ratchet bar into frame (fig.1) with ratchet portion of bar aligned with locking pawl (stopper).
- Move the ratchet bar to its lowest position by raising the locking handle, thereby releasing the stopper, and guiding the bar downward (fig. 2).
- Bend metal tab in (Fig. 3) using a hammer and punch. This will help prevent inadvertent separation of the ratchet bar from base frame.
Item: T41202,T41202-1

- Install ratchet bar into frame (fig.1) with ratchet portion of bar aligned with locking pawl (stopper).
- Move the ratchet bar to its lowest position by raising the locking handle, thereby releasing the stopper, and guiding the bar downward (fig. 2).
- Tightening the bolt (Fig 3) using a wrench. This will help prevent inadvertent separation of the ratchet bar from base frame.
OPERATION INSTRUCTIONS
- If the operator is not fluent in English, the product and safety instructions shall be read to and discussed with the operator in the operator's native language by the purchaser/owner or his designee, making sure that the operator comprehends their contents.
- Visual inspection shall be performed before each use of the stand by checking abnormal condition, such as cracked welds, leaks and damaged, loose, or missing parts if stand is believed to have been subjected to abnormal load or shock inspection shall be made by authorized repair facility.
- Equipment that appears damage or worn or operates abnormally shall be removed from service.
- Use on hard level surface with less than 3 degrees of slope.
- Raise Vehicle with suitable jack.
- Adjust height by pulling up on ratchet bar.
- The weight of the locking handle should secure the ratchet bar in desired position. To confirm this, simply push down on the locking handle. Check to ensure ratchet is secure before loading.
- Carefully position jack stands so that load is centered on stand's saddle.
- Slowly lower the vehicle onto the stands.
- Check to ensure vehicle is secure before working on, around or under. When used to support vehicle, use wheel chocks on all unlifted wheels in both directions to prevent inadvertent movement.
- DO NOT jack or dolley while jack stands are supporting the vehicle.
TO LOWER LOAD
- Ensure that all tools, equipment and personnel are clear before lowering load.
- With suitable jack, raise vehicle clear of stands.
- Carefully release stopper and allow ratchet to glide down to lowest position.
- Carefully remove stands, then carefully lower vehicle with lifting device.
WARRANTY INFORMATION
This equipment is covered under a 1-year limited warranty when used as recommended.
For assistance with the operation or the availability of replacement parts, contact our Parts and Warranty Department at www.torin-usa.com/support.
We want to know If you have any concerns with our products. If so, please call toll-free for Immediate assistance. For additional web customer support help inquiries visit the Customer Service section at: http://www.torin-usa.com.
Documents / Resources
References

Download manual
Here you can download full pdf version of manual, it may contain additional safety instructions, warranty information, FCC rules, etc.
Advertisement


Need help?
Do you have a question about the T42002 and is the answer not in the manual?
Questions and answers