Advertisement
Production Introduction
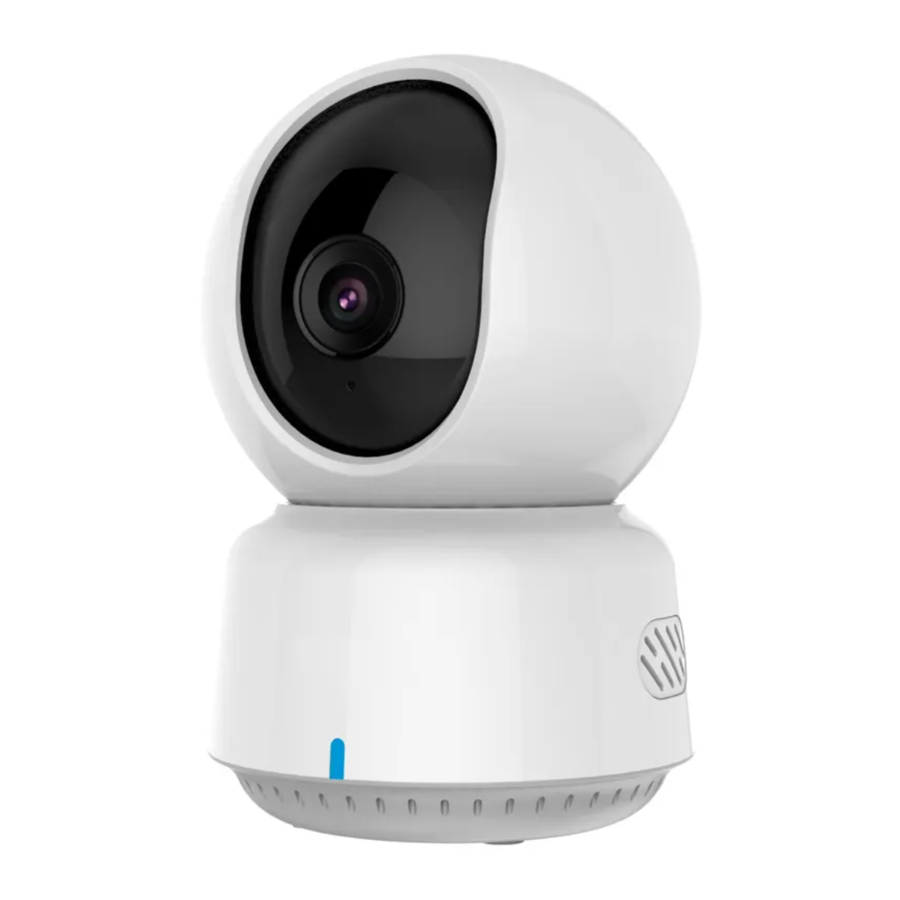
Camera E1 is an intelligent product that supports Wi-Fi 6 and Bluetooth 5.2. It supports 2K (2304×1296p) resolution with pan & tilt, and other functions such as video intercom, human tracking, Micro SD card recording, NAS storage, and privacy zone coverage. In addition, its rich features can be used for automation applications to realize the functions such as home guard and smart control. It also supports HomeKit Secure Video.

Description of button:
- Hold down the Set button for 5 seconds to reset the camera's network.
- Quickly press the Set button 10 times to restore the camera to its factory settings.
- Press the Set button once to turn off the alarm when the camera is sounding an alert.
Preparation Before Use
- A smartphone or tablet that supports Wi-Fi or a cellular network (with iOS or Android system) is required.
- Please ensure that there is a Wi-Fi connection and your internet connection is stable.
Quick Setup
- Download the Aqara Home App
Search for "Aqara Home" in the Apple App Store, Google Play, Xiaomi GetApps, Huawei App Gallery, or scan the following QR code to download the Aqara Home app:


- Power up and turn on the Camera E1
- Select the Installation Location for the Camera
Ensure a stable connection between the camera and the router by avoiding any interference. Metal obstacles between the camera and the router, or near the camera, should be avoided. - Connect the Power
Locate the power interface at the back of the product. Plug in the USB-C Cable to connect the power adapter. When the Camera E1 is powered on, the status indicator will turn red and flash quickly. Ensure that the Bluetooth function on your mobile phone is activated.
- Select the Installation Location for the Camera
- Add the product to the Aqara Home App
Please open the Aqara Home app, tap "Home" and then tap "+" in the top right corner to enter the "Add Device (Accessory)" page, select "Camera E1", and add it according to instructions in the Aqara Home app. After a successful connection, the status indicator of the device will turn blue and keep the light constant. - Connect to Apple HomeKit
Open the Apple Home app, click "+" on the upper right corner, and then enter the "Add Accessory" page. Scan or manually enter the HomeKit Setup Code at the bottom of the camera to bind the camera to HomeKit. Troubleshooting Adding the Camera to HomeKit:- "Failed to add accessory". Due to multiple adding failures, the error information of the iOS cache cannot be removed. Please restart the iOS device and reset the camera;
- "Accessory already added". After restarting the iOS device and resetting the camera, you can manually enter the HomeKit setup code and add it again;
- "Accessory not found". Please wait for 3 minutes after resetting the camera. You can manually enter the HomeKit setup code and add it again.
If the device addition fails, please confirm the following points:
- The Wi-Fi name or password contains an unsupported special character, such as, @, #, %, -, $, etc., resulting in a failure to connect to the router. Please change it to a commonly used character and try again.
- If the camera cannot recognize the QR code generated by the mobile phone. Please make sure that the screen size of the mobile phone is not less than 4.7 inches, and make sure that you don't use the backlight of the camera to shoot the QR code.
- Check whether the router has enabled the Wi-Fi anti-squatter setting, which causes the camera to be unable to connect to the Internet.
- Check whether the router has enabled AP isolation, which leads to the failure to search the camera on the mobile phone in the LAN.
Product Installation
- Please make sure the camera is added successfully, and then install it onto the wall.
- You can place the camera on a horizontal surface, such as a desk, table, bookcase, and so on.
- There is a package of screw accessories inside the packaging, which you can use to fix the camera to the wall surface you want to fix.
- There is a base accessory in the package, which can be used to support the wall mount with a 1/4" screw size for the camera installation. Firstly, remove the 3M tape on the base accessory, then fix the accessory to the bottom of the camera according to the structure holes and apply pressure on the contact area between the base accessory and the 3M adhesive at the bottom of the camera to make the 3M adhesive stick firmly. At this point, the camera can be installed on the wall mount through the base accessory. Please note that the wall mount is not provided in the package and you need to purchase it separately.
Description of Indicator Lights
| Indicator Light Status | Status Description |
| Red light is on steady | The camera is turning on/ Live video is in progress |
| Red light flashes quickly | Waiting to connect to the network |
| Red light flashes slowly | The camera is being resetting/OTA upgrading |
| Blue light flashes slowly | Wi-Fi network offline/ Device found successfully |
| Blue light flashes quickly | Connecting to the network |
| Blue light is on steady | Working properly |
| Purple light is on steady | Wi-Fi password error/Account binding failed |
| Off | The indicator is turned off/the device sleeps/the device is not powered |
Product Specifications
Camera E1
Model: CH-C01E
Video Resolution: 1296p
Video Coding: H.264
Ports: USB-C
Input Power: 5V 2A
Viewing Angle: 101°(diagonal)
Wireless Protocols: Wi-Fi IEEE 802.11 b/g/n/ax 2.4 GHz, Bluetooth 5.2
Dimensions: 69 × 69 × 104 mm (2.72 × 2.72 × 4.09 in.)
Operating Temperature: -10°C ~ 45°C (14°F ~ 113°F)
Operating Humidity: 0 ~ 85% RH, no condensation
Local Storage: Micro SD card (not included). CLASS 4 or above is supported, up to 512 GB storage
What is in the Box:
Camera E1 × 1,
User Manual × 1,
USB-A to USB-C Cable × 1,
Plastic Base × 1,
Screw Kit × 1
| Wi-Fi Operation Frequency | 2412-2472MHz |
| Wi-Fi Maximum Output Power | ≤20dBm |
| Bluetooth Operation Frequency | 2402-2480 MHz |
| Bluetooth Maximum Output Power | ≤13dBm |
Under normal use of condition, this equipment should be kept a separation distance of at least 20cm between the antenna and the body of the user.

- This product is NOT a toy. Please keep children away from this product.
- This product is designed for indoor use only. Do NOT use in humid environments or outdoors.
- Beware of moisture, do NOT spill water or other liquids onto the product.
- Do NOT place this product near a heat source or strong electromagnetic interference sources.
- Do NOT place it in an enclosure unless there is normal ventilation.
- Do NOT attempt to repair this product by yourself. All repairs should be performed by an authorized professional.
- This product is only suitable for improving the convenience of your home life and reminding you about the status of your devices. It should NOT be used as security equipment for homes, buildings, warehouses, or any other places. If a user violates the product use instructions, the manufacturer will NOT be liable for any risks and property losses.
- The design of this product is suitable for wall installation, In order to prevent falling off and possibly causing personal injury, we recommend that the installation of the device should be less than 2 meters.
- Please make sure the installation position is within the coverage range of the Wi-Fi and there is no obstacle around the device.
- This product does not come with a power adapter by default. Please purchase a separate adapter from a regular source.
Documents / Resources
References
Download manual
Here you can download full pdf version of manual, it may contain additional safety instructions, warranty information, FCC rules, etc.
Advertisement


Need help?
Do you have a question about the Camera E1 and is the answer not in the manual?
Questions and answers