Aqara Curtain Driver E1 - Electric Curtain Driver for Remote Control and Home Automation Track Version Manual
- User manual ,
- Manual (15 pages) ,
- User manual
Advertisement
Product Introduction
Curtain Driver E1 is a motorized device that can control your existing curtains automatically, it is based on the Zigbee 3.0 wireless protocol and can achieve scheduled control of curtains, and work with other smart devices when connected to the Aqara Home app.
*An Aqara Zigbee 3.0 hub is required. Some functions require specific models of hubs.
Please consult www.aqara.com/support for more details.

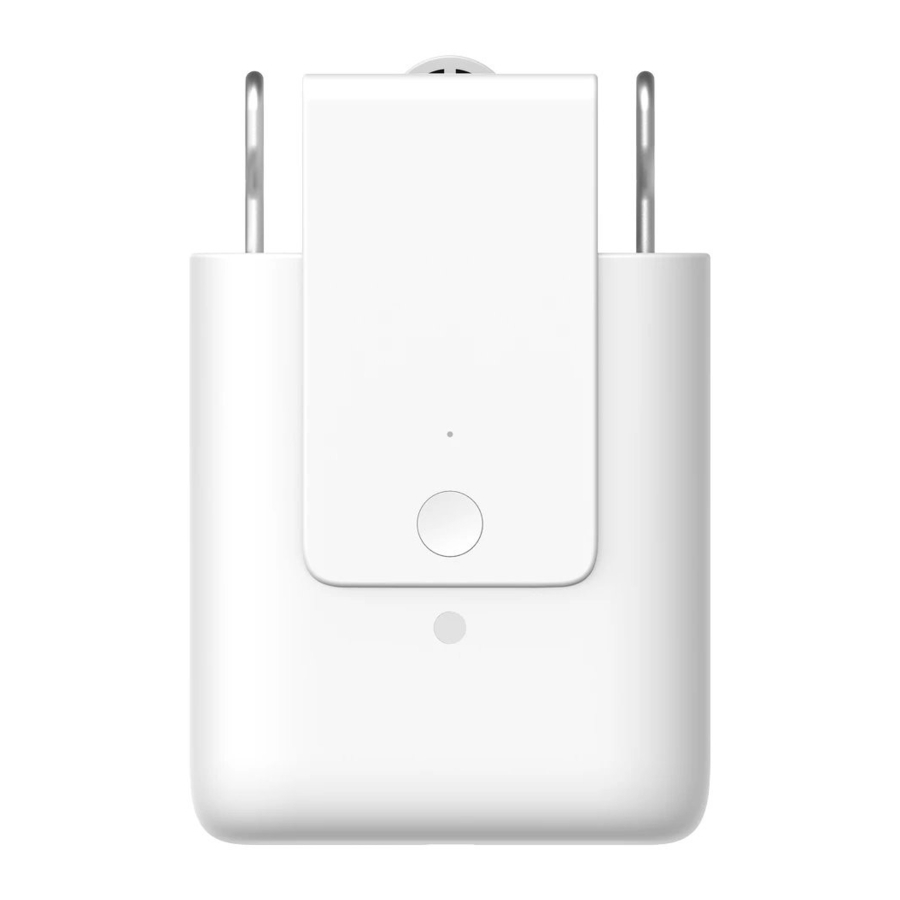
Setting button
Click once: to open, close or stop the curtain;
Click twice in succession: to release, withdraw or stop the hook;
Click three times in succession: to manually set the start or end position of the curtain;
Touch & hold for 5 seconds: to turn on the device or reset to factory settings;
Touch & hold for 10 seconds: to USB Type-C port turn off the device.
Warnings

- This appliance can be used by children aged from 8 years and above and persons with reduced physical, sensory or mental capabilities or lack of experience and knowledge if they have been given supervision or instruction concerning use of the appliance in a safe way and understand the hazards involved.
- Children shall not play with the appliance.
- Cleaning and user maintenance shall not be made by children without supervision.
![]()
The drive shall be disconnected from its power source during cleaning, maintenance and when replacing parts.- It must only be supplied at safety extra low voltage corresponding to the marking on the appliance.
![]()
Important safety instructions. It is important for the safety of 01 persons to follow these instructions. Save these instructions.- Do not allow children to play with fixed controls.
- Frequently examine the installation for imbalance and signs of wear or damage to cables springs and fixings. Do not use if repair or adjustment is necessary.
- Do not operate when maintenance, such as window cleaning, is being carried out in the vicinity.
![]()
Important safety instructions. Follow all instructions since incorrect installation can lead to severe injury.- Before installing the drive, remove any unnecessary cords or components and disable any equipment not needed for powered operation.
- That the characteristics of the driven part must be compatible with the rated load and rated operating time.
- This appliance contains batteries that are non-replaceable.
- Fixed controls have to be clearly visible after installation.
- The mass and the dimension of the curtain to be driven shall be compatible with the rated torque and rated operating time.
What's in the Box
USB-A to USB-C Cable

Track Glider × 2

Tutorial Video
Please scan the QR code below to view the installation and operation guide video. If the video is unable to be reached, you can also install the product according to the method described in the manual.

Installation Requirements
Rail Types
The Smart Curtain Driver E1 (Track Version) be used on U-rails and I-rails.

U-shaped rails

I-shaped rails
If you would like to use the product on rods, please purchase the Curtain Driver E1 Rod Version.
Installation Requirements of U-Rail
The bottom surface of the U-rail should be flat and smooth.

Both sides of the rail should be sealed tightly with closure heads.

Installation Requirements of I-Rail
The bottom surface of the I-rail should be flat and smooth, with a width greater than 10mm.

Width > 10 mm
Installation Requirements of Curtain Track Glider
The distance from the upper surface of the bottom of glider hanging ring to the bottom of the rail should be between 16 mm and 25 mm.

Straight and Special-Shaped Rails
For U-rail and I-rails, the Curtain Driver E1 supports straight and curved rails. For curved rails, the following conditions should be met around the bend:

Quick Start Guide
Please read the following steps to start using the product.
Preparation before use
- This product needs to be connected with the Aqara Home app before being installed on the curtains. Before activating the product, please make sure you have the Aqara Home app and the Aqara Zigbee 3.0 hub installed (Please scan the QR code below to download the app).
![]()
- Please open the app, tap "Home" and then tap "+" in the top right corner to enter the"Add Device (Accessory)" page. Select "Curtain Driver E1" and the hub to be connected to, and add it according to instructions in the Aqara Home app. Press and hold the Setting button for 5 seconds, and wait for the voice prompt from the Hub.
- If you have purchased two or more Curtain Drivers, please connect all of them to the Aqara Home app before further installation.
- If you use double-sided curtains, it is necessary to connect two Curtain Drivers to the app and then put them in one group for simultaneous control. Enter the main page of the Curtain Driver to be grouped, click "... " in the upper right corner, select "Create a group for Curtains" and follow the instructions.
- It is recommended to fully charge the product before installation.

Installation Methods
Installation Methods for U-Rail
Single-Sided Curtains (only one Curtain Driver is needed)
- After startup, click the setting button twice in succession quickly to release the hook of the Smart Curtain Driver until it reaches out to the maximum length.
- Hang the Smart Curtain Driver on the first and the second glider on the movable side of the curtains (as shown in the figure).
Tips: If there are extra gliders on the rail, they can be placed between the first and the second hooks of the curtain, above which the Curtain Driver can be placed. - Click the setting button twice in succession quickly to hold the Curtain Driver onto the rail. Right then, the green indicator light keeps blinking, and there are 3 short beeps from the buzzer after the product is held in place, indicating that the installation is complete.

![]()
The hook reaches out to the maximum length
![]()
The hook is locked to the innermost


This product can be configured on the app to open and close the curtains according to the intensity of ambient light. To use the function, the light sensor should face the outside of the window and the Curtain Driver should be installed on the side near the window. If you need to control the opening and closing of curtains according to the light indoor, the light sensor should face the interior and the Curtain Driver should be installed on the side near the interior. To optimize the effect of the light sensor, please ensure that there is no opaque object in front of it.
Double-Sided Curtains (two Curtain Drivers are required)
According to the installation method of Curtain Driver for single opening curtains, hang the two Smart Curtain Drivers on the track gliders of curtains on left and right sides respectively (as shown in the figure below)

Installation Methods for I-Rail
Single-Sided Curtains (only one Curtain Driver is needed)
- After startup, click the setting button twice in succession quickly to release the hook of the Smart Curtain Driver until it reaches out to the maximum length.
- Install the two adjustable track gliders onto the rail, and put them just between the first and the second existing track gliders on the movable side of the curtains(as shown in the figure).
- Hang the Curtain Driver on the two newly installed adjustable track gliders
- Click the setting button twice in succession quickly to hold the Curtain Driver onto the rail. Right then, the green indicator light keeps blinking, and there are 3 short beeps from the buzzer after the product is held in place, indicating that the installation is complete.

![]()
The hook reaches out to the maximum length
![]()
The hook is locked to the innermost


This product can be configured on the app to open and close the curtains according to the intensity of ambient light. To use the function, the light sensor should face the outside of the window and the Curtain Driver should be installed on the side near the window. If you need to control the opening and closing of curtains according to the light indoor, the light sensor should face the interior and the Curtain Driver should be installed on the side near the interior. To optimize the effect of the light sensor, please ensure that there is no opaque object in front of it.
Double-Sided Curtains (two Smart Curtain Drivers are required)
According to the installation method of Curtain Driver for single opening curtains, hang the two Smart Curtain Drivers on the track gliders of curtains on left and right sides respectively (as shown in the figure below)

Opening Distance Settings
To ensure proper use of the product, the range should be set for the product a er the product is installed.'
Single-Sided Curtains
- After the device is connected to the Aqara Home app, the opening distance of the device can be configured on the app. Click the device card on the Home page of the app and set the stroke as instructed on the main page of the device.
- Also, the opening distance of the device can be set by pressing the setting button when the device is not connected to the Aqara Home app.
Detailed operations are as follows:- Pull the curtain until it is completely closed, and install the Curtain Driver on the rail according to the installation method for the "single-sided curtains".

- Then click the setting button 3 times in succession quickly to set the first limit point of the range. The first limit point is set successfully a er the long "beep".

- Meanwhile, the Curtain Driver will automatically run to the opening limited point and stop a er being pulled in the fully opening direction for about 10cm. A er the long "beep", another limit point is automatically and successfully set, which means the opening range of the device is set up.

- Pull the curtain until it is completely closed, and install the Curtain Driver on the rail according to the installation method for the "single-sided curtains".


Double-Sided Curtains
- Pull the curtains on le and right sides until they are completely closed, and install the two Curtain Drivers at the position on the rail where the curtains are completely closed according to the installation method for the "single-sided curtains".

- Set the opening distance for Curtain Drivers on le and right sides according to Step B and C for that of "single-sided curtains".


Button Operation
| Button Operation | Description |
| Click once | Open, close or stop according to the current state of the Curtain Driver |
| Click twice in succession quickly | Hold, release or stop according to the holding status of the current Curtain Driver |
| Click three times in succession quickly | Set limit point of the range manually |
| Click five times in succession quickly | Delete the current range set for the Curtain Driver |
| Touch & hold for 5 seconds | Restore factory settings or startup (when it is turned off) |
| Touch & hold for 10 seconds | Turn o the device |
Indicator Light Description
| Indicator Light Status | Description |
| Quick blinking of blue light | The Curtain Driver is connecting with the hub (A er the device is started for use for the first time or reset). |
| Slow blinking of orange light | Firmware updating is in progress. |
| Quick blinking of green light | Holding to the rail is in progress. |
| Green blinking | Releasing from the rail is in progress. |
| White blinking | The device is being charged. |
| Steady blinking of White light | Charging is complete and the adapter is not removed. |
Buzzer Description
| Buzzer Status | Description |
| 1 Long beep | Device opening range deleted. Factory settings restored. Device searching reaction. Opening and closing directions switched. Range limit point was set successfully. |
| 2 Short beeps | When the range of Curtain Driver is not deleted, set the limit point of stroke manually. When the range of Curtain Driver stroke is deleted, delete the range again. |
| 3 Short beeps | The curtain driver is held in place. The curtain driver is released in place.of low battery. |
Battery Charging
When there is a warning of low battery, please charge the Curtain Driver in a timely fashion. Charging steps are as follows:
- Quickly click the setting button twice in succession or use the app to release the Curtain Driver from the rail, and remove it from the rail;
- Use the USB charging cable, and plug the end of the Type-C plug into the charging port on the Curtain Driver and the other end to the adapter for charging.
- It takes about 5 hours to fully charge the battery.
Specifications
Dimensions: 145.7 × 96 × 46 mm
Rated Current: 1.5 A
Rated Torque: 0.2 N·m
Wireless Protocol: Zigbee 3.0 IEEE 802.15.4
Model: CM-M01(CM-Curtain Motor series products, M01-the first Motorized products)
Battery Type: Lithium battery (not replaceable)
Rated Input: 5 V
Rated Power Input: 7.5 W
Rated Rotor Speed: 100 r/min
Moving Speed: 12 cm/s
Operating Humidity: 0~95% RH, no condensation
FCC ID: 2AKIT-CMM01
IC: 22635-CMM01
Changes or modifications not expressly approved by the party responsible for compliance could void the user's authority to operate the equipment.
Hereby, Lumi United Technology Co., Ltd. declares that the radio equipment type Curtain Driver E1, CM-M01 is in compliance with Directive 2014/53/EU. The full text of the EU declaration of conformity is available at the following internet address: http://www.aqara.com/DoC/
Under normal use of condition, this device should be kept a separation distance of at least 20cm between the antenna and the body of the user.
Online Customer Service: www.aqara.com/support
Customer Support Email: support@aqara.com
Website: www.aqara.com
Manufacturer: Lumi United Technology Co., Ltd.
Address: Room 801-804, Building 1, Chongwen Park, Nanshan iPark, No. 3370, Liuxian Avenue, Fuguang Community, Taoyuan Residential District, Nanshan District, Shenzhen, China

Documents / Resources
References
![www.aqara.com]() Aqara Smart Device Product Support
Aqara Smart Device Product Support![www.aqara.com]() Declaration of Conformity - Aqara
Declaration of Conformity - Aqara![www.aqara.com]() Aqara - Smart Home Automation Devices for Better Living
Aqara - Smart Home Automation Devices for Better Living
Download manual
Here you can download full pdf version of manual, it may contain additional safety instructions, warranty information, FCC rules, etc.
Advertisement


Need help?
Do you have a question about the Curtain Driver E1 and is the answer not in the manual?
Questions and answers