Bosch C80-Li Manual
- Operating instructions manual (11 pages) ,
- Operating instructions manual (337 pages)
Advertisement
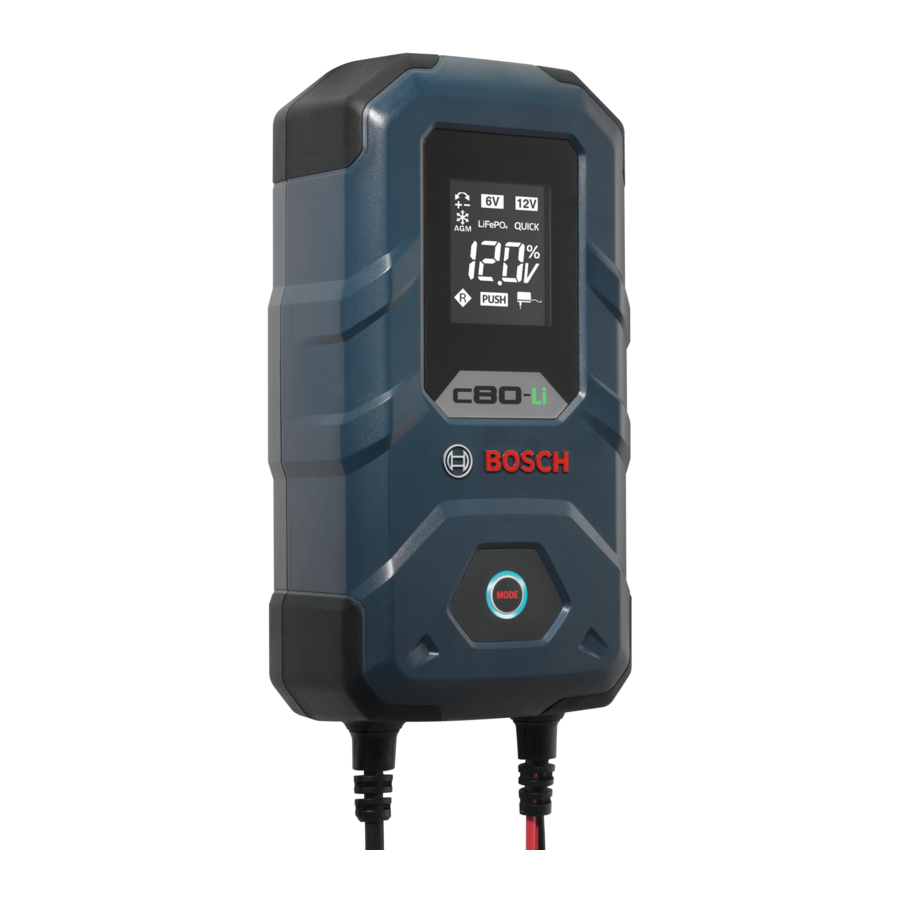
Device description

- Charger
- Mounting hook
- Mains cable with mains connection
- Charging cable with cable plug (red and black)
- Plug
- Charging cables with ring eyelets (red and black)
- Plug
- Fuse
- Charging cable with terminal clamps (red and black)
- Plug
- (+) Terminal clamp (red)
- (–) Terminal clamp (black)

- Standby
![]()
- Mode selection button
![]()
- Reverse polarity protection + -
![]()
- Battery capacity indication
Battery capacity: Lo %
Battery capacity: 25 %
Battery capacity: 50 %
Battery capacity: 75 %
Battery capacity: 100 % - Mode 1 | 12 V
(Car Charging)
![]()
- Mode 2 | 12 V
(Charging at 0-4°C in winter, or AGM)
![]()
- Mode 3 | 12 V (LiFePO4)
![]()
- Mode 4 | 12 V (Quick)
![]()
- Mode 5 | 12 V (Regeneration)
![]()
- Mode 6 | 6 V (Normal)
![]()
- Modus 7 | 12V (Power supply)
![]()
- Mode 8 | 6 V Push charging
![]()
- Mode 9 | 12 V Push charging
![]()


Technical data
| Input voltage | 230 VAC/50 Hz |
| Starting current | < 50 A |
| Rated input current | Max. 3 A (rms value) |
| Power input | 380 watts |
| Nominal output voltage | DC 6 V/12 V |
| Charging voltage | 7.2 V/14.4 V (± 0.25 V), 14.2 V/14.7 V (± 0.25 V), 16.5 V (± 0.5 V), 13.6 V (± 0.5 V) |
| Charging current | 15 A (± 10%), 5 A (± 10%), 20 A (± 10%), 1.5 A (± 0.3 A), 1.5 A (± 0.5 A) |
| Rated output current | 5 A & 15 A |
| Reverse flow1 | < 5 mA (no AC input) |
| Degree of protection | IP65 (dustproof, watertight) |
| Battery type | 12 V LiFePO4 and 6 V & 12 V Lead-Acid type (WET, EFB, GEL, AGM, open and VRLA) |
| Battery capacity | 6 V: 14 Ah – 120 Ah, 12 V: 30 Ah – 400 Ah |
| Fuse (internal) | 5 A |
| Fuse (fuse holder) | 40 A |
| Noise level | < 50 dB(A) |
| Temperature | 0°C to + 40°C |
| Dimensions | 215 x 112 x 65.4 mm (L x W x H) |
- The reverse flow is the current that the charger consumes from the battery when no mains power is connected.
Safety
![]()
Before use your charger, please read all instructions carefully.

- If the supply cord is damaged, it must be replaced by the manufacturer or its service agent in order to avoid a hazard.
- Disconnect the supply before making or breaking the connections to the battery.
- The battery connection, which is not connected to the vehicle body, must be connected first (+) red. The other connection must be made to the vehicle body (–) black, away from battery and fuel lines. Only then connect the battery charger to the mains supply.
- After charging, disconnect the battery charger from supply mains. Then remove the chassis connection and the battery connection, in this order, the conductor to be connected to the positive pole shall be colored red and that to be connected to the negative pole shall be colored black.

The AC power plug must not expose to the water and have to avoid the water flows towards the supply mains to protect the users from electric shock.

Explosion hazard and fire hazard!
Explosive gases.
- Prevent flames or sparks.
- Provide adequate ventilation during charging.
Battery
Used for 12 V 30 Ah - 400 Ah LiFePO4 and Lead-Acid type (WET, EFB, GEL, AGM, open and VRLA), or 6 V 14 Ah - 120 Ah Lead-Acid type (WET, EFB, GEL, AGM, open and VRLA) rechargeable battery.
Do not attempt to charge a non-rechargeable battery!

Keep children and others away from charger.
- This appliance can be used by children aged from 8 years and above and persons with reduced physical, sensory or mental capabilities or lack of experience and knowledge if they have been given supervision or instruction concerning use of the appliance in a safe way and understand the hazards involved.
- Children shall not play with the appliance.
- Cleaning and user maintenance shall not be made by children without supervision.
- For indoor use only.
- Dustproof, waterproof
- Class II Construction (double insulated)
Operation
Before commissioning
- Read the battery operating instructions before connecting the charger.
- Observe the vehicle manufacturer's recommendation if the battery is still connected to the vehicle.
- Clean the battery terminals. When doing so, do not allow the dirt to come into contact with your eyes or mouth. Wash your hands thoroughly after touching the battery terminals.
- Ensure adequate ventilation. Hydrogen gas (electrolytic gas) may escape from the battery during charging and trickle charging.
Connecting
- Connect the (+) terminal (red) of the charger to the (+) terminal of the battery.
- Connect the (–) terminal (black) of the charger to the (–) terminal of the battery.
- The (–) terminal (black) can also be connected to the car body, however well away from fuel pipes.
Note: Make sure the (+) and (–) terminals are firm. Only then is the power cord to be connected.
Disconnecting
- Switch the charger to standby by pressing the Mode selection button.
- Always start by disconnecting the power cord from the mains current.
- Disconnect the (–) terminal (black) of the charger from the (–) terminal of the battery.
- Disconnect the (+) terminal (red) of the charger from the (+) terminal of the battery.
Overheating protection
If the unit becomes excessively hot during charging, the output power and output current is automatically reduced to avoid damaging the unit.
Standby and reverse polarity protection
| Mode | Indication | Operating Instructions |
| Key illumination |  | Lights up when turned on and fully charged. Flashes while charging |
| LCD digital display |  | Power On, light up. Connect battery, battery voltage display. Charging starts, battery voltage and capacity display alternately |
| Reversed Hook-up Protection |  | Icon will flash when terminal blocks have been swapped |
Mode selection
- Select the required mode by pressing the mode selection button.
- The desired mode icon will light up.
- If there is no other operation, it will automatically enter the charging mode in 5 seconds.
| Mode | Output | Indication | Operating Instructions | Supporting Battery Types |
| Mode 1 Car Mode | 14.4 V 15 A |  | Press the button once to select Mode 1
| 12 V WET, EFB and the majority of GEL batteries. Capacity of > 30 Ah in normal state |
| Mode 2 Cold/AGM Mode | 14.7 V 15 A |  | Press the button twice to select Mode 2
| Cold state (0 - 4°C) of 12 V WET, EFB and the majority of GEL batteries. And for many 12V AGM batteries. Capacity of > 30 Ah in normal state |
| Mode 3 LiFePO4 Mode | 14.2 V 15 A |  | Press the button 3 times to select Mode 3
| 12 V LiFePO4 batteries. Capacity of > 30 Ah in normal state |
| Mode 4 Quick Mode1 | 14.4 V 20 A |  | Press the button 4 times to select Mode 4
| 12 V WET, EFB and the majority of GEL batteries. Capacity of > 30 Ah in normal state |
| Mode 5 Regeneration Mode2 | 16.5 V 1.5 A |  | Press the button 5 times to select Mode 5
| Suitable for the regeneration of 12 V batteries after shortterm extreme discharge. Capacity of > 30 Ah in normal state |
| Mode 6 6 V Mode | 7.2 V 5 A |  | Press the button once to select Mode 6
| 6 V WET, EFB and the majority of GEL batteries. Capacity of > 14 Ah in normal state |
| Mode 7 Power Supply Mode3 | 13.6 V 5 A |  | Not connect any battery. Press and holding mode button for 5s to enter mode 7
| Suitable for providing back-up. Can be used to power the vehicle electronics whilst changing the 12 V battery |
| Mode 8 6 V Push Mode | 1.5 A |  | Press and hold mode button for 5 seconds, Push icon on
When flash to 6 V icon, press MODE button once more to select 6 V push mode | 6 V batteries. Battery voltage icon flash when battery voltage is between 0.5 V to 3.75 V |
| Mode 9 12 V Push-Mode | 1.5 A |  | Press and hold mode button for 5 seconds, Push icon on
When flash to 12 V icon, press MODE button once more to select 12 V push mode | 12 V batteries. Battery voltage icon flash when battery voltage is between 0.5 V to 3.75 V |
Note:
- Quick mode only allow user operate about 5 minutes Max., and user need wait 30 minutes between 2 quick mode operation.
- For regeneration mode, make sure to disconnect all connections between the battery and the vehicle electrical system.
- On certain vehicles it is essential not to disconnect the vehicle electronics from the power supply on battery replacement. In such cases, the power supply mode can be used to power the vehicle electronics whilst changing the battery. If load voltage is below 7.5 V, the charger will change to standby mode. There is no reverse polarity protection in this mode.
Pulse charging
- This is an automatic charger function which cannot be selected manually.
- If the 12 V battery voltage in mode 1, 2 & 4 is between 7.5 V (± 0.5 V) and 10.5 V (± 0.5 V) at the start of charging, the charger switches automatically to pulse.
- If the 6 V battery voltage in mode 6 is between 3.75 V (± 0.5 V) and 5.25 V (± 0.5 V) at the start of charging, the charger switches automatically to pulse
Trickle loading phase
The charger has an automatic trickle charging phase with max. 1.2 A when fully charged.
Maintenance phase
When the battery is fully charged, 100% icon will light up, the charger enters maintenance phase to keep the battery capacity in full condition.
Memory function
If the charger is disconnected from the mains during charging, the unit stores the mode implemented. On re-connection to the mains and if the battery is of the same type (6 V or 12 V), the unit starts up automatically in the last mode. In the case of a different type of battery (6 V and 12 V), it switches to standby.
If the type of battery connected is different from the last memory (for example, the last time was cold/AGM mode, and you need to connect a normal WET battery this time), please manually reselect the mode to avoid overcharge and damage. There are no memory function for mode 4 (Quick Mode), mode 5 (Regeneration mode), mode 7 (Power Supply mode) and mode 8, 9 (Push mode).
Battery detection
Once charger is connected to a 7.3 V-10.5 V battery, 6 V & 12 V icon will flash alternatively, the charger is trying to judge battery voltage. After 1-3 minutes, the charger will judge whether the battery is a 6 V or 12 V battery and it will enter corresponding 6 V mode or 12 V car mode.
Override Mode
If the charger detects that the connected battery is a 6 V battery and enters 6 V mode, but the user is very sure that it is a 12 V battery, the user can press and hold the mode button for 5 seconds to switch the charger to any 12 V charging mode.
Please only use this override mode if you are sure that the battery to be charged is a 12 V battery. The 12 V mode can charge the battery already from 3.75 V low voltage. Therefore, a 6 V battery could be overcharged and further dangers (increased gas leakage, explosion, fire...) for humans and animals.
Device protection function
In the event of a short circuit at the charging cable, the fuse (5b) on charging cable prevents damage to the device and the electrical system.
Maintenance and care
Always unplug the mains connector before cleaning the charger. The device is maintenance-free.
- Turn off the device.
- Use a dry cloth to clean the plastic surfaces of the device.
- Never use solvents or other aggressive cleaning agents.
- The devices may only be repaired by qualified personnel with original spare parts in order to maintain operational safety.
- For 24V battery, please use C70.
For EU version:
Robert Bosch GmbH
Auf der Breit 4
76227 Karlsruhe
Phone: +49 0391 832 29671
E-Mail: kundenberatung.kfztechnik@de.bosch.com
For UK version:
Robert Bosch GmbH
Broadwater Park,
Uxbridge UB9 5HJ
Phone: 0344 892 0115
E-Mail: contact@uk.bosch.com
Robert Bosch GmbH, Automotive Aftermarket, Auf der Breit 4, 76227 Karlsruhe, Germany, www.boschaftermarket.com
Documents / Resources
References
Download manual
Here you can download full pdf version of manual, it may contain additional safety instructions, warranty information, FCC rules, etc.
Advertisement


Need help?
Do you have a question about the C80-Li and is the answer not in the manual?
Questions and answers