Advertisement
Overview
Introduction
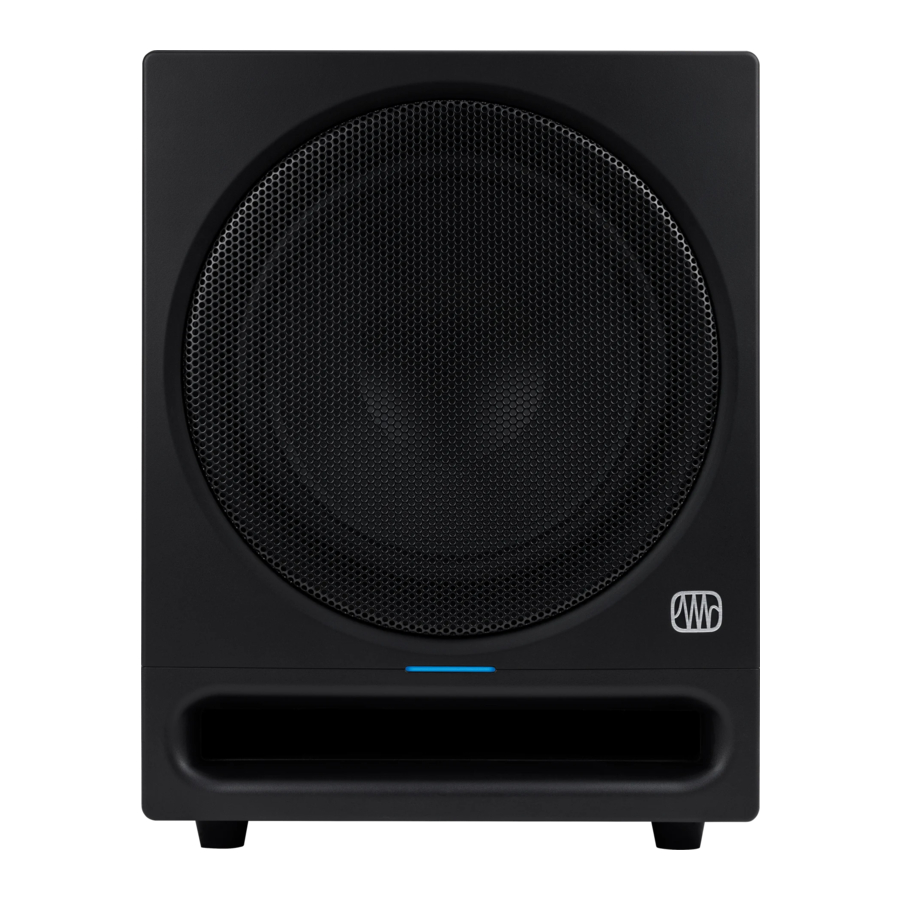
The Eris Pro Sub 10 is an active subwoofer featuring an 10-inch composite driver, high-temperature voice coil, and damped rubber surround in a ported cabinet, which allows the subwoofer to produce higher volume—up to 113 dB SPL—with less power than a sealed-box design. Featuring a variable (50 to 130 Hz) lowpass filter, the Pro Sub 10 can be dialed in to pair perfectly with full-range studio monitors, making it the ideal solution for any 2.1 system. The included latching footswitch lets you bypass the sub altogether, making comparing your mix with or without sub frequencies quick and easy. You can even cascade two Pro Sub 10s together for more and smoother bass.
PreSonus Audio Electronics is committed to constant product improvement, and we value your suggestions highly. We believe the best way to achieve our goal of constant product improvement is by listening to the real experts: you! We encourage you to visit My.PreSonus.com with any questions or comments regarding your PreSonus Eris Pro Sub 10. We appreciate the support you have shown us through the purchase of this product and are confident that you will enjoy your Eris Pro Sub 10!
ABOUT THIS MANUAL: We suggest that you use this manual to familiarize yourself with the features, applications, and correct connection procedures for your Eris Pro Sub 10 before connecting it. This will help you avoid problems during installation and setup.
In addition to all the basic info you'll need to connect and operate your Eris Pro Sub 10, this manual also provides several tutorials that cover subwoofer placement, connections, and calibration.
Product Registration
PreSonus is committed to delivering the best experience for our customers. MyPreSonus is a one-stop portal for all our registered customers' needs. From your MyPreSonus account, you can view all your PreSonus hardware and software registrations; contact support; track orders and more.
To register your Eris media reference monitors, go to My. PreSonus.com and follow the onscreen instructions.

OR

Download the MyPreSonus app from the Apple App Store

or Google Play.

What's in the Box?
Your Eris Pro Sub 10 package contains the following:


Summary of Eris Pro Sub 10 Features
- 10-inch composite low-frequency driver
- 170W RMS, Class AB
- 20 Hz to 200 Hz frequency response
- 113 dB Peak SPL (@ 1 meter)
- Controls
Hookup
Rear-Panel Connections and Controls
Inputs
Line-level Inputs. The Eris Pro Sub 10 provides a choice of three input pairs: two sets of balanced inputs (XLR and ¼" TRS) and one pair of RCA unbalanced inputs. When both of the balanced connections are in use, the TRS inputs will take precedence over the XLR inputs. The RCA inputs will sum into either balanced connection.

 Power User Tip: Connect both the left and right inputs if you are using the onboard crossover in your Eris Pro Sub 10 to connect your full-range monitors or if you're running your Pro Sub 10 independently from a stereo source (such as the Monitor Station or Central Station). This will ensure that your Pro Sub 10 receives the low-frequency content from both channels. If your audio source provides a mono or LFE output, you only need to connect one input—either L or R.

Input Gain. Sets the level of the input signal before it is amplified.

Outputs
Outputs. The Eris Pro Sub 10 provides two pairs of outputs: XLR and ¼" TRS. The full-range signal connected to the stereo inputs on the T10 is passed through to these outputs. Use these outputs to connect your main left and right studio monitors.

If the High Pass Filter switch is engaged, frequencies below 80 Hz are not sent from these outputs.
Sub Out: This XLR Output sends the summed full-range input signal to a second Eris Pro Sub 10. When connecting a second Pro Sub 10 to this output, set its Low Pass Filter control to the same setting as the first.

Power
IEC Power Connection. Your Eris Pro Sub 10 accepts a standard IEC power cord.


Do not remove the center grounding prong or use a separate ground-lift adapter, as this could result in electric shock.
Power Switch. This is the On/Off switch. The power status is indicated by the illuminated logo on the front of the cabinet.

AC Select Switch. The input-power voltage is set at the factory to correspond with the country to which it was shipped. Use this switch only if you are using your Eris Pro Sub 10 in a country that uses a different standard voltage than is used in the country where you purchased your Pro Sub 10.

Standby. When standby is engaged, your Eris subwoofer will go into power save mode when there is no audio playing for more than 40 minutes. Once audio resumes, the power save mode turns off.

Power LED. The LED in the center of the active speaker indicates power status. This LED also displays the Bluetooth status as follows:

User Controls
Sub Bypass: Connect the bypass footswitch cable to this ¼" input. Stepping on the footswitch will bypass the subwoofer, highpass filter, and Sub Out altogether. This will allow the signal from your audio source to pass directly through your Pro Sub 10 to your full-range studio monitors and allow you to compare your mix without subharmonic frequencies. While bypass is active, the LED on the front of your Pro Sub 10 will flash red. The footswitch is latching, so the bypass remains in effect until you step on it again.

Power User Tip:The Pro Sub 10's Sub Bypass function is a convenient way to make sure your mix will sound good on systems with and without a subwoofer. Bypassing the subwoofer will let you hear how the mix sounds without it. After all, many listeners will be using two speakers without a sub, and you want your mix to sound just as good in a stereo system!
Polarity. The Polarity button reverses the polarity of the input signals.

Power User Tip: Once your have connected your Pro Sub 10 to your system, try experimenting with each setting while listening to your favorite music. Leave this switch in the position where the bass was the loudest.
High Pass Filter. Removes frequency content below 80 Hz from the full-range signal sent from the Pro Sub 10 outputs. This is useful if your main studio monitors do not have their own high pass filter.

Power User Tip: Leaving frequency content below 80 Hz in full-range monitors can cancel out or reinforce the highest frequencies that are reproduced by the Eris Pro Sub 10. This can make the bass response of the overall system muddy and ill-defined. By rolling off your full-range speakers, you will create a more linear frequency response between the subwoofer and full-range content.
Low Pass Filter. This control determines the upper end of the frequency range reproduced by the Eris Pro Sub 10. If you have enabled the onboard High Pass Filter, set the Low Pass Filter control to 80 Hz. Otherwise, set the Low Pass Filter control to the lowest frequency that your main monitors can reliably reproduce.

Hookup Diagrams
Basic Setup: Laptop

Basic Setup: Audio Interface

Advanced Setup: Home Theater

Dual Subwoofers

Tutorials
Subwoofer Placement
The goal of proper subwoofer placement is to set up your system so that your subwoofer acts as a natural extension of your full-range monitors without boosting the overall bass response of your room or exaggerating any one frequency or frequency range. Because low frequencies are not directional— that is, humans cannot perceive the direction from which low frequencies are coming—you aren't limited to placing it near your full-range monitors. However, placing your Pro Sub 10 in the same side of the room as your full-range monitors will typically provide the best listening experience.

A quick way to find the best location for your subwoofer is to temporarily place it on the ground where you would normally be listening to your system, then play some music that contains a lot of bass. Walk around the half of the room where you have placed your full-range monitors until you find the spot where the bass sounds its best. In general, you will want to avoid placing your subwoofer too near to reflective surfaces, like a wall or in a corner as this will exaggerate the bass energy and make your Pro Sub 10 sound "boomy." Once you find the place in the room where the bass sounds the smoothest, place your Pro Sub 10 in that spot, return to the listening position, and listen to it again. You may need to adjust the location; just keep making small adjustments (a foot or so at a time) until the bass response sounds as even as possible.
Level Calibration
Matching the levels of the monitors in your system with your subwoofer is an easy extra step that will help you to achieve a consistent listening environment. This will ensure that your subwoofer won't be too loud with some types of music and not nearly loud enough with others. You will need an SPL meter and some pink noise to do this; luckily, there are many inexpensive and free SPL meter apps for just about every type of smartphone, as well as a variety of free pink noise samples online that will do the job nicely.
Below is a brief tutorial on how to level match your monitors:
- Connect your monitors and Eris Pro Sub 10 as shown either of the hookup diagrams in Hookup Diagram Section.
![information]() Power User Tip: If your system has an EQ in it, turn it off or set it to flat. You can EQ your complete system to taste once the levels are evenly matched.
Power User Tip: If your system has an EQ in it, turn it off or set it to flat. You can EQ your complete system to taste once the levels are evenly matched.

- Turn your Eris Pro Sub 10 and your full-range monitors' input levels to their lowest setting.

- Play pink noise through your speakers. You should not hear anything yet.

- Begin slowly increasing the volume of your left monitor until the acoustic level of the pink noise reaches 82 dB SPL on your SPL meter when measured at your listening position. Turn off your left monitor and repeat with your right monitor. If you're using monitors that provide a single level control for both the left and right side, like the Eris 3.5BT, 4.5BT or 5BT, play pink noise through both monitors, increase the volume until your SPL meter reads 85 dB.
![information]() Power User Tip: If 82 dB or 85 dB is too loud or too quiet for your room, set the level to one that is more comfortable for your listening requirements. Just be sure to set the same level for both the left and the right monitor.
Power User Tip: If 82 dB or 85 dB is too loud or too quiet for your room, set the level to one that is more comfortable for your listening requirements. Just be sure to set the same level for both the left and the right monitor. - Turn your full-range monitors off. If your Pro Sub 10 is connected to the Sub Out on a speaker with a dedicated Sub Out, set the input volume of your Eris Pro Sub 10 to "0" and skip to Step 7.
- Begin slowly increasing the input volume on your Eris Pro Sub 10 until the acoustic level of the pink noise reaches 79 dB SPL on your SPL meter when measured at your listening position.

- Set the lowpass filter on your Pro Sub 10 to 130 Hz. This will create a frequency overlap between your Pro Sub 10 and your full-range system.
- Play pink noise through your full system and experiment with the polarity switch on your Eris Pro Sub 10 to see which position provides the best bass response. Leave the polarity switch where the bass is the loudest.
- Now play some music through your system and experiment with the lowpass filter on your Pro Sub 10 until you find the most natural transition between your full-range monitors and your subwoofer. If your full-range monitors are connected to the outputs of your Pro Sub 10, you may want to try turning on the 80 Hz High Pass filter on the Pro Sub 10 and setting the lowpass filter to 80 Hz.


Power User Tip: Once you have matched the levels of your full-range monitors and Pro Sub 10, don't use their volume controls to adjust the overall level; instead, use the volume on your audio device (computer, iPad, TV, etc.). This will ensure that your speaker levels remain matched.
Power User Tip #2: The SPL figures quoted above are guidelines. When increasing the output level, the point at which your Eris Pro Sub 10 will hit 79 dB SPL can be highly dependant upon the acoustic response of the room it's set up in. Standing waves could cause resonance around 79 dB, causing you to reach it sooner than anticipated; comb filtering may cause you to never reach it at all.
Technical Specifications
| Frequency Response | 20 Hz to 200 Hz | |
| Peak SPL | 113 dB (@ 1M) | |
| Amplifier Power | 170W RMS | |
| LF Driver | 10-inch composite | |
| Inputs (2 each) | Balanced XLR Balanced ¼-inch TRS Unbalanced RCA | |
| Outputs (2 each) | Balanced XLR Balanced ¼-inch TRS 1x Balanced XLR 'Sub Out' | |
| Controls | Volume High Pass Low Pass Polarity Ground Lift Bypass Power Saver | |
| Dims (H x W x D) | 15.75" x 12.60" x 15.98" (400mm x 320mm x 406mm) | |
| Weight | 37.04 lbs (16.8 kg) | |
Setting up your Eris Subwoofer for Best Performance
- Use balanced cables to when physically connecting your subwoofer to your audio device. A balanced cable is a type of audio cable that uses three conductors (two signal conductors and a ground conductor) to transmit audio signals. Balanced cables help to cancel out any noise or interference picked up along the cable length. Unbalanced cables are more susceptible to noise and interference and should be avoided.
- Make sure that your subwoofer is plugged into a good power source. Unstable or noisy power sources can cause unwanted noise in your audio signal. Use a surge protector or power conditioner if necessary.
- Keep your cables away from power sources and other electronic devices to avoid electromagnetic interference that can cause buzzing, humming, or other noise in your audio signal.
- Position your subwoofer correctly to minimize noise. Keep them at a reasonable distance from other electronic devices to avoid interference.
- Proper gain staging can help you avoid noise in your audio signal. Gain staging refers to the process of setting the input and output levels of audio signals in a recording or mixing system to achieve optimal sound quality and avoid distortion. Make sure that your input levels are not too low or too high. Keep your levels within a reasonable range and avoid overdriving your audio interface or mixer.
Troubleshooting
No power.
First ensure that your Eris Pro Sub 10 is plugged in. If it's connected to a power conditioner, verify that the power conditioner is turned on and functioning. If problem still exists, disconnect the power cable from your studio monitor and check the fuse on the back panel. The type of fuse needed for your monitor is listed below the power inlet. Be sure to use the correct fuse for the set input-power voltage. If the fuse blows again, you will need to contact PreSonus for a repair.
No audio.
If your Eris Pro Sub 10 appears to power on but you hear no sound when playing audio (the lights are on but nobody's home), first make sure that the cables connected to the subwoofer are working correctly. Also, verify that the Input Level control is set to provide high enough gain.
Hum.
Usually, hum is caused by a ground loop. Verify that all audio equipment is connected to the same power source. If you are not using a power conditioner, we highly recommend that you add one. Not only will this help to minimize hum, it will better protect your equipment from power surges, brownouts, etc.
Use balanced cables whenever possible.
If your audio device does not offer a balanced output, you can connect it to a DI (direct-injection) box, which will provide a ground-lift switch and a balanced output.
Finally, make sure that your audio cables are not run near power cables, and use cables that are the appropriate length for your application. Using cables that are too long not only increases the risk of noise, it increases the likelihood that the cables are coiled, which will essentially create an antenna that picks up all kinds of audio interference.
Dinner is Served
Added bonus: PreSonus' previously Top Secret recipe for...
Andouille & German Red Cabbage Po-Boys
Ingredients:
- 1 small Onion
- 3 Tbsp. fresh Ginger
- 1 small head Red Cabbage
- 1 tsp Salt
- 3 Tbsp. Honey
- ¼ cup Red Vinegar
- 12 oz Andouille or Bratwurst Sausage sliced lengthwise
- ¼ lb. Muenster Cheese
- Creole or German Mustard to taste
- 1 loaf French Bread
Cooking Instructions:
- Heat 2 tablespoon vegetable oil in large skillet. Add onions and ginger, then cook them for about 3 minutes until onions begin to wilt. Add cabbage, vinegar, and honey, and then cook for about 5 minutes. Add salt to taste and set aside.
- Heat oil in a skillet till hot. Add sausage cut side down till nice and brown, turn and cook for about 5 minutes till thoroughly cooked.
- Slice bread lengthwise, lay a bed of cabbage, then sausage, and cheese on top. Toast under the broiler or in a hot oven till cheese is melted and bread is crisp.
- Spread mustard on bread. Sandwich can then be cut into 2-3 pieces and shared (or not if you're really hungry).
BONUS: Extra cabbage can be used as a condiment with meat, eggs, sandwiches, etc.
Documents / Resources
References
Download manual
Here you can download full pdf version of manual, it may contain additional safety instructions, warranty information, FCC rules, etc.
Advertisement


Need help?
Do you have a question about the Eris Pro Sub 10 and is the answer not in the manual?
Questions and answers