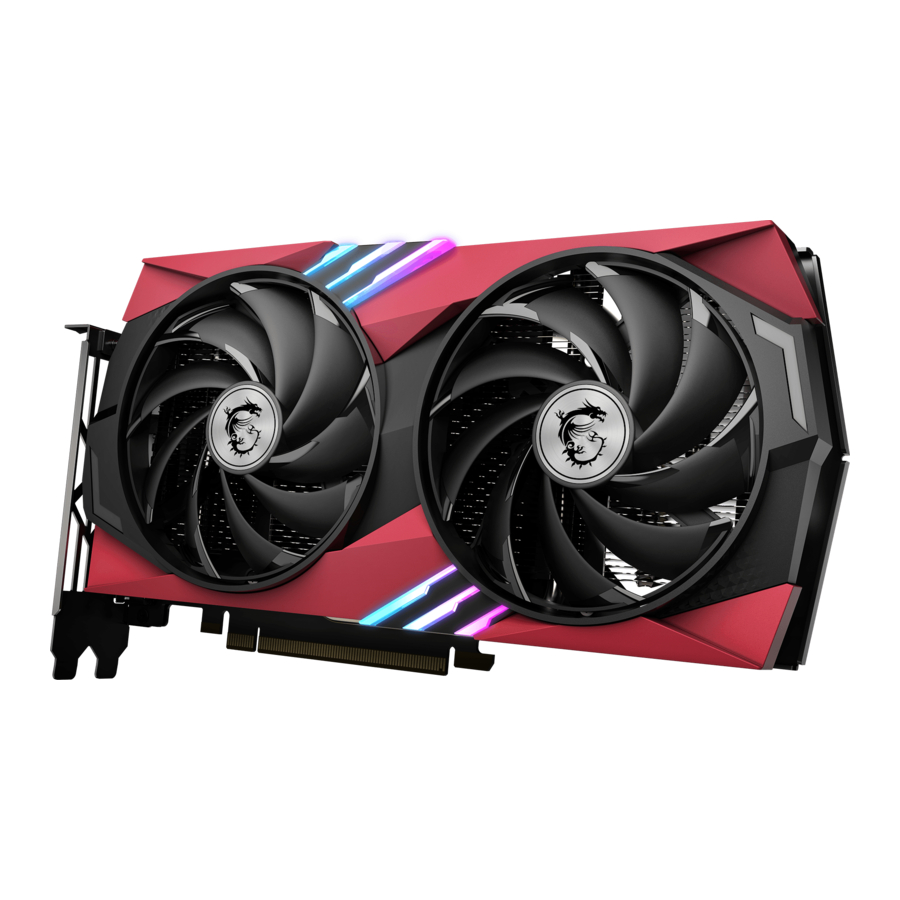
MSI GeForce RTX 4060 Gaming X 8G Manual
Also See for GeForce RTX 4060 Gaming X 8G:
- User manual (4 pages)
Advertisement
Table of Contents
Contents
- 1 Pre-Installation Checklist
- 2 Unboxing and Handling the Graphics Card
- 3 Power Down Your System
- 4 Open the PC Case
- 5 Remove the Old Graphics Card (If Replacing One)
- 6 Install the MSI GeForce RTX 4060 Gaming X 8G
- 7 Connect the Power Supply
- 8 Close the PC Case
- 9 Connect the Monitor
- 10 Power On the System
- 11 Install the Drivers
- 12 Adjusting Graphics Settings
- 13 Customize RGB Lighting (Optional)
- 14 Test the Graphics Card
- 15 Troubleshooting
- 16 Final Thoughts
- 17 Documents / Resources
MSI GeForce RTX 4060 Gaming X 8G Manual
Pre-Installation Checklist
Before you begin the installation, ensure the following:
- Compatibility: Verify that your system meets the minimum requirements:
- A motherboard with a PCI Express 4.0 x16 slot.
- A 450W or higher power supply unit (PSU).
- Available space in your PC case for the graphics card (Dimensions: 10.8" x 5.5" x 1.5").
- Operating System: Ensure your operating system is up to date. Windows 10 or later is recommended.
Unboxing and Handling the Graphics Card
- Carefully remove the MSI GeForce RTX 4060 Gaming X 8G from its packaging. Ensure that you don't touch the PCB or connectors directly to avoid damaging the card.
- Take note of any accessories included, such as installation manuals, driver CD (or driver download instructions), and any cables or connectors.
Power Down Your System
- Turn off your PC and unplug the power cable from the wall outlet.
- Press the power button for a few seconds to discharge any remaining electricity from the system.
- If you have a laptop, ensure it is powered off completely and unplugged.
Open the PC Case
- Depending on your PC case, you may need to remove screws or release latches to open the side panel.
- Once the case is open, make sure to ground yourself by touching a metal part of the case to discharge any static electricity before handling components.
Remove the Old Graphics Card (If Replacing One)
- If you are replacing an existing graphics card, disconnect any power cables attached to it.
- Unscrew any retaining screws that secure the card to the case.
- Release the PCIe slot latch (usually at the rear of the slot), then carefully pull the old card out of the PCIe slot.
Install the MSI GeForce RTX 4060 Gaming X 8G
- Insert the Card into the PCIe Slot:
- Align the PCIe connector of the MSI GeForce RTX 4060 Gaming X 8G with the PCI Express x16 slot on the motherboard.
- Gently but firmly push the card into the slot until it clicks into place. Ensure it's securely seated.
- Secure the Card:
- Use the provided screws to secure the card to the metal bracket of your PC case.
Connect the Power Supply
- The MSI GeForce RTX 4060 Gaming X 8G requires no additional power connectors as it draws power directly from the PCIe slot. However, double-check your PSU wattage and connectors if your card requires power beyond the PCIe slot.
Close the PC Case
- After securing the card and connecting any necessary power cables, close the side panel of your PC case.
- Reattach any screws or latches that were removed earlier.
Connect the Monitor
- Connect your display to the graphics card using the appropriate video cable (HDMI, DisplayPort, etc.).
- Ensure that the display is set to the correct input source (e.g., HDMI or DisplayPort).
Power On the System
- Plug the power cable back into the power outlet and power on your system.
- The system should automatically detect the new GPU. You may see a splash screen or a system notification about new hardware.
Install the Drivers
- Install the latest drivers for your graphics card to ensure optimal performance and compatibility:
- Option 1: Use the driver CD that came with the card and follow the installation prompts.
- Option 2: Go to the official MSI website or the Nvidia website and download the latest GeForce drivers for the RTX 4060.
- After installation, restart your computer to complete the process.
Adjusting Graphics Settings
- Once the drivers are installed, open the Nvidia Control Panel to configure your display settings, including resolution, refresh rate, and 3D settings.
- You can also use MSI Afterburner or GeForce Experience to fine-tune performance, enable ray tracing, and adjust GPU clock speeds.
Customize RGB Lighting (Optional)
The MSI GeForce RTX 4060 Gaming X 8G features customizable RGB lighting. To personalize the look of your system:
- Download and install MSI Mystic Light from the official MSI website.
- Open the Mystic Light application to customize the RGB lighting effects, colors, and synchronization with other MSI components.
Test the Graphics Card
- To ensure everything is functioning correctly, run a game or a bench-marking application (such as 3DMark or MSI Kombustor).
- Monitor the system's performance and temperature using software like MSI Afterburner to ensure the GPU is running smoothly.
Troubleshooting
If you encounter any issues during installation:
- No Signal on Monitor: Double-check that the card is securely seated and that the monitor is connected to the GPU (not the motherboard).
- Driver Issues: Ensure that you've installed the latest drivers. You may also try reinstalling them if problems persist.
- System Stability: Ensure your PSU provides enough power and that all internal cables are properly connected.
Final Thoughts
Congratulations! Your MSI GeForce RTX 4060 Gaming X 8G is now installed and ready to deliver outstanding graphics performance for gaming and content creation. Enjoy enhanced visuals, faster frame rates, and superior cooling during your next gaming session!
Documents / ResourcesDownload manual
Here you can download full pdf version of manual, it may contain additional safety instructions, warranty information, FCC rules, etc.
Advertisement


Need help?
Do you have a question about the GeForce RTX 4060 Gaming X 8G and is the answer not in the manual?
Questions and answers