Advertisement
MODELS
| MODELS | VOLTAGE (V) | TOTAL POWER (W) | CURRENT(AMPS) |
| BAFDS15120B | 120 | 1500 | 12.5 |
| BAFDS32080B | 208/240 | 1800/2400 | 8.7/10 |
| BAFDS32240B | 208/240 | 2400/3200 | 11.5/13.3 |
INSTALLATION INSTRUCTIONS
Heater installation must be carried out by qualified personnel in compliance with local National Codes (NEC) as well as any other applicable standards. Failure to comply with applicable requirements could result in personal injury and/or property damage. Wiring procedures and connections shall be made in accordance with national and local electrical codes having jurisdiction.
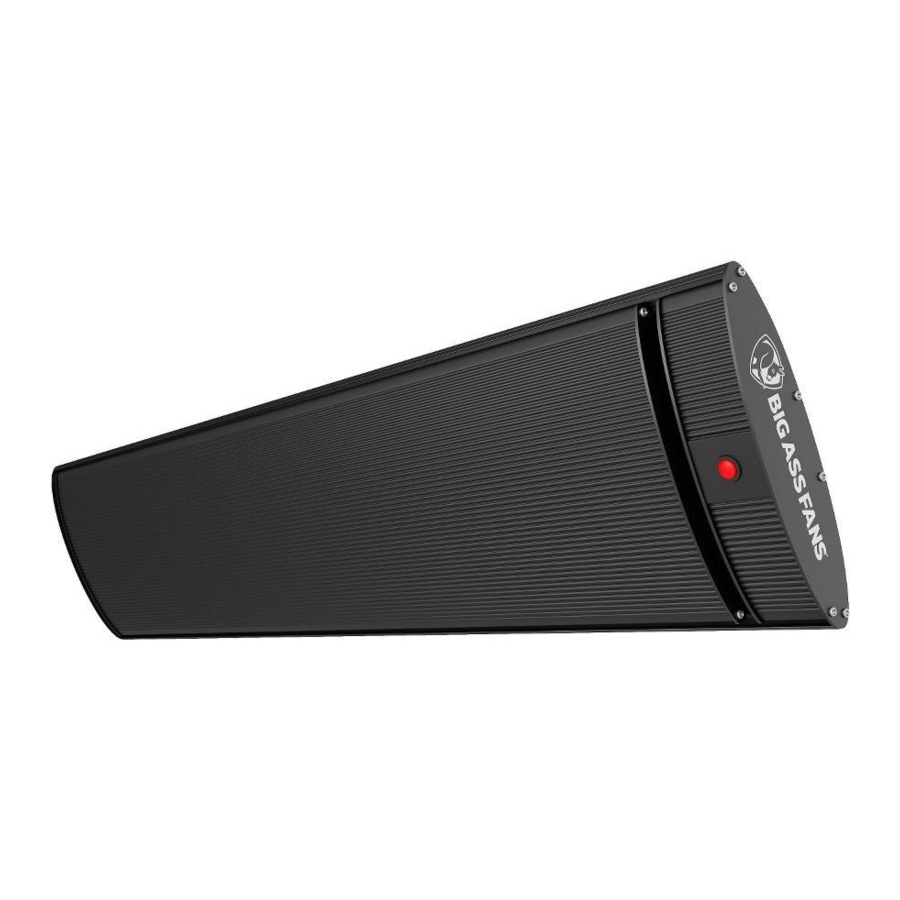
AURA infrared panel heaters produce both radiant and convective heat that warms people and the air around them. This heater includes standard 4" brackets which allow the user to direct the radiant heat where desired.
 To reduce the risk of fire, do not store or use gasoline or other flammable vapors and liquids in the vicinity of the heater.
INSTALLATION CLEARANCES
WALL MOUNT

DANGER FIRE HAZARD
The minimum clearances indicated on the nameplate and in the user's manual must be observed at the time of installation.
High temperatures are present, risk of fire! Keep electrical cords, drapery, furnishings and other combustibles at least 6 feet (1.8m) from the front of the heater and away from the sides and rear.

Wall Mounted Clearances
| Minimum Installation Clearances, Wall Mount | |||
| Heater Model | Floor (Measured to bottom of heater) | Ceiling | Adjacent Walls |
| DS15120 | 6'7" (2.1m) – USA 8' (2.4m) - CANADA | 8" (0.2 m) | 18" (0.45 m) |
| DS24240 | 6'7" (2.1m) – USA 8' (2.4m) - CANADA | 8" (0.2 m) | 18" (0.45 m) |
| DS32240 | 6'7" (2.1m) – USA 8' (2.4m) - CANADA | 8" (0.2 m) | 18" (0.45 m) |
CEILING MOUNT
This heater works best when installed 8' in Canada, and 7' in USA when measured to the bottom of the heater. The minimum mounting height in Canada is 8', and 6'7" in USA measured to the bottom of the heater. In outdoor environments it is not recommended to mount the bottom of the heater above 8'. This heater is supplied with a standard 4" bracket. Additional mounting brackets are available at lengths of 1', 2' and 4' (0.3m, 0.6m and 1.2m) to satisfy optimal mounting heights.

Ceiling Mounted Clearances
| Minimum Installation Clearances, Ceiling Mount | |||
| Heater Model | Floor (Measured to bottom of heater) | Ceiling | Adjacent Walls |
| DS15120 | 6'7" (2.1m) – USA 8' (2.4m) - CANADA | 4" (0.1 m) | 18" (0.45 m) |
| DS32240 | 6'7" (2.1m) – USA 8' (2.4m) - CANADA | 4" (0.1 m) | 18" (0.45 m) |
| DS32240 | 6'7" (2.1m) – USA 8' (2.4m) - CANADA | 4" (0.1 m) | 18" (0.45 m) |
INSTALLATION ON HIGH CEILINGS
When installing the heater on high ceilings, it is highly recommended to suspend the heater to ensure optimal heating performance. In outdoor environments it is not recommended to mount the bottom of the heater above 8' in CANADA and 7' in USA. This section will help the installer select an optimal extension bracket to ensure the heater is installed at the optimal height.

Use the charts below to help select an appropriate suspension bracket to maintain 8' mounting height in CANADA and 7' mounting height in USA.
| Suspension bracket selection for USA: 6'7" minimum mounting height PER UL 2021 | ||||||||
| Ceiling Height | ||||||||
| Ceiling Height, Inches | 7' - 7'9 | 7'9"- 8'9" | 8'9" - 10'9" | 10'9" or greater | ||||
| Ceiling Height, Meters | 2.1m - 2.4m | 2.4m - 2.7m | 2.7m - 3.3m | 3.3m or greater | ||||
| Extension Bracket to use: ALL units: 1500 / 2400 / 3200 W | Standard 4" bracket | 12" bracket | 24" bracket | 48" bracket | ||||
| Suspension bracket selection for CANADA: 8' minimum mounting height PER CSA 22.2 NO.46-13 | ||||||||
| Ceiling Height | ||||||||
| Ceiling Height, Inches | 8'6" – 9'2" | 9'2"- 10'2 | 10'2" - 12'2" | 12'2" or greater | ||||
| Ceiling Height, Meters | 2.4m – 2.8m | 2.8m – 3.1m | 3.1m - 3.7m | 3.7m or greater | ||||
| Extension Bracket to use: ALL units: 1500 / 2400 / 3200 W | Standard 4" bracket | 12" bracket | 24" bracket | 48" bracket | ||||
ELECTRICAL INSTALLATION
Safety Precautions
- Each power supply circuit must be properly grounded.
- Use a certified ground fault protection device for wet environment installations.
- Use a proper electrical connection box.
- Supply voltage and frequency must correspond to the electrical rating indicated on unit's information plate.
WALL-MOUNTED INSTALLATION
NOTE: This heater must be installed with overhead cover when used outdoors. This heater is not recommended for use outdoors in northern climates and is the heat is susceptible to wind loss!
- Take the heater out of the box and remove all protective foam inserts.
- The heater comes with standard 4" brackets. Spacing between the brackets must be between:

- Select the installation location on the wall by identifying the studs or structural beams that will allow the heater to be securely attached.


Ensure minimum clearances outlined in section "Installation Clearances" are met.
- Securely fasten the brackets to the mounting surface.
NOTE: Wall bolts or anchors are not supplied. Select an appropriate size to provide adequate support for the weight of the unit and take into consideration any wind load conditions.


If there is any question regarding security of the bolts and fixtures, contact a professional contractor.
- Mount the heater to the brackets with the terminal box at the right side of the heater using the screws provided.
- Adjust the heater to the desired directional angle, then fix in this position by tightening the fixing bolts on the brackets at the back of the heater.
- Secure the electrical supply cable so it does not contact the heater body or obstruct the air vents. Follow local and national electrical code requirements.
The angles of attachment are 20° to 70°, measured from the mounting wall.
CEILING MOUNTED INSTALLATION
Heater should be hung using rigid mounting brackets, the unit must not be able to swing in any direction under applied load from wind or persons. The unit must be installed using the supplied brackets or Aura Shadow extension brackets.
- Secure the heater to the mounting brackets using nuts and washers provided.
- Select the installation location on the ceiling by identifying the studs or structural beams that will allow the heater to be securely attached.
NOTE: ceiling bolts or anchors are not supplied. Select an appropriate size to provide adequate support for the weight of the unit, while taking into consideration any wind load conditions:- Model # DS15120B – 12.5lbs
- Model # DS24240B - 17.5lbs
- Model # DS32240B - 22lbs
- Attach the unit to the ceiling using the ceiling brackets and user selected bolts.
- The heater can be hung vertically or pointed at a maximum angle of 45° from vertical.
NOTICE: NEVER direct the infrared heat produced by the appliance at an adjacent wall. - Secure the electrical supply cable so it does not contact with the heater body or cover the heater air vents.
ADJUSTING DIRECTIONAL POSITIONING
Never attempt to move or adjust the heater angle while it is running. Personal injury could result.
- Turn off the heaters electrical supply line from the main power supply.
- Allow the heater to cool before adjusting the angle.
- Loosen the fixing bolts on the brackets at the back of the heater; adjust the heater as desired, then retighten the fixing bolts.
Notice: The unit produces radiant heat in addition to heating air in the environment it is installed. Install this heater at an angle which points the front face of the heater at the target area to be heated. Do not point the heater at windows or at vacant spaces, as the heat will not be delivered to the occupants.

MAINTENANCE
- Allow the heater and the emitter to cool down before handling.
- Installation and maintenance must be performed by a qualified technician.
- Turn off the power before beginning maintenance.
- Do not attempt to service or repair the unit while it is running.
- Should the heater be dropped or damaged or malfunction at any time, immediately turn off the main power source and do not use it until it has been examined by an authorized service facility.
CLEANING
To remove dust or dirt on the reflector, follow these steps:
- Disconnect the heater from the main power supply.
- Ensure the heater is cool before cleaning.
- Carefully wipe the front face of the heater with a soft, lint-free cloth with a cleaning solution.
SAFETY
FIRE/EXPLOSION HAZARD WARNING
NOT FOR USE IN HAZARDOUS OR EXPLOSIVE ATMOSPHERES
During operation, always ensure combustible materials are kept at a safe distance from the heater body and from the emitted radiant energy. This heater is not intended for use in hazardous areas where flammable vapours, gases, liquids or other combustibles are present. Failure to do so can result in personal injury/or property damage.

THIS ELECTRIC APPLIANCE PRODUCES INFRARED HEAT, FAILURE TO FOLLOW WARNINGS AND INSTRUCTIONS CAN CAUSE FIRE, ELECTRIC SHOCK, OR INJURY.
Heater must be installed by a certified electrician and installation must adhere to all local, state and national electric codes.
FIRE OR EXPLOSION HAZARD
- Failure to precisely follow safety warnings could result in serious injury or property damage.
- This heater has hot surfaces and arcing or sparking parts inside. Do not use the heater in areas where gasoline, paint or flammable vapors or liquids are used or stored.
- This Heater is not to be installed or used in an area containing hazardous or flammable materials including but not limited to rags, fabrics, spray or aerosol cans, cleaning compounds, plastic containers, paper products, organic dusts, straw/hay, gasoline, kerosene, lighter fluid, etc.
![burn hazard]() To prevent a possible fire, do not block air intakes or exhaust in any manner.
To prevent a possible fire, do not block air intakes or exhaust in any manner.![burn hazard]()
![shock hazard]()
Do not insert or allow foreign objects to enter any ventilation or exhaust opening as this may cause an electric shock or fire, or damage to the heater.- Do not cover the heater in any manner, do not hang clothing on or near the heater.
![]()
Do not use the heater together with another appliance connected to the same supply line or connected to the same breaker.- This heater must be properly grounded.
- The power cord must not be left on or around the heater body.
- Keep combustible materials, such as furniture, pillows, bedding, papers, clothes, curtains, etc. at least 6 feet (1.8m) from the front of the heater and keep them away from the sides and rear.

PERSONAL INJURY HAZARD - OPERATION
![]()
This heater is hot when in use. To avoid burns, do not let bare skin touch hot surfaces.- Extreme caution is necessary when any heater is used by or near children or other persons with reduced physical, sensory or mental capabilities.
- Never leave the heater unattended while it is operating.
- Do not operate any heater after it malfunctions. Disconnect power at the service panel and have the heater inspected by an electrician before reusing.
- Do not use the heater to light cigarettes or similar materials.
![shock hazard]() Do not insert objects in heater openings. Electrical shock could result.
Do not insert objects in heater openings. Electrical shock could result.- To disconnect heater, turn controls to off, and turn off power to the heater circuit at the main disconnect panel
PERSONAL INJURY HAZARD - CLEANING AND MAINTENANCE
![shock hazard]() To avoid property damage, personal injury or death due to electrical shock DO NOT service the unit without turning the unit OFF and disconnecting the heater from the main power supply.
To avoid property damage, personal injury or death due to electrical shock DO NOT service the unit without turning the unit OFF and disconnecting the heater from the main power supply.- Before cleaning the unit or replacing the emitter, turn off the main power. Make sure the heater and/or the emitter is cool before handling.
- Service must be performed only by a qualified service technician.
INSTALLATION
- This product must be installed by a certified electrician and must adhere to all local, state and national electric codes (NEC)
- This product is not suitable for Outdoor exposed installation. If installed outdoors, this heater must installed in a covered environment.
- Do not direct the radiant part of the heater towards the ceiling.
![burn hazard]() Specified minimum clearances from front, sides, bottom and back of unit must be met. Failure to meet clearance minimums can result in fire.
Specified minimum clearances from front, sides, bottom and back of unit must be met. Failure to meet clearance minimums can result in fire.- Heater is not for use in bathrooms, laundry areas or other locations where unit could fall into water.
- Do not use the heater if it has been dropped or damaged in any way. Ensure the emitter is not cracked or chipped visually. Contact an authorized Aura dealer for support.
- Do not use the heater if the power cord is damaged. Contact an authorized servicer or qualified electrician to replace the cord prior to use.
- Unplug the appliance when it is not in use for long periods of time, or for cleaning and maintenance.
- Heater is not to be recessed.
- The heater must be installed at level on a flat, stable surface, rigid enough to safely withstand the weight of the heater and the heater must not be covered by any flexible material, such as carpets, plastic or fabric.
SAVE THESE INSTRUCTIONS
Documents / ResourcesDownload manual
Here you can download full pdf version of manual, it may contain additional safety instructions, warranty information, FCC rules, etc.
Advertisement


Need help?
Do you have a question about the VESPER and is the answer not in the manual?
Questions and answers