Advertisement
Manual ID
2024M-00272
SAFETY INFORMATION
Visit www.bestwaycorp.com/support for help
WE SUGGEST NOT TO RETURN THE PRODUCT TO THE STORE
QUESTIONS? PROBLEMS? MISSING PARTS?
For FAQ, Manuals, Videos Or Spare Parts, Please Visit bestwaycorp.com/support
Read these materials prior to assembling and using this Trampoline.
Carefully read, understand, and follow all information in this user manual before installing and using the trampoline. These warnings, instructions,
and safety guidelines address some common risks of recreation, but they cannot cover all risks and dangers in all cases. Always use caution,
common sense, and good judgment when enjoying any trampoline activity. Keep these instructions. If the instructions are missing, find them on our
website www.bestwaycorp.com/support.
WARNINGS
Only for domestic use. For outdoor use only.
Only one user. Collision hazard. Maximum weight of the user shall not exceed 80 kg (175 lbs).
The trampoline shall be assembled by an adult in accordance with the assembly instructions and thereafter checked before the first use.
Adult supervision required.
Jump without shoes; No somersaults.
Do not use the mat when it is wet.
Empty pockets and hands before jumping.
Always jump in the middle of the mat.
Do not eat while jumping.
Do not exit by a jump.
Limit the time of continuous usage (make regular stops).
Always close the net opening before jumping.
Do not use in strong wind conditions and secure the trampoline.
It is not buried trampoline, not intended to be buried into the ground.
It is recommended to place the trampoline on a level surface at least 2 m from any structure or obstruction such as a fence, garage, house,
overhanging branches, laundry lines or electrical wires.
The trampoline shall neither be installed over concrete, asphalt or any other hard surface nor at proximity of other conflicting installations (e.g.
paddling pools, swings, slides, climbing frames).
Instruction Manual
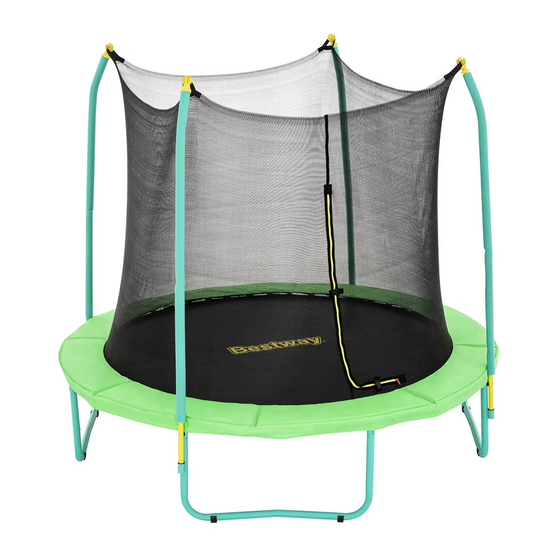
8ft. Xtreme Air™ Trampoline Manual
1 / 16
Advertisement
Table of Contents

Related Manuals for Bestway Xtreme Air 8ft


Summary of Contents for Bestway Xtreme Air 8ft
- Page 1 Instruction Manual Manual ID 2024M-00272 8ft. Xtreme Air™ Trampoline Manual SAFETY INFORMATION Visit www.bestwaycorp.com/support for help WE SUGGEST NOT TO RETURN THE PRODUCT TO THE STORE QUESTIONS? PROBLEMS? MISSING PARTS? For FAQ, Manuals, Videos Or Spare Parts, Please Visit bestwaycorp.com/support Read these materials prior to assembling and using this Trampoline.
- Page 2 Any modifications made by the consumer to the original trampoline (e.g. the adding of an accessory) shall be carried out according to the instructions of the manufacturer. Check all nuts and bolts for tightness and tighten when required. Check that all spring-loaded (pit pin) joints are still intact and cannot become dislodged during play. Check all coverings and sharp edges and replace when required.
-
Page 3: Setup Instructions
For installation instructions, scan the QR Code printed on the front cover or follow the illustrations below. Drawings are for illustration purposes only. May not reflect actual product. Not to scale. Assembly of this trampoline can be completed without additional tools. Bestway is not responsible for damage caused to the trampoline due to mishandling or failure to follow these instructions. - Page 4 Connect the Base Rail (F) with the T-connector (E). The base rails have different-sized ends, a small one (P1) and a large one (P2). First, insert the large end (P2) into each T-connector and then the small end (P1). Make sure the spring slots are facing upward. Insert the Foot Pad (D) onto the bottom of the Leg Base (C).
- Page 5 Connect the Vertical Leg (A) and the Vertical Leg (B) onto the Leg Base (C) to form the base structure. Make sure the spring-loading pins on the two vertical legs are inserted correctly. Insert the base structure completed in Step 3 into the T-Connector (E) from Step 1. Ensure that the spring-loading pins of the vertical legs are inserted into the T-connectors correctly.
- Page 6 Spring Assembly Feel free to scan the QR Code for the installation clip of this section! The Trampoline Mat (G) has metal rings with red markings, which should be the first ones using springs to connect to the frame of the upper structure.
- Page 7 The spring (I) has two ends with different shapes: the P3 end must be inserted into the rings of the Trampoline Mat (G), while the P4 end must be inserted into the frame of the upper structure. The assembly of the springs must be carried out using the QuickSpring™ Trampoline Tool (J): Insert the P3 end of the spring into the metal ring of the mat.
- Page 8 Cross-install the rest of the springs. Position the Frame Pad (H) over the springs and frame. Use the provided strings to secure the Frame Pad (H) to the metal rings of the trampoline mat (9.1&9.2) and the frame of the upper structure besides the vertical legs (9.3&9.4). 8 / 16...
- Page 9 Enclosure Net Assembly 9 / 16...
- Page 10 10 . Insert the Lower Frame Support with Foam (L) into the Upper Frame Support with Support Cap (K). 10 . Attach the Support Cap of the Upper Frame Support (K) to the top of the enclosure netting. Make sure the caps' opening faces outward. 10 / 16...
- Page 11 11 . Insert the Lower Frame Support with Foam (L) into the outward-facing metal cube on the Vertical leg A as shown in 12.1. After that, follow the provided sequence to secure the frames and legs using the Screw Set (M). The Screw Set is composed of four parts, each of which will be used in different positions as shown in 12.2 to 12.9.
- Page 12 The QuickSpring™ Trampoline Tool (J) is specially designed for multiple uses during the setup. You can use the wrench at the end of the handle to tighten the screws. 12 . Complete the trampoline installation by fixing the Anchors (N) to the ground. Anchors are designed to secure the trampoline and reduce the risk of the trampoline moving when it's windy or in use.
-
Page 13: Use Instructions
USE INSTRUCTIONS FUNDAMENTAL TRAMPOLINE SKILLS Trampolining is a fun and engaging activity that requires some basic knowledge of steps and bounces. To get started, we suggest you follow the lessons outlined here. Before you begin your trampoline journey, it's essential that you read and fully understand all the safety guidelines. It is also necessary for the supervisor to have a complete lesson with the user regarding body mechanics, proper posture, and the guidelines governing trampoline usage. - Page 14 Bounce from a standing position, and keep your eyes focused on the frame pad. Land on the mat on your hands and knees. Push yourself up with your hands back to the standing position. Lesson Three - Knee Drop Bounce from a standing position, and keep your eyes focused on the frame pad.
-
Page 15: Maintenance Instructions
The net should be replaced every 2 to 3 years. If any part becomes damaged or worn, please stop using the trampoline immediately until this part is replaced with authorized Bestway parts. If you need to move the trampoline, two or more people are required to lift the trampoline from the ground. Do not drag the trampoline. Failure to follow these instructions may result in damage, which will not be considered a manufacturer defect and will void the warranty and any service claims. -
Page 16: Warranty Terms
Storage The trampoline and enclosure net must be stored away during harsh weather conditions, including extreme wind, heat, and freezing temperatures. Always store the trampoline and enclosure net when not in use and secure from unauthorized uses. WARRANTY TERMS For support and product registration, please visit bestwaycorp.com/support. 16 / 16...
Need help?
Do you have a question about the Xtreme Air 8ft and is the answer not in the manual?
Questions and answers