Advertisement
Quick Links
Warning notices: Before using this product, please read this manual carefully and keep it for future reference.
The design and specifications are subject to change without prior notice for product improvement.
Consult with your dealer or manufacturer for details.
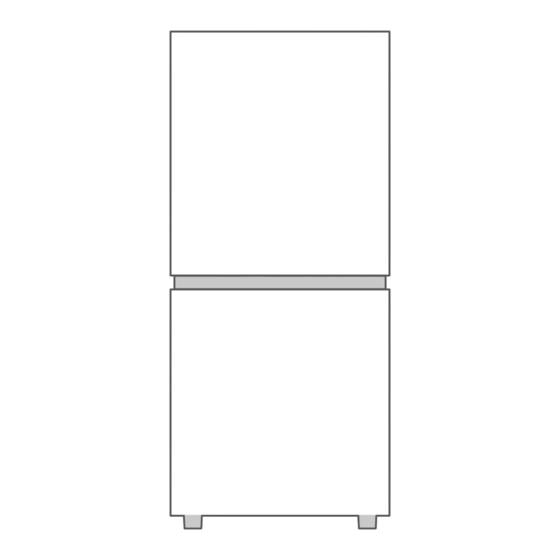
The diagram above is just for reference. Please take the appearance of the actual product as the standard.
Download the app
& activate product
Refrigerator
TWO DOOR SERIES
USER MANUAL
MRU21C7BST
MRU21C7BWW
Advertisement

Related Manuals for Midea MRU21C7BST


Summary of Contents for Midea MRU21C7BST
- Page 1 Refrigerator TWO DOOR SERIES USER MANUAL MRU21C7BST MRU21C7BWW Download the app & activate product Warning notices: Before using this product, please read this manual carefully and keep it for future reference. The design and specifications are subject to change without prior notice for product improvement.
- Page 3 THANK YOU LETTER Thank you for choosing Midea! Before using your new Midea product, please read this manual thoroughly to ensure that you know how to operate the features and functions that your new appliance offers in a safe way.
- Page 4 SPECIFICATIONS Wireless Network module model MWB-S-WB01 Standard IEEE 802.11b/g/n Antenna Type Printed PCB antenna Frequency Band 2400-2483.5 MHz Operating Temperature °C °C °F °F ~ 85 ~185 Operation humidity: 10%~85% Power Input DC5V/500mA Maximum Transmission power: <20dBm...
- Page 5 PRODUCT OVERVIEW Names of components Door switch Drawer LED light Door tray Shelf Control panel ATTENTION The picture above is only for reference. Wire drawers cannot be used as fruits and vegetables, and there is a risk of frostbite . The actual configuration will depend on the physical product or statement by the distributor.
- Page 6 PRODUCT INSTALLATION Install Instruction Finding a suitable location > This refrigerator is designed to be free standing only, and should not be recessed or built-in. > The refrigerator should be placed in a well-ventilated indoor place; the ground shall be flat and sturdy. >...
- Page 7 Space requirement diagram (when the door is open and when the door is closed) Depth Width Overall Width Depth Without door doors open doors open Height 1692 1351 1275 Notice: All dimensions in mm...
- Page 8 Door reversal (Optional) Based on the location where you plan to use your refrigerator, you may find it more convenient to reverse the position of the door. CAUTION To avoid injury to yourself or your property, we recommend that someone assist you during the door reversal process.
- Page 9 Parts currently open on the right side: Right upper hinge Right upper hinge cover Right middle hinge Top door right self-lock Top door right stopper...
- Page 10 STEP: 1. Power off the refrigerator and remove all food items from the door shelves. Secure the door with tape. 2. Remove the left hole cover and the right upper hinge cover with a Phillips and flathead screwdriver, remove the upper hinge, and save the screws for use. 3.
- Page 11 5. Remove the right lower hinge screws, and then remove the lower hinge and adjustable feet. Pry off the insert pin,screw cap and adjustable feet on the left side and remove the screw . 6. Remove the lower hinge shaft and move it to the left of the lower hinge and tighten it, then install the removed right lower hinge to the left lower end of the refrigerator and secure it with the screws that were kept aside.
- Page 12 9. Install the lower door onto the lower hinge, and Pry off the insert pin, screw cap and remove the screw, remove the middle hinge on the other side from the accessory package and install the middle hinge on the opposite side. 10.
- Page 13 Leveling feet To avoid vibration, the unit must be leveled. If required, adjust the leveling screws to compensate for the uneven floor. The front should be slightly higher than the rear to aid in door closing. Leveling screws can be turned easily by tipping the cabinet slightly. Turn the leveling screws counterclockwise to raise the unit, clockwise lower it.
- Page 14 Changing the light > Any replacement or maintenance of the LED lamps is intended to be made by the manufacturer, its service agent or similar qualified person. Connecting the appliance After installing the appliance, connect the power plug into a socket outlet. ATTENTION After connecting the power supply cord (or plug) to the outlet, wait 2 or 3 hours before you put food into the appliance.
- Page 15 OPERATION INSTRUCTIONS Control panel Display Button WiFi display icon Mode button Refrigerator/Freeze mode Temperature selection button Refrigerator/Refrigerator mode Freeze/Freeze mode Coldest Colder Colder Cold ATTENTION • The actual control panel may differ from model to model. • The control panel will turn off automatically for energy saving.
- Page 16 MODE button > Mode button to switch full freezing mode - > full refrigerated mode - > refrigerated freezing mode Temperature button > Press the temperature adjustment button to adjust the setting gear, COLDEST- > COLD. > The four gears in the refrigerated mode are 2 °C, 4 °C, 6 °C, 8 °C. >...
- Page 17 OPEN API 1. Demand response • Get the current pattern POST /vl/api/plugin/ get Demand Responselnfo. • Accepts DAL signals POST /v1/api/plugin/demand Response/dal. • Accepts TALR signals POST /v1/api/plugin/demand Response/ dal. 2. Energy consumption report • Get the energy statistics report POST /v1/api/plugin/get Energy Statistics Rep. 3.
- Page 18 Tips on storing food Freezer compartment > The freezer is designated for the storage of food frozen at very low temperature, long-term storage of frozen food, and for the production of ice. > Only use the shelves in the door of the freezer to store frozen food, not for storing hot food designated for freezing.
- Page 19 APP SETUP AND OPERATION Download the SmartHome App On an app market (Google Play Store, Apple App Store), search for “SmartHome” and find the SmartHome app. Download and install it on your phone. You can also download the app by scanning the QR code below. Download the app &...
- Page 20 CLEANING AND MAINTENANCE Defrosting > The refrigerator is made based on the air-cooling principle and thus has automatic defrosting function. Frost formed due to change of season or temperature may also be manually removed by disconnection of the appliance from power supply or by wiping with a dry towel. Cleaning of door tray >...
- Page 21 TROUBLESHOOTING The following simple issues can be handled by the user. Please call the after-sale service department if the issues are not solved. Problem Possible reason • Check whether the appliance is connected to power or whether the plug is in well contact Failed operation •...
- Page 22 Do you hear these abnormal sounds as below? Usually these sounds are normal. HISSS! BRRR! Some electrical parts in the When the refrigerant flows into the CLICK: HISSS: refrigerator, such as electric valve will evaporator, it will make this noise. This is make this noise when working.
- Page 23 (2) this device must accept any interference, including interference that may cause undesired operation of the device. CAN ICES-003(B)/NMB-003(B) Midea is not responsible forany changes ormodifications not expresslyapproved by Midea. Suchmodifications could void the user’s authority to operate the equipment. For model: MWB-S-WB01 FCC ID: 2ADQOMWB-SWB01...
Need help?
Do you have a question about the MRU21C7BST and is the answer not in the manual?
Questions and answers
reverse doors
exchanging door opening
How do I turn off the wifi
Does the lower unit have a light?