Sign In
Upload
Download
Table of Contents
Contents
Add to my manuals
Delete from my manuals
Share
URL of this page:
HTML Link:
Bookmark this page
Add
Manual will be automatically added to "My Manuals"
Print this page
×
Bookmark added
×
Added to my manuals
Manuals
Brands
Singer Manuals
Sewing Machine
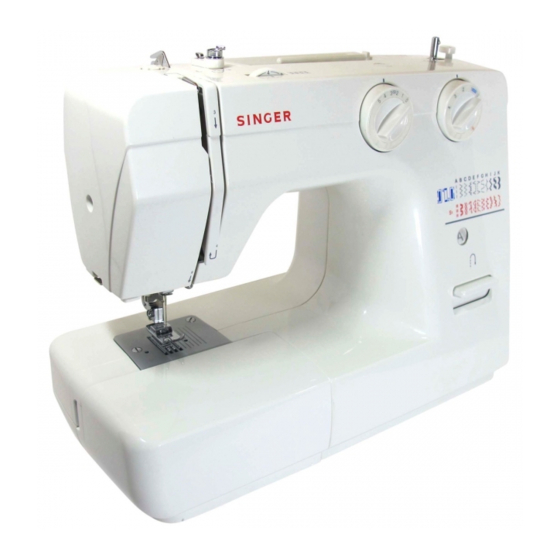
Futura 1100
Instruction manual
Singer 1100 Instruction Manual
Hide thumbs
Also See for 1100
:
Parts list
(27 pages)
1
2
3
Table Of Contents
4
5
6
7
8
9
10
11
12
13
14
15
16
17
18
19
20
21
22
23
24
25
26
27
28
29
30
31
32
33
34
35
36
37
38
page
of
38
Go
/
38
Contents
Table of Contents
Bookmarks
Table of Contents
Important Safety Instructions
Table of Contents
Principal Parts of the Machine
Accessories
Fitting the Snap-In Sewing Table
Connecting Machine to Power Source
Changing the Bulb
Two-Step Presser Foot Lifter/ Adjusting Presser Foot Pressure
Attaching the Presser Foot Holder
Winding the Bobbin
Inserting the Bobbin
Inserting and Changing Needles
Threading the Upper Thread
Automatic Needle Threader (Optional)
Thread Tension
Raising the Bobbin Thread
Removing the Work
Reverse Sewing/ Removing the Work/ Cutting the Thread
Matching Needle/ Fabric/ Thread
How to Choose Your Pattern
Function of Stitch Width Dial and Stitch Length Dial
Blind Hem/ Lingerie Stitch
Overlock Stitches (for Models A, B & C)
Sewing on Buttons
Sew 4-Step Buttonholes
Zippers and Piping
Sewing with the Optional Hemmer Foot
Multi-Stitch Zig-Zag
Straight Stretch Stitch and Ric Rac Stitch (for Models A, B & C)
Honeycomb Stitch (for Models A, B & C)
Sewing with the Optional Cording Foot
Free Motion Darning
Practical Stitches (for Models A, B & C)
Maintenance
Trouble Shooting Guide
Advertisement
Quick Links
1
Principal Parts of the Machine
2
Winding the Bobbin
3
Inserting the Bobbin
4
Threading the Upper Thread
5
Thread Tension
6
Function of Stitch Width Dial and Stitch Length Dial
7
Maintenance
8
Trouble Shooting Guide
Download this manual
Instruction Manual
Table of
Contents
Previous
Page
Next
Page
1
2
3
4
5
Advertisement
Table of Contents
Need help?
Do you have a question about the 1100 and is the answer not in the manual?
Ask a question
Questions and answers
Related Manuals for Singer 1100
Sewing Machine Singer Futura 1100 Parts List
Solid state electronic sewing machine (27 pages)
Sewing Machine Singer Sewing Machine Instruction Manual
(96 pages)
Sewing Machine Singer Sewing Machine Instruction Manual
Sewing machine (96 pages)
Sewing Machine Singer Sewing Machine Instruction Manual
(88 pages)
Sewing Machine Singer Sewing Machine Instruction Manual
(86 pages)
Sewing Machine Singer 1120 Instruction Manual
(86 pages)
Sewing Machine Singer 1120 Instruction Manual
Singer 1120 (85 pages)
Sewing Machine Singer Sewing Machine Instruction Manual
(41 pages)
Sewing Machine Singer Sewing Machine Instruction Manual
Semi-industrial upholstery & leather craft sewing machine (39 pages)
Sewing Machine Singer Sewing Machine Instruction Manual
(31 pages)
Sewing Machine SINGER SEWING MACHINE Manual
(6 pages)
Sewing Machine Singer 3210 Quick Start Manual
(2 pages)
Sewing Machine Singer Sewing Machine User Manual
Singer sewing machine user manual (1 page)
Sewing Machine Singer 110W117 Parts List
Singer sewing co. 110w117/122 sewing machine product manual (30 pages)
Sewing Machine SINGER 110W124 Instructions For Using And Adjusting
Fitted with continuous wheel feed for leather work (14 pages)
Sewing Machine SINGER 110W150 Instructions For Using And Adjusting
(13 pages)
This manual is also suitable for:
1110
1120
Sewing machine
Table of Contents
Save PDF
Print
Rename the bookmark
Delete bookmark?
Delete from my manuals?
Login
Sign In
OR
Sign in with Facebook
Sign in with Google
Upload manual
Upload from disk
Upload from URL


Need help?
Do you have a question about the 1100 and is the answer not in the manual?
Questions and answers