Table of Contents
Advertisement
Quick Links
®
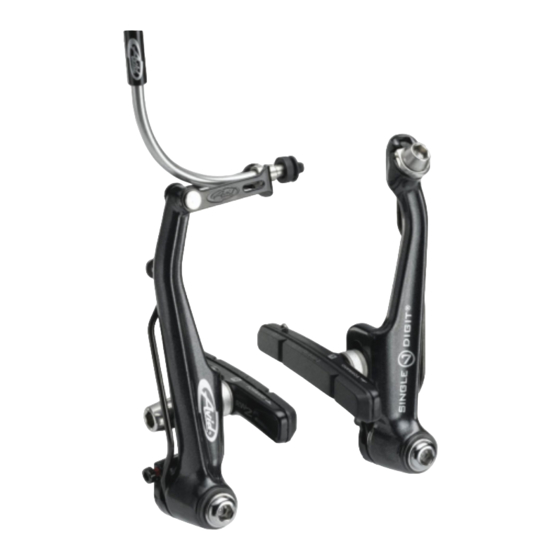
SINGLE DIGIT
7/Ti
INSTALLATION
AND
OPERATION INSTRUCTIONS
I I M M P P O O R R T T A A N N T T
Brakes are a safety-critical item on a bicycle.
Improper set-up or use of brakes can result in
loss of control or an accident, which could lead
to a severe injury.
It's your responsibility to learn and understand
proper braking techniques. Consult the owner's
manual for your bicycle and a professional bike
dealer. Practice your riding and braking tech-
niques on a flat and level surface prior to
aggressive riding.
The effectiveness of braking is dependent on
many conditions over which Avid has no control
including the speed of the bicycle, type and con-
dition of the riding surface, braking lever force,
proper installation and maintenance of brakes,
cables, levers, brake pads, the condition of the
bike, weight of the rider, proper braking tech-
niques, weather, terrain, and a variety of other
factors.
Avid brakes and levers are not intended for use
on any motorized bicycle or vehicle. Any such
use could result in a serious personal injury.
ALWAYS RIDE UNDER CONTROL.
Remember, it takes longer to stop in wet condi-
tions. To reduce the possibility of an accident
and minimize trail erosion, you should avoid
locking-up your wheels.
11D7/Ti-02/02
BRAKE INSTALLATION
IMPORTANT!
Only levers designated for direct-pull
®
brakes such as the Speed Dial
®
Ultimate, Speed Dial
Ti, 7, 5 and AD3
®
levers can be used with Single Digit
brakes. If you have any questions con-
cerning compatibility of levers and
brakes, contact your professional bike
dealer.
Follow these instructions carefully. If
you do not understand the instructions,
have the installation done by a profes-
sional bike mechanic.
Installation Tools Needed:
3mm and 5mm hex wrenches,
torque wrench and cable cutters.
ALIGN THE PADS
3
Next, adjust the brake pad to be
parallel with the rim. The top of pad
should be at 1mm below the top of
the rim.
1mm
MOUNT THE BRAKE
1
Brake bosses must be clean and
free of debris. Grease bosses light-
ly. Align the brake pin with the cen-
ter brake boss hole. Tighten the
mounting bolt.
TM
Tighten Mounting Bolt to:
5 - 7 Nm (43 - 61 in lb)
TIGHTEN THE PADS
4
With the pads aligned properly and
flat against the rim, tighten the fixing
nut to the specified torque.
Tighten Pad Fixing Nut to:
6 - 8 Nm (52 - 69 in lb)
CHECK THE PAD SPACING
2
Check that the brake arms are
approximately parallel when the
brake pads are on the rim. There
are 4 spacing options: 3mm, 4mm,
5mm, and 6mm. If the arms aren't
parallel, check the chart on the
back for corresponding washer
configurations.
PARALLEL
INSTALL THE BOOT
5
Insert the boot over the first lip of
the noodle. DO NOT push the
boot all the way up to the link.
The Avid noodle & boot are
designed to be removed from the
link without having to disengage the
boot.
CORRECT
INCORRECT
Advertisement
Table of Contents

Summary of Contents for Avid Technology SINGLE DIGIT 7-TI
- Page 1 MOUNT THE BRAKE CHECK THE PAD SPACING BRAKE INSTALLATION Brake bosses must be clean and Check that the brake arms are free of debris. Grease bosses light- approximately parallel when the IMPORTANT! ly. Align the brake pin with the cen- brake pads are on the rim.
- Page 2 ANCHOR THE CABLE CENTER THE BRAKE TEST THE SYSTEM Pull the cable tight enough to have Center the brake by adjusting the With two fingers, squeeze the brake LIMITED WARRANTY clearance of 1 - 1.5mm, per side, spring tension adjusters. Turn each lever firmly about a dozen times to between the rim and the brake spring adjuster screw with a 3mm...


Need help?
Do you have a question about the SINGLE DIGIT 7-TI and is the answer not in the manual?
Questions and answers