Advertisement
- 1 Components
- 2 Connect all power cords and cables to the equipment
- 3 Turn on equipment
- 4 Stereoscopic 3D software and executable program types
- 5 Adjust the projector for on-screen display
- 6 Overview
- 7 Change from 3D projection to 2D
- 8 Using StereoPhoto Maker (SPM)
- 9 Keyboard shortcuts (partial list)
- 10 M.Objects (executable file)
- 11 Documents / Resources
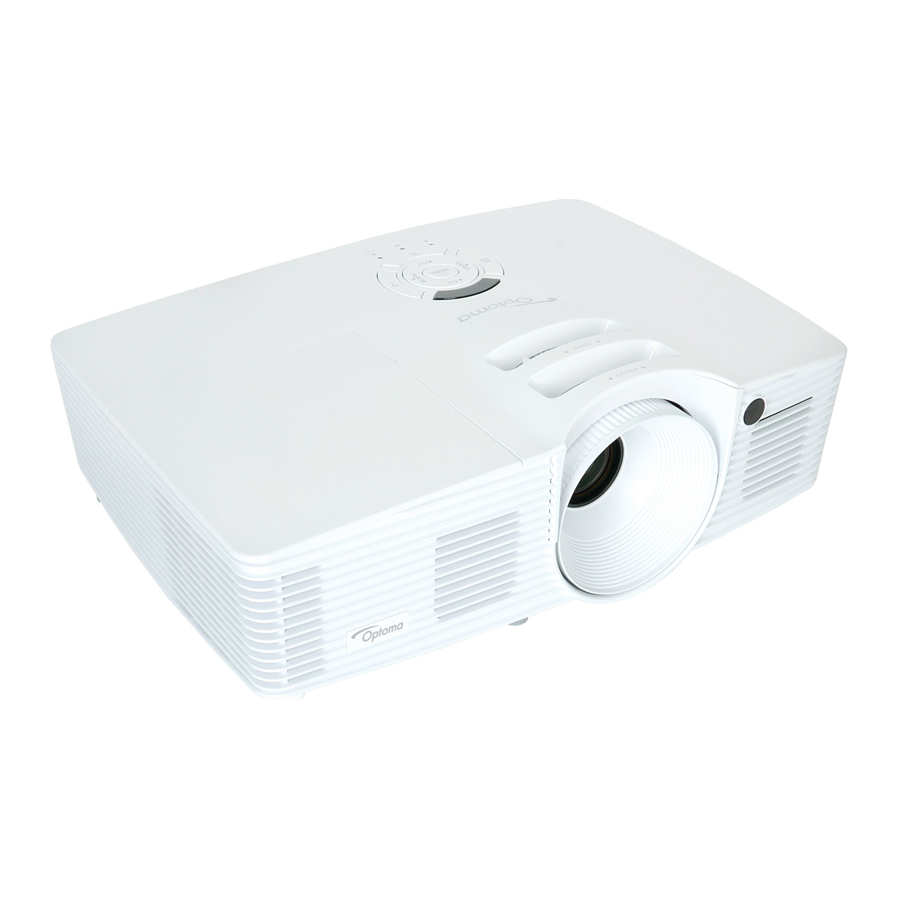
Components
- Optoma HD26 3D Projector
- HP Laptop Computer – Windows 10
- Unipolar X-Shutter 10 polarization modulator
Connect all power cords and cables to the equipment
- Power cords for all three components
- HDMI cable between projector and computer, make sure that it's plugged in all the way Note: HDMI #1 is normally used on the projector. If HDMI #2 is used, it must be selected on the remote control to make it the current active input.
- Synchronization cable between polarization modulator and projector
- Audio-out cable from projector to sound system
Turn on equipment
- Power up projector first. The HDMI icon that appears in the lower RH corner indicates that the projector is ready.
- The polarization modulator can be powered up second so it's not forgotten, but does not need to be on until the stereo projection is ready to start.
- Power on the computer. The computer must detect the projector at start-up.
- Wait until the projector is ready before trying to send any media to the screen.
- The volume for the projector should be at the maximum of 10 if the sound is to be controlled by an external sound system. This will be the case at DSS meetings. Make sure the audio-out cable is inserted into the projector.
Stereoscopic 3D software and executable program types
- StereoPhoto Maker (for photos)
- Stereoscopic player (for video)
- M.Objects (executable slide show)
- ProShow (executable slide show)
- MyAlbum (executable slide show)
Adjust the projector for on-screen display
- The image size is controlled by the distance to the screen and the lens zoom adjustment. Work the focus as the size is being set, since the focus also affects screen size. If a presentation involves 16:9 ratio, use a full sized 1920 x 1080 image for setup.
- Focus sharply at final screen size.
Overview

- 3D VESA
- HDMI 1 / MHL
- 12V Out
- HDMI 2
- Power
- Audio-Out
- USB mini-B
Plug in power cord (5), HDMI cable (2), polarizing modulator cable (1) and audio-out cable (6)
Change from 3D projection to 2D
An example for needing 2D is to show and explain how to use StereoPhoto Maker. To display the identical image for the laptop and projection screen:
On the laptop computer...
- Close all projection software
- Right click on computer desktop.
- Select "Display Settings".
- Select "Multiple Displays".
- Select "Duplicate these displays".
- Change "3D Mode" to "OFF".
On the Optoma HD26 projector...
- Use remote control and press the "3D" button
- Select "off"
![]()
- Remove the polarizing modulator from in front of the projector (the image will be brighter).

To restore laptop and projector to 3D mode:
On the Optoma HD26 projector...
- Use remote control and press the "3D" button
- Select "VESA-3D"
![]()

On the laptop computer...
- Close all projection software.
- Right click on computer desktop.
- Select "Display Settings".
- Select "Extend these displays".
- Change "3D Mode" to "ON".
- Set up polarizing modulator in front of projector.
Using StereoPhoto Maker (SPM)
- To display a stereo 3D photo when StereoPhoto Maker is not open: A) drag and drop a photo file onto the icon of StereoPhoto Maker.
- When StereoPhoto Maker is open (do any one of the following):
- drag and drop a stereo photo file onto the open SPM window
- Click on the "Open Stereo Image..." icon, then pick the stereo image.
- In the menu, "File" > "Open Stereo Image...", then select the image from its file location.
- Press "w" on the keyboard, then select the image from its file location.
- If a slide show list (*.txt) has been created to run specific images in a specific order, Do any of the following:
- Drag and drop onto the SPM icon.
- Drag and drop onto the SPM open window.
- Click on the "Open Slide Show List" icon, then pick the text file from its file location.
- use menu "File" >"Open Slide Show List..." then pick the text file from its file location.
- Press "Ctrl+Shift+O", then pick the text file from its file location.
To move the SPM image onto the projector screen, drag the window down on the computer screen until there's less than half of it still visible. Press Enter on the keyboard.
The projector must be completely ready before doing this! If not, the computer screen will go completely black. In this case, press "Ctrl+Alt+Delete", then start "Task Manager".
Select the "Users" tab, then "Logoff". Log on again to recover the task bar. Open Windows Explorer to find and open StereoPhoto Maker, or select the SPM icon in the taskbar, if present.
Keyboard shortcuts (partial list)
| Alt + Enter | = Full Screen |
| Ctrl + P | = Play |
| Ctrl + B | = Pause |
| Ctrl + S | = Stop |
| Tab | = Next File |
| Backspace | = Previous File |
| Ctrl + R | = Reset Parallax |
M.Objects (executable file)
Double click on the video file icon or file name. Just after a mouse cursor appears, hold the left mouse button down and drag into the "bottom" window. The show is now on the projector screen.
| Esc | = stop show |
| Esc | = (when stopped) end the show |
| Space Bar | = pause show |
| Space Bar | = (when paused) resume paused show |
| Arrow Left | = back one photo (if done when paused, music will not try to play) |
| Arrow Right | = forward one photo (if done when paused, music will not try to play) |
| F7 | = volume down |
| F8 | = volume up |
Documents / ResourcesDownload manual
Here you can download full pdf version of manual, it may contain additional safety instructions, warranty information, FCC rules, etc.
Advertisement


Need help?
Do you have a question about the HD26 and is the answer not in the manual?
Questions and answers