Advertisement
Introduction
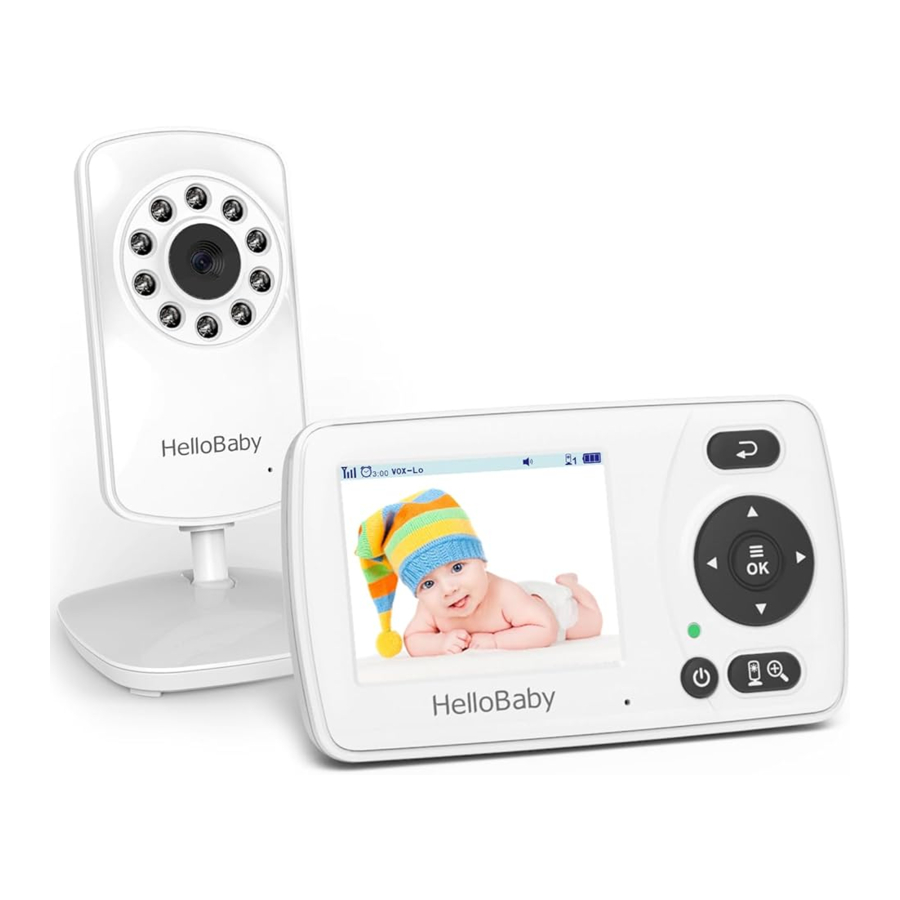
With our baby monitor, you could see and hear your baby sleeping or playing in their room anytime. Please retain your original dated sales receipt for your records. For warranty service of your product, you will need to provide a copy of your dated sales receipt to confirm warranty status. Registration is not required for warranty coverage.
Please make sure the following included in your package
Parent unit x1
User manual x1
Camera unit x1
Wall-mounting kit x1
Power Adapter x 2
INSTALLATlON GUlDELlNES
- To use your parent unit and camera unit together, you have to establish a radio link between them, and the range will be affected by environmental conditions.
- Any large metal object, like a refrigerator, a mirror, a filling cabinet, metallic doors or reinforced concrete between the baby and parent unit may block the radio signal.
- The signal strength may also be reduced by other solid structures, like walls, or by radio or electrical equipment, such as TV, computers, cordless or mobile phones, fluorescent lights or dimmer switches.
- Use of other 2.4GHz product, such as wireless networks (Wi-Fi routers), Bluetooth systems, or microwave ovens, may cause interference with this product, so keep the baby monitor away at least 5ft (1.5m) from such products, or turn them off if they cause interferences.
PLACEMENT OF THE BABY MONITOR
The camera can be placed on the desktop or mounted on the wall. Don't place baby monitor on soft quilts or blankets or in the corners of cupboards, shelves, etc; Keep the baby monitor away from heat sources such as radiators, chimneys, cookers and direct sunlight; Keep the baby unit away from TV sets, microwave oven and radios. If interference occurs, move the camera to elsewhere;
- Place the camera within 6 feet (2 meters) of the area being monitored for optimum performance.
GETTING STARTED
TURN ON THE BABY UNIT
- Insert the DC plug of the power adapter into the DC jack in the side of the Baby Unit;
- Insert the other end of the power adapter into a suitable electrical outlet;
- Once the adapter is connected, the power LED will light up;
TURN ON THE PARENT UNIT
- Insert the DC plug of the power adapter into the DC jack in the side of the parent Unit;
- 1nsert the other end of the power adapter into a suitable electrical outlet;
- Press and hold the power key 3 seconds on the front of the parent unit;
- 0nce parent unit is on, the power LED will light up and the image will display on the LCD;
INFRARED NIGHT VISION (AUTOMATIC)
The infrared night vision function allows the camera to pick up images in dark or low light conditions. In this mode, only black and white images will be displayed on the monitor, the optimum image lie in where baby unit is 6ft (2m) away from object. The camera is in night vision mode, the icon  will be displayed on the top of screen.
PRODUCT OVERVIEW
ICONS OVERVIEW
 | Signal Strength |  | Volume |  | Zoom |
 | Alarm |  | Brightness |  | Battery Level |
 | Camera | | Night vision |  | VOX |
PARENT UNIT OVERVIEW

BABY UNIT OVERVIEW

KEY OPERATION
POWER SAVE/ SCREEN OFF
Short press the power  key to turn on / off the screen.
VOLUME ADJUSTMENT
Press the  key to increase the volume; Press the
  key to decrease the volume;
BRIGHTNESS ADJUSTMENT
Press the  key to decrease the brightness; Press the
  key to increase the brightness;
CAMERA VIEW / SCAN
Press Scan  key to view scan camera; During scan mode, the scan icon
 o will be displayed on the top of screen. And each camera's video will stay on the LCD around 10 seconds and then turn to next camera alternately;
DIGITAL ZOOM & PAN / TILT
Press and hold the key around 2 seconds to operate Zoo min / out; At the Zoom mode, press the key to Pan left; press key to Pan right; press key to tilt up; press key to tilt down; During digital zoom mode, the zoom icon  will be displayed on the top of screen.
Warm reminder: If you want to adjust the volume/Brightness, you have to exit the Zoom mode before you operate it.
MENU OPERATION
PAIRING THE CAMERA AND PARENT UNITS
The baby unit is pre-registered to your parent unit. You do not need to register it again unless the baby unit loses connection with the parent unit. To re-register your baby unit, or register a new baby unit, follow the steps below:
Note: Camera icon with  means it is well registered. You should select and pair with the camera icon without sign.
ADD CAMERA
- Press the MENU
![]() key then the menu will pop up;
key then the menu will pop up;
 key then the menu will pop up;
- Press the
![]() key until the camera icon
key until the camera icon ![]() is selected by red box;
is selected by red box; - Press OK
![]() key to enter into sub-menu, then press
key to enter into sub-menu, then press ![]() key to select your desired camera;
key to select your desired camera; - Press OK
![]() key enter into sub-menu; Press
key enter into sub-menu; Press ![]() key to select
key to select ![]() then press OK key;
then press OK key; - When the icon
![]() displayed on the LCD screen, press the PAIR button on the back of camera;
displayed on the LCD screen, press the PAIR button on the back of camera; - Once paired, Successful pairing icon
![]() shows on the LCD screen;
shows on the LCD screen; - If fails, repeat the above steps.
 key until the camera icon
  is selected by red box;
 key to enter into sub-menu, then press
  key to select your desired camera;
 then press OK key;
 displayed on the LCD screen, press the PAIR button on the back of camera;
 shows on the LCD screen;
DELETTING A CAMERA
- Press the MENU
![]() key and the menu will pop up;
key and the menu will pop up; - Press the
![]() key until the camera icon
key until the camera icon![]() is selected by red box;
is selected by red box; - Press OK
![]() key enter into sub-menu; then press
key enter into sub-menu; then press ![]() key to select your desired camera
key to select your desired camera - Press OK
![]() key enter into sub-menu; Press
key enter into sub-menu; Press ![]() key to select
key to select ![]() then press OK key;
then press OK key; - Press
![]() key to select
key to select ![]() .
. - Press OK
![]() key to confirm;
key to confirm; - Press the
![]() key to Exit.
key to Exit.
 then press OK key;
 key to Exit.
ALARM SETTING
You can use the alarm to remind yourself to feed your baby / change diaper / sleeping, etc.
- Press the
![]() button and the menu bar will pop up.
button and the menu bar will pop up. - Press the
![]() key until the alarm icon
key until the alarm icon![]() is selected by red box.
is selected by red box. - Press OK
![]() key enter into sub-menu, Press the
key enter into sub-menu, Press the ![]() key to selected the alarm time you need;
key to selected the alarm time you need; - Press OK
![]() key to confirm;
key to confirm; - Press the
![]() key to Exit.
key to Exit.
 is selected by red box.
Note 1: The minimum unit is 0.5 hour. The maximum setting is 5 hours (7 levels).
Note 2: Once the alarm is turned on, alarm icon  will display on top of the screen.
Note 3: The alarm default setting is OFF.
Note 4: When the alarm is ringing, press any key on the parent unit to turn the alarm off.
Note 5: If you don't turn off the alarm, the alarm will ring for 1 minute. After three minutes the alarm will ring again for 1 minute. The alarm will ring for three times in total, after this the alarm goes off.
VOX SETTING
This mode allows you to control the sound activation of your baby unit. If there is no sound around the baby unit within 30 seconds, it will stop audio transmission and turn off the screen of the parent unit. When the baby unit detects any sounds louder than the sensitivity level, it will start transmitting the signal to the parent unit again and turn on the screen of the parent unit. To change the VOX level, please follow the below instructions.
- Press the MENU
![]() key then the menu will pop up;
key then the menu will pop up; - Press the
![]() key until the VOX icon
key until the VOX icon ![]() a is selected by red box.
a is selected by red box. - Press OK
![]() key enter into sub-menu, then press
key enter into sub-menu, then press ![]() key to select desired level;
key to select desired level;
 a is selected by red box.
- Press OK
![]() key to confirm;
key to confirm; - Press the
![]() key to Exit.
key to Exit.
Note:  is Low sensitivity level, the baby have to make a lot of sound before the VOX function will be activate;
Note :  is middle sensitivity level;
Note :  is High sensitivity level, the baby don't have to make a lot of sound before the VOX function will be activate;
LANGUAGE SETTING
- Press the MENU
![]() key and the menu will pop up.
key and the menu will pop up. - Press the
![]() keys until the language icon
keys until the language icon ![]() o is selected by red box;
o is selected by red box; - Press OK
![]() key to enter into sub-menu, then press
key to enter into sub-menu, then press ![]() key to select the language you need
key to select the language you need - Press
![]() key to confirm;
key to confirm; - Press
![]() key to Exit.
key to Exit.
 o is selected by red box;
TECHNICAL DATA
| Frequency | 2403.92475.5MHz |
| Power Adaptor | Parent Unit: Input: 100-240VAC 50/60Hz Output: 5V DC 1A Camera Unit: Input: 100-240VAC 50/60Hz Output: 5V DC 1A |
| Operating Range | Up to 800ft (245m) outdoor line of sight Up to 165ft (50m) indoor |
| Display | 2.411 TFT LCD |
| Battery (Parent Unit) | Li-ion 3.7V 950mAh (3.515Wh) |
| Battery Life | Up to 6 hours |
| Camera unit and parent unit RF power (for CE) | less than 20dBm |
| Operation environment | Operation Temperature: +32F +104F (0ºC 40ºC) +104F (0ºC 40ºC)Battery Charging Temperature: +50F +104F (10ºC40ºC) |
| Relative Humidity: 15%-85% |
TROUBLE SHOOTING
No reception on the monitor |
|
Interference or poor reception |
|
Audio feedback (high pitched noise) |
|
Frozen Picture on Screen |
|
MAINTENANCE
- Clean your baby monitor with a slightly damp or anti-static cloth.
- Never use cleaning agents or solvents.


Strangulation Hazard: Children have STRANGLED in cords. Keep this cord out of the reach of children (more than 3 ft (0.9 m) away). Do not remove this tag.
SAFETY INSTRUCTIONS

Keep the device away from children.
Strangulation Hazard: Children have STRANGLED in cords. Keep this cord out of the reach of children (more than 3ft (0.9m) away). Never use extension cords with AC Adapters. Only use the AC Adapters provided.
Choking hazard: This product contains small parts, please be careful when unpack and assemble the product.
Read and keep to instructions: All the safety and operating instructions should be read before the video baby monitor is operated. This product cannot replace responsible adult supervision.
Water and moisture: This product is designed for indoor use only. The unit should not be exposed to rain, moisture, dripping or splashing. No objects filled with liquid should be placed on top of, or beside the product, such as a glass or vase. This item should not be used near water.
DO NOT: Use the appliance if the cord or plug is damaged. If your baby monitor is not operating properly or has suffered any damage, contact "Videotimes" service center to request inspection and repair of the appliance in order to avoid any possible risk.
DO NOT: Do not attempt to repair or adjust any of the electrical or mechanical functions of the unit. Otherwise, the guarantee will be made void.
Ventilation: This baby monitor should not be used on a bed, sofa, rug or similar surface that may block the ventilation openings, or be placed in an enclosed area such as a bookcase or drawer that may impede air flow.
Keep away from sources of heat: This unit should not be exposed to direct heat sources such as a candle, radiator, heat register, stove or other appliance that emits heat. The unit should not be left in direct sunlight.
Power source: This unit should only be used with the AC power adapters included in this package (rated 5V 1A ).
Damage requiring service: This unit should be serviced by qualified personnel only when:
- Objects have fallen or liquid has been spilled into the product;
- The units have been exposed to rain;
- The units do not appear to operate normally or exhibits a distinct change in performance;
- The units have been dropped or the enclosure damaged;
www.hellobaby.net.cn
service@hellobaby.net.cn
Documents / Resources
References

Download manual
Here you can download full pdf version of manual, it may contain additional safety instructions, warranty information, FCC rules, etc.
Advertisement


Need help?
Do you have a question about the HB30 and is the answer not in the manual?
Questions and answers