Advertisement
Table of Contents
Contents
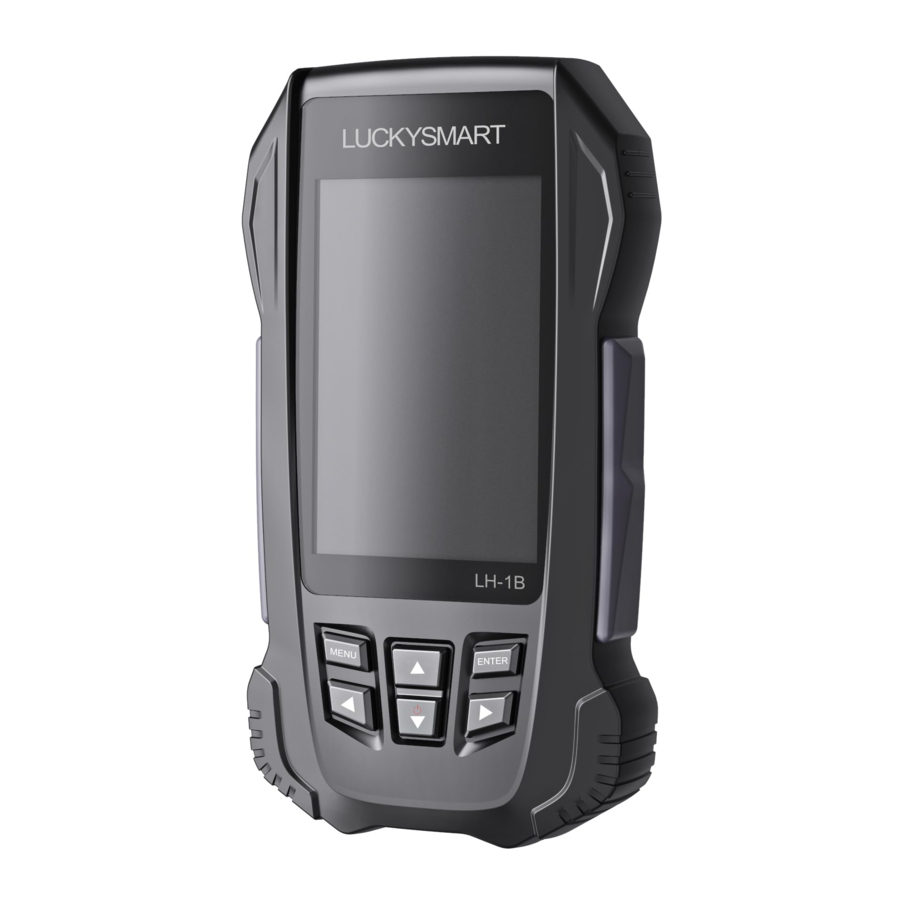
LUCKY LUCKYSMART LH-1B Fish Finder Manual
Usage scenario diagram
Simulation diagram of sonar transmitter usage scene

Product introduction

Operational instruction
- Fix the wireless transmitter to the fishing line.
![information]() Note :
Note : - The fishing line can be passed through and fastened from the A of the hole.
- It can pass the fishing line through the B of the hole, use the wireless sonar sensor as floating, it is recommended to hang, no more than 30 grams.
![]()
- Put the wireless transmitter into the water.
It can be cast out by using your fishing rod, but also the fishing line tied directly cast out by hands.
![]()
- Turn on the receiver
Click on the power key(![]() ) sonar receiver will turn on.
) sonar receiver will turn on.
![]()


Screen reading

- Wireless signal indication: wireless signal of probe strength identification.
- Water depth: the distance from the launch point of the wireless transmitter to the bottom of the water (note that there is no reading when the water depth exceeds the maximum of detection, depending on the terrain intelligence value).
- Water temperature: The wireless transmitter has a built-in temperature sensor that detects the temperature of the water surface in the area where the transmitter is located.
- Receiver power indication: sonar receiver with lithium battery power indication identification.
- Fish icon: fish imaging generated by a fish detector based on sonar signal feedback.
- Fish depth: the depth of the fish finder is determined by the detector based on sonar signal feedback.
- Range of detection: the depth range in which a fish detector detects underwater conditions of the fish.
- Underwater environment: the fish finder determines the generated underwater contour according to the feedback by the sonar signal. The darker the color, the higher the density, the harder the bottom; the lighter the color, the lower the density and the softer the bottom.
Fumction setting
- Startup & Shutdown
- Click on power key, the logo interface display 3 seconds into normal detection mode.
- Press the shutdown button to jump out of the shu-tdown prompt, then continue to hold down the key until the power is off.
 Note: in the function setting, no other operation in 5 seconds, the interface will automatically jump back to the sonar interface.
- Working mode and demo mode switching
- The receiver is set to working mode by default, press the MENU key to enter the menu interface in the working interface, select demo mode to press the ENTER key to enter the demo mode interface.
- Press the MENU key to enter the menu interface in demo mode and press the ENTER key to enter the working interface.
- Backlight brightness
Backlight brightness: that is main screen brightness.
This menu has 9 levels that level 1 is the darkest and level 9 is the brightest. - Unit setting
Unit setting: that is to set the depth and temperature of the system. - Alarm setting
- Depth alarm: depth alarm is generally used to prevent shallow alarm setting. When the actual of water depth is lower than the setting value, the fish detector will give an alarm to remind you that the currently water depth is too shallow.
- Power alarm: when the actual power is lower than the setting value, the fisherman will alert you to charge the equipment.
- Power saving mode
Power saving mode: when there is no operation and fish in 3 minutes after the power saving mode is turned on, the screen brightness will be automatically extinguishes the screen. If there is a key operation or fish, it will be exit the power saving mode. - Fishing mode
- Common mode: basically all fish ponds, reservoirs and other environment can be used.
- Shallow water mode: suitable for the detection of fish ponds, reservoirs, banks and other flat part of areas above 0.7 meters and below 4 meters.
- Deep water mode: 4 meters above fish ponds, re-servoirs, shore and other flat environment detection.
- Slope terrain model: suitable for the detection of large slopes on the banks of mountain ponds and reservoirs.
- Chart speed
Chart speed: setting the frequency of sonar data sampling.
![information]() Note: the more frequently sonar data acquisition, the more accurate of the underwater situation displayed on the screen. However, amounts of data will result in a corresponding system response slowly.
Note: the more frequently sonar data acquisition, the more accurate of the underwater situation displayed on the screen. However, amounts of data will result in a corresponding system response slowly. - Parameter adjustment
- Sonar sensitivity: that is sonar intensity. The more sensitive, there will be more sonar signals returned and displayed on the screen, and more sensitive feedback by underwater. But if the water is shallow, too higher sensitivity will also increase the reflection of too many acoustic signals, resulting in the display of the wrong signal. If the sensitivity setting is too lower in the water depth environment, it will be difficult to detect the corresponding underwater information. Operation suggestion: in the case of deep water set, the sensitivity high; in the case of shallow water, set sensitivity low.
- Depth range: refers to the fish situation and bottom information in the depth range displayed on the screen. When the depth range is set to automatic, the depth range will automatically display all the information from the surface to the bottom of the water with the change of the current detected depth. When the depth range data is manually set, the screen display interval will display the fish situation information in the depth range of your choice. If the current detection depth is greater than the lower depth limit you set, the bottom outline beyond the set range will not be displayed on the screen.
- Fish alarm: you can choose to close the fish alarm, or choose large, medium and small fish alarm. When you only need to alarm the big fish, only set the big fish alarm. But the fish alarm function will detect the fish alarm when after opening the fish icon function.
- Fish display setting
Fish icon: the fish icon function is to use advanced signal processing to identify the returned sound waves, the detected fish information is accurately displayed on the screen.
You can choose to display a fish icon or a bow icon. - Restoring default values
Restoring default value: that is restore equipment parameters for factory settings.
Common misunderstandings and precautions
No signal or signal instability |
|
Inaccurate depth |
|
No fish detected |
|
Screen display problem |
|
The device keeps calling and not working |
|
Maintenance
Follow the steps below to use and maintain will maximize the use effect of the fish detector
- Atter the wireless probe opens the cover, remove the insulating plastic sheet and power on. When not in use, it is recommended to snap back the plastic back or remove the battery.
- .Atter using in the seawater environment, rinse the wireless probe with clear water.
- Please use soft cloth to clean the screen on the machine surface to protect the mirror surface from scratching.
- Don't place the machine under the front glass of the car or under the environment of high temperature, this will cause damage to the precision device inside the machine, and then affect the performance of the machine.
Product parameters
Maximum detection depth: 147 ft/45m
Sonar frequency: 125 KHZ
Detection angle: 90°
Operating distance: 328 ft/100m
Battery: 3.7 V rechargeable lithium battery
Documents / ResourcesDownload manual
Here you can download full pdf version of manual, it may contain additional safety instructions, warranty information, FCC rules, etc.
Advertisement


Need help?
Do you have a question about the LUCKYSMART LH-1B and is the answer not in the manual?
Questions and answers