Advertisement
BOX CONTENTS
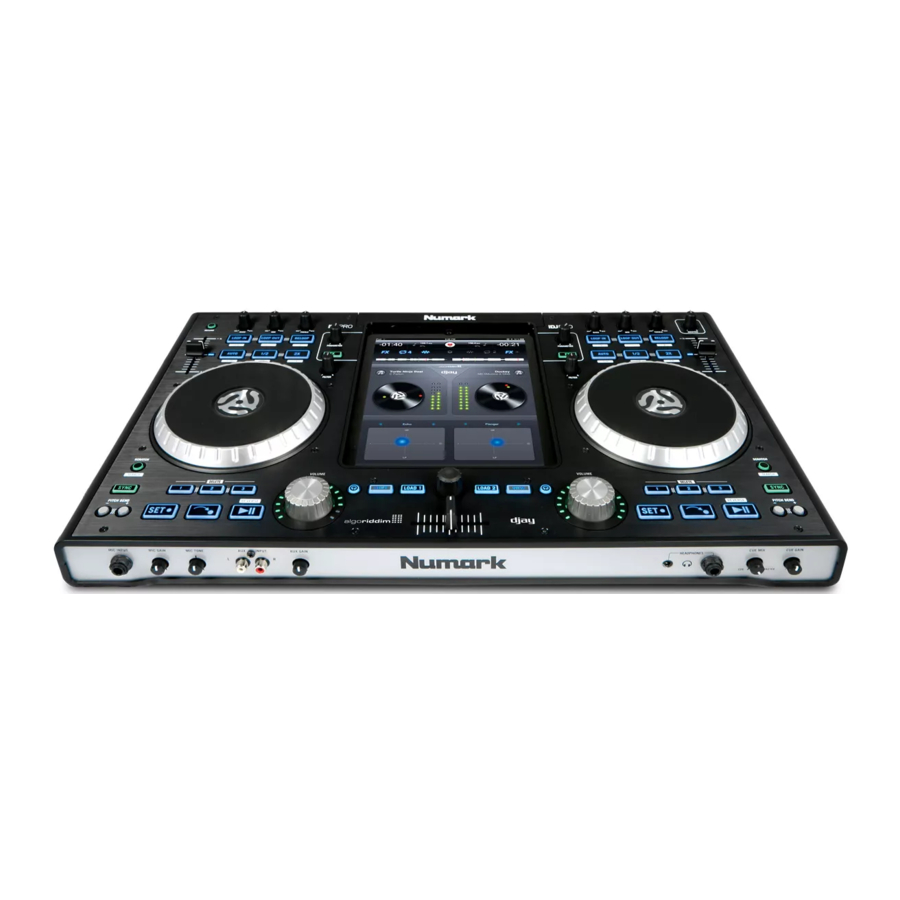
- iDJ PRO
- Power Adapter
- Quickstart Guide
- Safety & Warranty Information Booklet
REGISTRATION
Please go to http://www.numark.com to register your iDJ PRO. Registering your product ensures that we can keep you up-to-date with any new product developments and provide you with world-class technical support, should you run into any problems.
CONNECTION DIAGRAM

* Not included
COMPATIBLE iOS DEVICES
iDJ PRO is compatible with the following iOS devices (not included):
- iPad (3rd generation)
- iPad 2
- iPad
iDJ PRO SETUP
- Purchase and install djay for iPad from the App Store.
- Place iDJ PRO on a flat, stable surface.
- Make sure all devices are turned off and all faders and gain knobs are set to "zero."
- Connect any additional sound sources (e.g. MP3 players, CD players, etc.) or microphones as indicated in the connection diagram.
- Connect the stereo outputs to power amplifiers, tape decks, and/or other audio sources.
- Plug all devices into AC power.
- When powering everything on, power on your devices in the following order:
- Additional sound sources (e.g. MP3 players, CD players, etc.)
- iDJ PRO
- Any amplifiers, speakers, or output devices
- Open the door of the iPad dock on iDJ PRO.
- iPad 2 and iPad (3rd generation): Slide your iPad into the dock.
iPad: Remove the strips from the sides of the dock, then slide your iPad into the dock. - Connect the dock connector to the dock connector port of your iPad.
- Close the door of the iPad dock.
- If you have your own Kensington cable, attach this to the Kensington lock to secure iDJ PRO.
- Launch djay and start DJ'ing!
- When powering everything off, power off your devices in the following order:
- Any amplifiers, speakers, or output devices
- iDJ PRO
- Additional sound sources (e.g. MP3 players, CD players, etc.)
TOP PANEL

- iPad Dock – Dock connector for connection with iPad (not included).
- Browser Knob – Press this knob to call up the song library. Rotate to cycle through songs. Press "Load" to then direct songs to a deck.
- Load Deck A – Loads the selected track to Deck A.
- Load Deck B – Loads the selected track to Deck B.
- Shift – Allows alternate button commands to be triggered when pressed first along with other buttons.
- View – Cycles between the different views inside the software.
- Play/Pause – This will engage playback and pause playback when pressed again. When Shift + Play/Pause is pressed, the track will momentarily play in a reverse direction. When Play is released, the track will return to playing in a forward direction. The Play button will begin blinking when the playback of the track on the associated deck has 30 seconds left.
- Cue Button – If no cue point is set, pressing the button will force a restart from the beginning of the track. Press the "CUE SET" button to set a new cue point and the "CUE" button will illuminate. Press "CUE" to play from this new cue point.
- Cue Set – Sets the cue point during playback or when paused.
- Hot Cue 1, 2, 3 – Sets a Hot Cue during playback or while paused. These are similar to regular cue points, except that when the buttons are pressed, the unit will instantly jump to the defined point and begin playing. When the button is pressed again, playback will resume from the set Hot Cue. When Shift + Hot Cue are pressed, the Hot Cue will be deleted. Button will illuminate when a cue point has been set.
- Jog Wheel – Capacitive Touch-sensitive jog wheel manipulates the audio when the wheel is touched and then moved. The mode applied will decide the effect that the jog wheel has. When in "Scratch" mode is engaged, the wheel will allow users to grab and move audio slowly during play. When in "Search" Mode touching an moving the wheel will force rapid movment throught the song. The non-touch-sensitive outer wheel will act as pitch bend when a song is playing.
- Scratch/Search – Controls the behavior of the platters. When not active, the platter will function as Pitch Bend. When active, the platter will have the ability to scratch. Pressing Shift+Scratch/Search will enter SEARCH mode.
- Pitch Fader – Controls the tempo (speed) of the individual decks.
- Pitch Down – Momentarily reduces the speed of the track when pressed and held.
- Pitch Up – Momentarily increases the speed of the track when pressed and held.
- Sync – Controls the behavior of the BPM sync of boths decks. When engaged, the selected deck will automatically adjust the tempo/speed of the track to the same BPM that is set on the other deck. To manually adjust the BPM and exit Sync mode, move the pitch fader for the deck.
- Loop in – This will set the beginning of a loop when in manual looping mode. When Shift + Loop in are pressed, Algoriddim djay will perform a 1/2-beat loop roll.
- Loop Out – This will set the end of a loop when in manual looping mode. When Shift + Loop Out are pressed, Algoriddim djay will perform a 1-beat loop roll.
![warning]() Note: Loop rolls are momentary commands which occur when the associated combination keys are being held. The deck's audio source still plays in time while the loop roll occurs and will be heard again when the loop roll is released.
Note: Loop rolls are momentary commands which occur when the associated combination keys are being held. The deck's audio source still plays in time while the loop roll occurs and will be heard again when the loop roll is released. - Reloop – This will re-engage the previously exited loop. When Shift + Reloop are pressed, Algoriddim djay will perform a 2beat loop roll.
- Auto Loop – Places a loop based on the autoloop length. When Shift + AUTO LOOP are pressed, Algoriddim djay will perform a 1/16-beat loop roll.
- Loop x1/2 – If a loop is playing, reduces the current loop length by half. If a loop is not playing, the will set the Autoloop loop length. When Shift + Loop x1/2 are pressed, Algoriddim djay will perform a 1/8-beat loop roll.
- Loop x2 – If a loop is playing, multiplies the current loop length by 2. If a loop is not playing, the will set the Autoloop loop length.. When Shift + Loop x2 are pressed, Algoriddim djay will perform a 1/4-beat loop roll.
- FX Parameter – Controls the parameter of the selected FX.
- FX On/Off – Engages and disengages the selected FX.
![warning]() Note: You can run up to 2 effects at a time if using either iPad 2 or iPad (3rd generation).
Note: You can run up to 2 effects at a time if using either iPad 2 or iPad (3rd generation). - Filter – Controls the amount of the filter on the assigned channel.
- Channel Volume – Adjusts the volume of the individual channels.
- Crossfader – Controls the mix blend between the two decks.
- High EQ – Controls the treble frequencies for the individual channels.
- Mid EQ – Controls the mid range frequencies for the individual channels.
- Low EQ – Controls the bass frequencies for the individual channels.
- Master Volume – Adjusts the Master volume of the balanced XLR outputs and RCA outputs.
(![warning]() Note: When using AirPlay or Bluetooth, adjust the master volume in djay's Settings menu.)
Note: When using AirPlay or Bluetooth, adjust the master volume in djay's Settings menu.) - PFL – Engages Cue Monitor for the selected channel.
- Record – Starts recording of the performance in the software.
FRONT PANEL

- Microphone Input – ¼" balanced microphone input, routed to the Master Output and Headphone Output.
- Mic Gain – Adjusts the gain of the microphone channel, routed directly to the Master Output and Headphone Output.
- Mic Tone – Adjusts the frequencies of the audio signal coming from the microphone input, routed directly to the Master Output and Headphone Output.
- Auxiliary Input – RCA line-level input for external devices, routed directly to the Master Output and Headphone Output.
- Auxiliary Gain – Adjusts the gain of the Auxiliary input.
- Headphone Output – 1/4" and 1/8" outputs for connecting headphones (sold separately).
- Cue Mix – Adjusts the mix between Cue and Program when using headphones.
- Cue Gain – Adjusts the volume of the Cue channel when using headphones.
 Note: In order to use Cue Mix and Cue Gain with the djay app, ensure Split Output mode is turned on from djay's Setup menu by clicking the Cogwheel and then set Split Output to 'On'.
REAR PANEL

- Kensington® Lock – Use this port to attach a security cable to the unit.
- Master Output (XLR) – Connect this balanced XLR output to a PA system or powered monitors.
- Master Output (RCA) – Use standard RCA cables to connect this output to a speaker or amplifier system.
- Cable Wrap – Secures the power cable to the unit.
- Power Input – Use the included power adapter to connect the unit to a power outlet.
- Power Switch – This turns the unit on and off.
COMBINATION KEYS
Shift + Play/Pause – The track will momentarily play in a reverse direction. When Play is released, the track will return to playing in a forward direction.
Shift + Hot Cue – Deletes the Hot Cue.
Shift + Loop x2 – Algoriddim djay will perform a 1/4-beat loop roll.
Shift + Loop x1/2 – Algoriddim djay will perform a 1/8-beat loop roll.
Shift + Auto Loop – Algoriddim djay will perform a 1/16-beat loop roll.
Shift + Reloop – Algoriddim djay will perform a 2-beat loop roll.
Shift + Loop Out – Algoriddim djay will perform a 1-beat loop roll.
Shift + Loop In – Algoriddim djay will perform a 1/2-beat loop roll.
Shift+ Scratch/Search – Enters SEARCH mode.
Cue + Play – Creates a stutter effect when pressed.
Shift + Platter – This will simulate a scratch effect when using the platter.
Algoriddim djay and AirPlay® Setup


Only connect or disconnect your iPad from your AirPlay device when you are not performing.
- Connect iPad to the Dock Connector on iDJ PRO.
- Launch Algoriddim's djay app.
- Make sure that your AirPlay station is on the same Wi-Fi network as your iPad.
- Open the Settings menu in Algoriddim djay by tapping the "cogwheel" icon.
- Tap the AirPlay icon that shows up next to the Master Volume slider and select your AirPlay station.
If the AirPlay icon doesn't show up next to the Master Volume slider then Algoriddim djay is not able to find your AirPlay station. Confirm that your AirPlay station is on the same Wi-Fi network as your iPad and make sure the AirPlay app is working properly.
Note:
- While using AirPlay, use the Master Volume slider in djay's Settings menu to control the master volume.
- Playing music through AirPlay adds latency to your audio. We recommend using AirPlay with Algoriddim djay's Automix feature.
- You cannot use the headphones, microphone input, auxiliary input, and Split Output Mode cueing through AirPlay.
Algoriddim djay and Bluetooth® Setup
Only connect or disconnect your iPad from your Bluetooth device when you are not performing.
- Connect iPad to the Dock Connector on iDJ PRO.
- Turn Bluetoothon in iPad's Settings > General and select your Bluetooth audio device.
- Open Algoriddim djay.
- Open the Settings menu in Algoriddim djay by tapping the "cogwheel" icon.
- Turn Hardware Audiooff.
Note:
- While paired to your Bluetooth device, use the Master Volume slider in djay's Settings menu to control the master volume.
- You cannot use the headphones, microphone input, auxiliary input, and Split Output Mode cueing through Bluetooth.
- Playing music through Bluetooth adds latency to your audio. We recommend using Bluetooth with Algoriddim djay's Automix feature.
- To resume using your connected speakers, turn Hardware Audioon again.
![]()
ESD/EFT Warning: iDJ PRO may be affected by electrostatic discharge and electrical fast transient interference. If this happens, please turn off iDJ PRO, wait a few minutes, and turn it on again.
Documents / Resources
References
Download manual
Here you can download full pdf version of manual, it may contain additional safety instructions, warranty information, FCC rules, etc.
Advertisement


Need help?
Do you have a question about the iDJ Pro and is the answer not in the manual?
Questions and answers