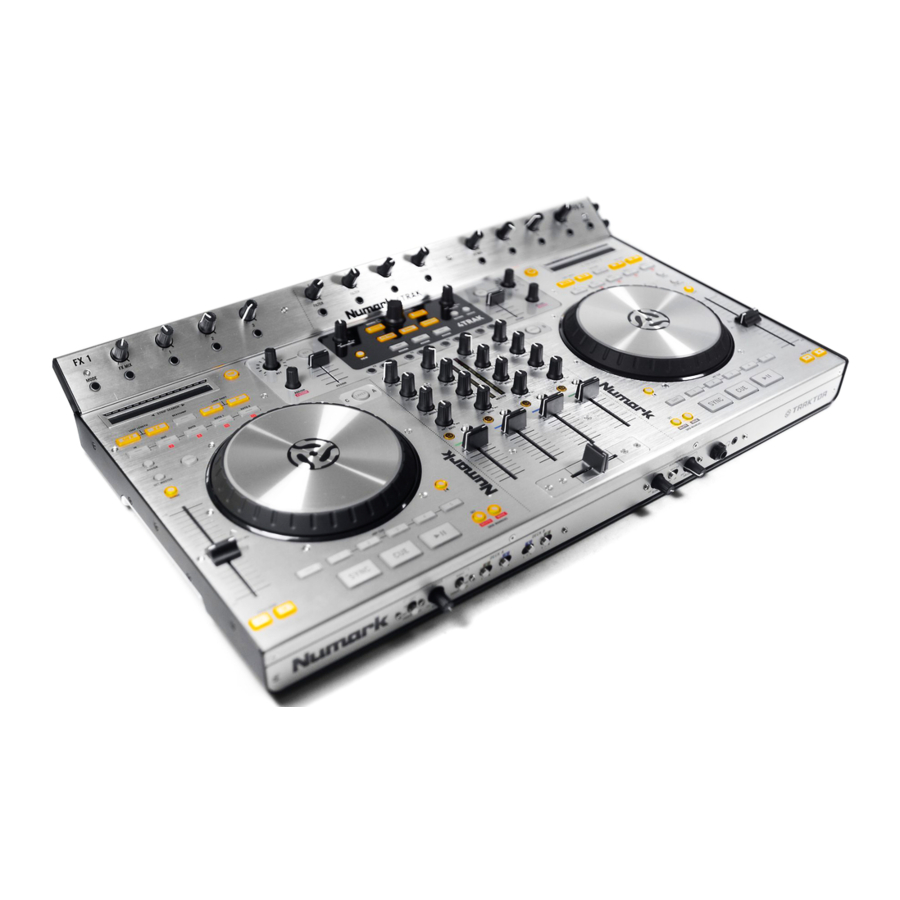
Numark 4TRAK - 4-Channel Controller Manual
Also See for 4TRAK:
- Quick start manual (29 pages) ,
- Quick start manual (8 pages) ,
- Service manual (67 pages)
Advertisement
Table of Contents
Contents
Numark 4TRAK - 4-Channel Controller Manual
BOX CONTENTS
- 4TRAK
- FX KOMMAND CONSOLE
- USB cable
- Power adapter
- Software CD
- Driver CD
- Quickstart Guide
- Safety & Warranty Information Booklet
SYSTEM REQUIREMENTS
Windows
Operating System:
- Windows XP (latest Service Pack, 32-bit)
- Windows Vista (latest Service Pack, 32-/64-bit)
- Windows 7 (latest Service Pack, 32-/64-bit)
Processor:
- Intel Pentium 4 2.4GHz
- Intel Core Duo
- AMD Athlon 64
2GB RAM
500MB free hard drive space
Available USB port
CD-ROM drive
Mac
Operating System:
- OS X 10.6 (latest update)
- OS X 10.7
Processor:
- Intel Core Duo
2GB RAM
500MB free hard drive space
Available USB port
CD-ROM drive
REGISTRATION
Please go to http://www.numark.com to register your 4TRAK. Registering your product ensures that we can keep you up-to-date with any new product developments and provide you with world-class technical support, should you run into any problems.
SETUP
ATTACH THE FX KOMMAND CONSOLE

INSTALL THE DRIVERS

Before connecting 4TRAK to your computer, install the drivers:
- Check for driver updates online at www.numark.com/4trak. If there are no updates available, insert the included driver CD.
- When you see the CD's contents, double-click Setup.exe (PC) or the .dmg file
![]() .mkpg file (Mac). Follow the on-screen instructions to install the drivers. (You will be asked to connect 4TRAK to your computer during the installation process.)
.mkpg file (Mac). Follow the on-screen instructions to install the drivers. (You will be asked to connect 4TRAK to your computer during the installation process.)
 .mkpg file (Mac). Follow the on-screen instructions to install the drivers. (You will be asked to connect 4TRAK to your computer during the installation process.)
INSTALL THE SOFTWARE
- Insert the included TRAKTOR software installation disc into your computer's CD-ROM drive.
Windows: Double-click "My Computer" then double-click the disc. Once the disc's contents are shown, double-click the TRAKTOR installer file (.exe).
Mac: Double-click the disc. Once the disc's contents are shown, double-click the .dmg file![]() .mkpg file.
.mkpg file. - Follow the on-screen instructions to install the software.
Note: TRAKTOR's installation "wizard" may ask you to install a hardware driver. Click "Next" or "Continue" to skip past these screens. - Connect 4TRAK's FX KOMMAND CONSOLE's USB cable to your computer and power on 4TRAK. (If you are using Windows, you may see several dialog boxes in the corner of your screen indicating it is "recognizing" the hardware for the first time. Wait a minute until this is complete.)
- Open TRAKTOR. In the window that appears, click the "Activate" button to register the software. The Native Instruments Service Center will launch. (You will need to be connected to the internet to access the Service Center to register your software.)
- In the Service Center login window, click "Create new User Account" (if you do not already have one) and follow the on-screen instructions to complete your registration. (You will need the serial number on the included DVD sleeve to do this.)
Note: For additional assistance and information, you can find TRAKTOR's manual by going to the software's "Help" menu.
GET STARTED
- Connect 4TRAK's FX KOMMAND CONSOLE's USB cable to an available USB port on your computer. (If possible, use a USB port on the rear panel of your computer.)
- Open TRAKTOR by double-clicking the icon on your computer's Desktop (if you created a Desktop shortcut) or by going to:
Windows XP: Start Menu![]() All Programs
All Programs ![]() Native Instruments
Native Instruments ![]() Traktor 2
Traktor 2 ![]() Traktor 2
Traktor 2
Windows Vista & Windows 7: Windows Menu![]() All Programs
All Programs ![]() Native Instruments
Native Instruments ![]() Traktor 2
Traktor 2 ![]() Traktor 2
Traktor 2
Mac: Applications![]() Native Instruments
Native Instruments ![]() Traktor 2
Traktor 2 ![]() Traktor 2
Traktor 2 - The first time you open TRAKTOR, use the various drop-down menus to select:
- that you are using an external controller ("Yes")
- your device ("Numark" and "4TRAK")
- Deck Layout Selection ("4 Track Decks").
- In the main software window, click the "gear" icon in the upper right corner. The Traktor LE Preferences window will appear.
- Click Controller Manager.
- For Device, select Numark.4TRAK.Main... from the drop-down menu. For In-Port and Out-Port, select Numark 4TRAK MIDI.
- Then select Numark.4TRAK.FX... from the Device drop-down menu. For In-Port and Out-Port, select Numark 4TRAK-FX.
- Close the Preferences windows.
FRONT PANEL

- FADER START – Enables or disables "fader start" on the corresponding side of the crossfader. When fader start is enabled on one side, moving the crossfader toward that side will cause the Deck to start playing.
- CROSSFADER SLOPE – Adjusts the slope of the crossfader curve. Turn the knob to the left for a smooth fade (mixing) or to the right for a sharp cut (scratching).
- DECK CROSSFADER ASSIGN – Routes the audio signal of the selected channel as follows:
L = Software and external audio is directed to the left side of the crossfader.
| (center) = Audio is not being controlled by the crossfader but instead routed directly to the program signal.
R = Software and external audio is directed to the right side of the crossfader. - HEADPHONE BLEND – Adjust to mix between Cue and Program in the Headphone channel. When turned all the way left, only channels routed to CUE will be heard. When turned all the way right, only the Program mix will be heard.
- SPLIT CUE – When this switch is set to the ON position, the headphone audio will be "split" so that all channels sent to CUE are mixed to mono and applied to the left headphone channel and the Program mix is mixed to mono and applied to the right channel. When the switch is in the OFF position, Cue and Program audio will be "blended" together.
- HEADPHONE VOLUME – Adjusts the signal volume of the headphone output.
- HEADPHONE OUTPUT – Connect your 1/4" or 1/8" headphones to this output for cueing and mix monitoring.
REAR PANEL

- POWER SWITCH – Turns 4TRAK on and off. Turn on 4TRAK after all input devices have been connected and before you turn on amplifiers. Turn off amplifiers before you turn off 4TRAK.
- POWER INPUT – Use the included power adapter to connect the 4TRAK to a power outlet. While the power is switched off, plug the power supply into the 4TRAK first, then plug the power supply into a power outlet.
- USB PORT – Connect the 4TRAK to the included 4TRAK FX KOMMAND CONSOLE and your 4TRAK can be used as a software controller device using USB MIDI protocol or as a pass-through audio interface.
- MASTER OUTPUT (XLR) – Connect this XLR output to a PA system or powered monitors.
- MASTER OUTPUT (RCA) – Use standard RCA cables (not included) to connect this output to a speaker or amplifier system.
- BOOTH/ZONE – Use standard RCA cables (not included) to connect this output to a monitoring system.
- RCA INPUT – Connect audio sources to these inputs.
- LINE/MIC SWITCH – Flip this switch to the appropriate position, depending on the device connected to the RCA inputs. If using a line-level device, such as a CD player or sampler, set this switch to "LINE." If using a microphone, set this switch to "MIC".
- MIC INPUT – Connect a 1/4" mic to this input.
- LINE/PHONO SWITCH – Flip this switch to the appropriate position, depending on the device connected to the RCA inputs. If you are using phono-level turntables, set this switch to "PHONO" to provide the additional amplification needed for phono-level signals. If using a line-level device, such as a CD player or sampler, set this switch to "LINE."
- GROUND – If using phono-level turntables with a grounding wire, connect the grounding wire to these terminals. If you experience a low "hum" or "buzz", this could mean that your turntables are not grounded.
Note: Some turntables have a grounding wire built into the RCA connection and, therefore, nothing needs to be connected to the grounding terminal.
TOP PANEL

- STRIP SEARCH – The length of this strip represents the length of the entire track. Hold Shift and place your finger on a point along this sensor to jump to that point in the track. (If you want to scroll through a track, we recommend using your computer rather than running your finger along the strip.)
- TAP – Pressing this button in time with the beat will help determine the BPM of the track.
- LOOP LENGTH – Halves or doubles the length of your Auto Loops or currently selected loop.
- BEATJUMP – Changes the function of the Loop Shift buttons to Beatjump.
- LOOP SHIFT – Adjusts the Loop Out point (when not in Beatjump Mode). When in Beatjump Mode, pressing a Loop Shift button will cause the track to jump ahead or back by a beat.
- IN – This button sets the beginning point of a loop.
- OUT – This button sets the ending point of a loop. When outside of a loop, press this button to jump back to your last selected loop. Press Shift + Out to set a 2-beat Auto Loop.
- AUTO – These buttons set Auto Loops.
- Press Auto 1 to set a 1-beat Auto Loop. Press Shift + Auto 1 to set a 16-beat Auto Loop.
- Press Auto 4 to set a 4-beat Auto Loop. Press Shift + Auto 4 to set a 32-beat Auto Loop.
- Press Auto to set an Auto Loop of whatever length is currently selected in Traktor. Press Shift + Auto to set an 8-beat Auto Loop.
- ASSIGN – User-assignable MIDI buttons. You can assign functions to these buttons in the software.
- SCRATCH – Turns Scratch Mode on or off. If Scratch Mode is on, the jog wheel will scratch like a turntable when you move it.
- SET MASTER – Allows the selected deck to determine the Master Tempo. Pressing a deck's Sync button will match its tempo to the Master Tempo.
- RANGE – Changes the range of pitch bend.
- PITCH SLIDER – This controls the speed of the music. Moving towards the "+" will speed the music up, while moving towards the "–" will slow it down.
- PITCH BEND – Allows you to briefly adjust the speed of the music faster or slower for as long as the button is held. Useful for beat-matching two songs that might be at the same tempo but whose beats are not quite aligned.
- JOG WHEEL –
- During playback with Scratch Mode off, moving the wheel will pitch-bend the Deck.
- During playback with Scratch Mode on, moving the wheel will "scratch" the music. (You can also touch just the outer edge of the wheel and move it to pitch-bend the Deck.)
- While paused, moving the wheel will let you "scrub" through the track's audio.
- LAYER – Selects which Layer in the software is controlled by that hardware Deck.
- TRACK RESET – Returns the track to its start point.
- SHIFT – Pressing and holding this button also allows you to access secondary ("shift") functions of other buttons on 4TRAK. You can also press and hold this button then press a lit Hot Cue Button to delete its assigned "hot cue point."
- HOT CUE BUTTONS – These buttons allow you to set up to five "hot cue points". These are similar to regular cue points, except that when these buttons are pressed, the track will instantly jump to the set hot cue point and begin playing. If you press a Hot Cue Button while in an Auto Loop, the Auto Loop will be saved along with the cue point.
- SYNC – Syncs the deck to the Master Tempo.
- CUE – Returns and pauses the music at the last set cue point. The default cue point is at the beginning of the track, but you can set a different cue point by pressing this button at a different point in the track when it is paused.
- PLAY/PAUSE – Starts or pauses the music.
- GRID MARKERS – Controls the Beatgrid points in Traktor. Pressing and holding Shift and one of these buttons activates the Delete and Move functions.
- GAIN – Adjusts the channel's gain level.
- TREBLE – Adjusts the high (treble) frequenciesof the corresponding channel.
- MIDDLE – Adjusts the mid-range frequencies of the corresponding channel.
- BASS – Adjusts the low (bass) frequencies of the corresponding channel.
- MASTER LED METERS – Monitors the audio level of the channels.
- PFL – Press this button to send this channel's pre-fader signal to the Cue Channel for monitoring. When engaged, the button will be lit. By pressing one PFL button at a time, you will cue that channel alone (and deactivate PFL monitoring for the other channels). To cue to multiple channels simultaneously, press the PFL buttons for those channels at the same time.
- PC/LINE – Selects whether the channel will use the signal from the computer (PC) or the channel's Line Input (LINE).
- PC/LINE/MIC – Selects whether the channel will use the signal from the computer (PC), the channel's Line Input (LINE), or the channel's Mic Input (MIC).
- CHANNEL FADERS – Adjusts the volume of the channels.
- CROSSFADER – Blends the audio playing between the left and right decks.
- KEY – Activates/deactivates Auto Key.
- KEY KNOB – Adjusts the key when Auto Key is engaged.
- LOAD – Loads a track to the selected left or right deck.
- FILE TREE – Accesses this shortcut menu in Traktor.
- SONGS – Accesses this shortcut menu in Traktor.
- FAVORITES – Accesses this shortcut menu in Traktor.
- BOOTH/ZONE – Adjusts the level of the signal going to the Booth/Zone Output.
- VIEW – Changes the focus views of the screen as defined by Traktor.
- FX – Selects the effects banks for each channel.
- MASTER – Adjusts the level of the signal sent to the Master Outputs.
- RECORD – Starts and stops recording of the Program Mix in the software.
- CRUISE – Activates auto-mixing of tracks.
- BROWSE – Controls navigation of menus. Pressing the button will "preview-play" the highlighted track. Pressing it again will stop the preview playback.
4TRAK FX

- MODE (available only in Traktor Pro 2) – Toggles between Single or Group Mode for effects. In Single Mode, one effect will be shown with its three adjustable parameters. In Group Mode, three effects will be shown with one parameter each (in this mode, only its primary parameter will be adjustable using 4TRAK).
- FX MIX KNOBS – Controls the wet/dry mix of effects.
- FX SELECT MODE – When this button is engaged, FX Knobs 1-3 will browse through the available effects. When a single effect is shown, FX Knob 1 will browse through the list. When a group of effects is shown, all three FX Knobs will browse through the list.
- FX KNOB 1-3 – Controls the parameter mix of effects in software. In Single Mode, each knob will control a different parameter of the effect. In Group Mode, each knob will control only the primary parameter of each of the three effects.
- FX BUTTONS 1-3 – Selects the effect in software.
- FILTER ON/OFF – Activates or deactivates the filter for the selected channel.
- FILTER KNOBS – Adjusts the frequencies of the filters.
- FX 1 USB PORT – Connects to your computer's USB port to allow 4TRAK to be used as a controller in software programs.
- FX 2 USB PORT – Connects to the USB port on the 4TRAK.
Documents / Resources
References
Download manual
Here you can download full pdf version of manual, it may contain additional safety instructions, warranty information, FCC rules, etc.
Advertisement


Need help?
Do you have a question about the 4TRAK and is the answer not in the manual?
Questions and answers