Advertisement
Advertisement
Table of Contents

Summary of Contents for Solem VILLA
- Page 1 QUICK INSTALL GUIDE VILLA...
-
Page 2: Installation
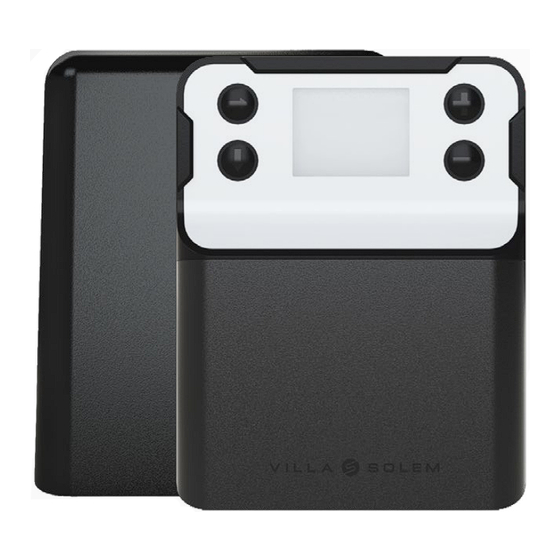
(pressure switch). The VILLA, equipped with its cover, can be installed both outdoors and indoors. It offers the possibility to optimize your irrigation system through automatic Water budget linked to the weather forecast of its location, making it a connected and smart irrigation system. -
Page 3: Valve Wiring
Valve wiring The VILLA has two locations for sensors [S1 + and S1-] and [S2 - and S2 +]. You can connect three types of sensors: a rain sensor, a pressure switch, and a water meter equipped with a pulse output (dry contact type). - Page 4 When placing the black cables (with white marks) from your solenoid valves, make sure to connect the black cables (common) to the place marked as « C » on the VILLA. Several black cables from your solenoid valves will be connected to the same place on the VILLA.
-
Page 5: Online Operation
Click on « Add a controller » or the « + » button. Select the VILLA from the list of available controllers. (Optional) Once selected, your VILLA can connect to a WiFi network (2.4 GHz). Select your network from the list. - Page 6 ADD AND SET UP A SENSOR The VILLA has two locations for sensors [S1 + and S1-] and [S2 - and S2 +]. You can connect three types of sensors: a rain sensor, a pressure switch, and a flow meter.
-
Page 7: Offline Operation
For more information about our features, please refer to the user manuals on mysolem.com or within the application https://support.mysolem.com/manuels-utilisateurs/ Offline operation (Through the buttons) Remove the bottom cover of the VILLA. Connect the integrated 230/24 Vac power supply to the product. Put the cover back on. - Page 8 Lock/unlock the product through the keyboard If you have set up a security code through the application, here’s how to input it on the VILLA screen to unlock your product. INFO INFO Press 1000 PROG PROG Unloicked ON/OFF 16 00...
- Page 9 MAIN MENU Program in progress PROG INFO Operating station 02 30 PROG Remaining watering time 16 00 ON/OFF 16 00 Time DATE 09/02/24 Date We Th (If the WiFi symbol is flashing, it WiFi connecrion means the connection is in progress) INFO RUN OR STOP MANUAL COMMAND: stop...
- Page 10 MANUAL COMMAND EX AMPLE INFO stop PROG Validate Select ON/OFF 16 00 DATE INFO stat Select the PROG Validate ON/OFF Station mode DATE INFO Set the PROG STATION Validate Station ON/OFF mode DATE INFO PROG Set the STATION From 1 min Validate ON/OFF 00 01...
-
Page 11: Technical Characteristics
FAULT ON L ANE AND ACKNOWLEDGMENT PROG If one of your stations is not working (short circuit), the VILLA screen will INFO display the station number (in this example, lane 2) in the bottom left PROG ON/OFF box. When a lane malfunctions, the timer will directly move to the next DATE station’s program. -
Page 12: Europe: Declaration Of Conformity
EUROPE: DECLARATION OF CONFORMITY Solem Electronique has declared that the VILLA irrigation controller complies with the essential requirements of the European directives: Directives 2014/53/EU (RED): Harmonized standards: BLE standard: ETSI EN 300 328 v2.2.2 EMF standard: EN 62311 (2008) and recommendation 1999/519/CE EMC standard: EN 61000-3-2 (2019) / EN 61000-3-3 (2013 + A1/2019) &... - Page 13 This device complies with Industry Canada RF radiation exposure limits set forth for general population. This device must be installed to provide a separation distanceof a least 20cm from all persons and must not be co-located or operating in conjunction with any other antenna or transmitter. 60NOTIGUIDE-VILLA[-0623-]...


Need help?
Do you have a question about the VILLA and is the answer not in the manual?
Questions and answers