Table of Contents

Related Manuals for PELHAM & WHITE KB9


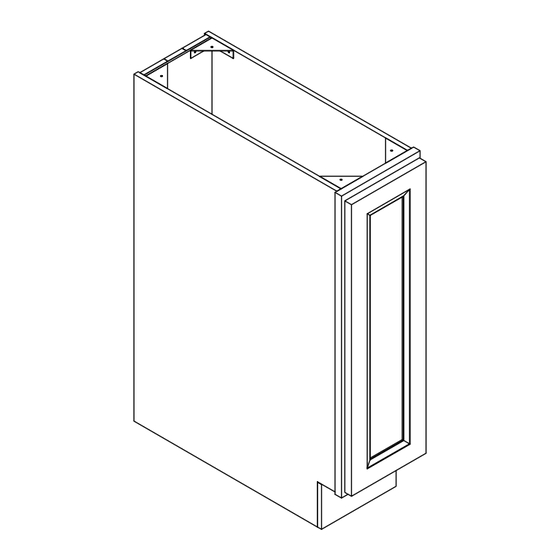
Summary of Contents for PELHAM & WHITE KB9
- Page 1 Owner’s Manual & Installation Guide One-Door Base Kitchen Cabinets Model # Note: Read all instructions before proceeding with installation. All specifications are subject to change without notice. Questions? Contact Us: 1-855-561-5222 • info@pelhamandwhite.com...
-
Page 2: Package Contents
ONE-DOOR BASE CABINET ASSEMBLY & INSTALLATION GUIDE Unpack and inspect your cabinet upon delivery to avoid costly contractor delays. Package Contents D. Toe Kick x1 A. Back Panel x1 B. Left Panel x1 C. Right Panel x1 E. Bottom Panel x1 F. - Page 3 Base Cabinet Assembly Guide Step 1: Attach back panel (A) to left side panel (B) and right side panel (C), flip the cam-locks to secure in place. Step 2: Insert bottom panel(E) into assembled unit. Step 3: Attach toe kick (D) to the assembly unit by flipping the cam-locks, make sure they are in place.
- Page 4 Step 4: Attach front face (F) to assembled unit by inserting the tabs on the left and right side panels into the slots, and pushing down until the panel slide into the place. Step 5: Insert shelf support (DD) into the holes on the side panels, put on the shelf panel (H).
- Page 5 STUDS: Secure to wall with #10 x 3” screws at stud location. Important: Use “pan head” or “round head” screws with seat washers. Seat screws tightly against back rail or panel without driving into back rail or panel material. STARTING IN A CORNER: Always start in a corner where two runs of cabinets will come together or at the end of the cabinet run (if there is no corner.) All doors and drawers will need to be removed prior to installation.
- Page 6 INSTALL REMAINING CABINETS: Drill a 3/16” pilot hole at the stud locations through the back panel and into the stud. Level and mount the cabinet to the wall with hardware appropriate for your wall type. If needed, shim the cabinet to level. DO NOT COMPLETELY TIGHTEN MOUNTING SCREWS UNTIL ALL CABINETS HAVE BEEN ATTACHED TOGETHER.
-
Page 7: Hinge Adjustment
HINGE ADJUSTMENT: Review the illustrations to locate the hinge on your specific cabinet. Up/Down In/Out Left/Right Silcone Pads: Attach silicone pads (BB) on the top and bottom corners of each door. Door panel can be assembled on the other side as required, please remove hinge to install on the other side which are predrilled. -
Page 8: Care And Maintenance
Care & Maintenance To keep the product clean & shining, follow the steps below. 1. For normal spills, a damp cloth is sufficient. Dry the surface immediately. 2. Cabinets can be cleaned with most general purpose household cleaners. 3. Do not use caustic agents and/or abrasive scrubbers, or oven cleaners.
Need help?
Do you have a question about the KB9 and is the answer not in the manual?
Questions and answers