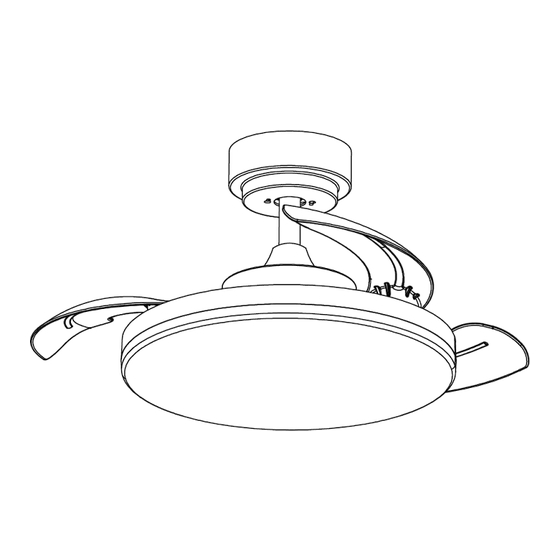
Summary of Contents for Bayside STROLL 216129
- Page 1 BAYSIDE STROLL DC CEILING FAN ⚫INSTALLATION ⚫OPERATION ⚫MAINTENANCE ⚫WARRANTY INFORMATION CAUTION READ INSTRUCTIONS CAREFULLY FOR SAFE INSTALLATION AND FAN OPERATION. V1.0-AU (05/2024)
-
Page 2: Safety Precautions
STROLL DC Fan Installation Instructions THANK YOU FOR PURCHASING Thank you for purchasing the latest in energy saving ceiling fans. This fan runs on DC (direct current) power which gives it the benefit of being super energy efficient whilst still maintaining high volume air-movement and silent operation. - Page 3 STROLL DC Fan Installation Instructions the wiring rules. Example: If a fan is connected to a circuit that can be isolated via an all-pole safety switch at the switchboard, then this is considered to be an all-pole disconnection to the ceiling fan electrical circuit, meeting the requirements of clause 7.12.2 of AS/NZS 60335.1.
-
Page 4: Parts List
STROLL DC Fan Installation Instructions PARTS LIST • Unpack your ceiling fan carefully. Remove all parts and hardware. • Lay out all the components on a smooth surface and make sure there are no components missing before assembling. If parts are missing, return the complete product to the place of purchase for inspection or replacement. -
Page 5: Installing The Fan
STROLL DC Fan Installation Instructions INSTALLING THE FAN TOOLS REQUIRED: Phillips / flat head screwdriver Pair of pliers Adjustable spanner Step ladder Wire cutter Wiring, supply cable as required by local provincial and national wiring codes and regulations INSTALLING THE MOUNTING BRACKET •... - Page 6 STROLL DC Fan Installation Instructions INSTALLING THE FAN INSTALLING THE DOWN ROD (Fig. 4) Fig. 4.1 1. Remove the ball joint (2) and dowel pin (3) by loosening the set screws (4) from the down rod (6). Remove the hitch pin (9) by removing the lock clip (10) (Fig. 4.1). NOTE: Do not discard keep these parts, they are required to reassemble later.
-
Page 7: Hanging The Fan
STROLL DC Fan Installation Instructions 5. Secure the down rod (6) by tightening the set screws (11). (Fig. 4.4) Fig. 4.6 Fig. 4.5 6. Insert the Bolt and pin cover (7) onto the down rod (6) to cover the down rod coupling housing (8). (Fig. - Page 8 STROLL DC Fan Installation Instructions ELECTRICAL WIRING DIAGRAM THE FAN PREPARE AND COMPLETE THE ELECTRICAL WIRING --- WIRING DIAGRAM (FIG. 6) WARNING: FOR YOUR SAFETY ALL ELECTRICAL CONNECTIONS MUST BE UNDERTAKEN BY A LICENSED ELECTRICIAN. NOTE: AN ADDITIONAL ALL POLE DISCONNECTION SWITCH MUST BE INCLUDED IN THE FIXED WIRING.
-
Page 9: Finishing The Installation
STROLL DC Fan Installation Instructions FINISHING THE INSTALLATION • After completing the electrical connection at the mounting bracket terminal block, connect the ceiling fan wiring via the quick connector plug. INSTALLATION OF THE CANOPY 1. Loosen the 2 screws at the bottom of the mouthing bracket. (Fig.8) 2. -
Page 10: Using Your Ceiling Fan
STROLL DC Fan Installation Instructions USING YOUR CEILING FAN REMOTE CONTROL 1. Open the battery compartment cover by removing the securing screw and insert 2 x AAA battery. Note the correct battery polarity (+/-) when inserting the battery, and then replace the cover and secure with the screw. 2. - Page 11 STROLL DC Fan Installation Instructions Reverse function Your ceiling fan can operate either in fan (summer) mode or reverse fan (winter) mode. Use the " " button on the remote to switch between summer and winter mode. Summer mode: The fan will rotate in an anticlockwise direction. The airflow will be directed downwards, for cooling in summer.
-
Page 12: After Installation
STROLL DC Fan Installation Instructions AFTER INSTALLATION NOTE: Ceiling fans tend to move during operation due to the fact that they are mounted on a rubber grommet. If the fan was mounted rigidly to the ceiling it would cause excessive vibration. Movement of a few centimetres is quite acceptable and DOES NOT suggest any problem. -
Page 13: Technical Information
STROLL DC Fan Installation Instructions Batteries must be removed from the remote transmitter before it is discarded. Dispose of exhausted batteries immediately and safely (so they cannot be retrieved by children). Batteries can still be dangerous. Contact your local council to safely dispose of the battery. Regularly check the product and make sure the battery box lid is correctly secured. - Page 14 Bayside design cannot be held responsible for any repair other than those carried out by it or one of its Authorised Service Agents. Please keep this warranty information in a safe place. This information must be produced in the event of service being required.
- Page 15 STROLL DC Fan Installation Instructions CEILING FAN WARRANTY INFORMATION BAYSIDE WARRANTY HOTLINE - 1300 289 808 Complete and retain this form for your personal records and warranty purposes. NAME………………………………………………………………………………… ADDRESS…………………………………………………………………………… ……………………………………………………POSTCODE…………………… MODEL NUMBER…………………………………………………………………… (PO# + DATECODE Sticker here) PO NUMBER or DATECODE ………………………………………………………...


Need help?
Do you have a question about the STROLL 216129 and is the answer not in the manual?
Questions and answers